FIXME This page is not fully translated, yet. Please help completing the translation.
(remove this paragraph once the translation is finished)
Como criar um jogo de plataforma
Esse tutorial ajudará você a utilizar GDevelop: Você criará um jogo simples de plataforma onde o jogador poderá pular sobre plataformas e coletar moedas.
Note que você poderá ler a página Getting Started para obter uma visão geral do software: a explicação dos principais conceitos e interface do GDevelop.
Baixar GDevelop
Se você não tiver o GDevelop 5, faça o download do [website oficial](https://gdevelop.io). Está disponível para Windows, macOS e Linux.
Sempre baixe o GDevelop desta página para ter certeza de ter a versão mais recente. Instale (ou extraia) o GDevelop e inicie-o.
Crie um novo jogo
Clique em Create a new project (Criar um novo projeto) na página inicial. Na janela, escolha uma pasta para o seu projeto e selecione Empty project (Projeto vazio) para iniciar um novo jogo do zero.
Para criar nosso jogo, precisamos ter os assets que possamos usar (o personagem do jogador, algumas plataformas, itens para coletar ...). Você pode baixar recursos aqui: http://www.compilgames.net/dl/PlatformerTutorialResources.zip.
Depois de baixar esse arquivo, extraia seu conteúdo para dentro da pasta em que você criou o projeto.
Adicione uma cena
Cenas são partes do seu jogo. Normalmente, cada tela diferente do seu jogo é uma cena: o menu principal, o menu de pausa e os níveis são cenas.
Cenas contêm objetos, que são exibidos na tela. Esses objetos podem ser colocados em cena para criar os níveis (esses objetos são chamados de "instâncias"). As cenas também contêm os eventos que são executados para animar a cena.
No gerenciador de projetos (que é aberto à esquerda), clique no botão + e em "Scenes":
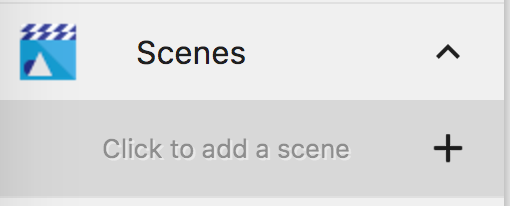
Uma nova cena, chamada "Nova cena", é adicionada à lista. Clique nele para abri-lo.

Create the player object
The player will be controlling a character that can jump and move on platforms. We're going to create this object.
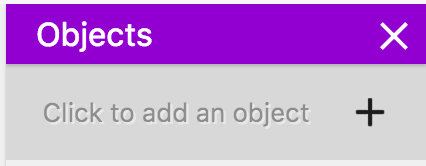
On the right, you can see a panel called "Objects". Click on the + button to add an object.
A window will pop up displaying different types of objects you can choose from.
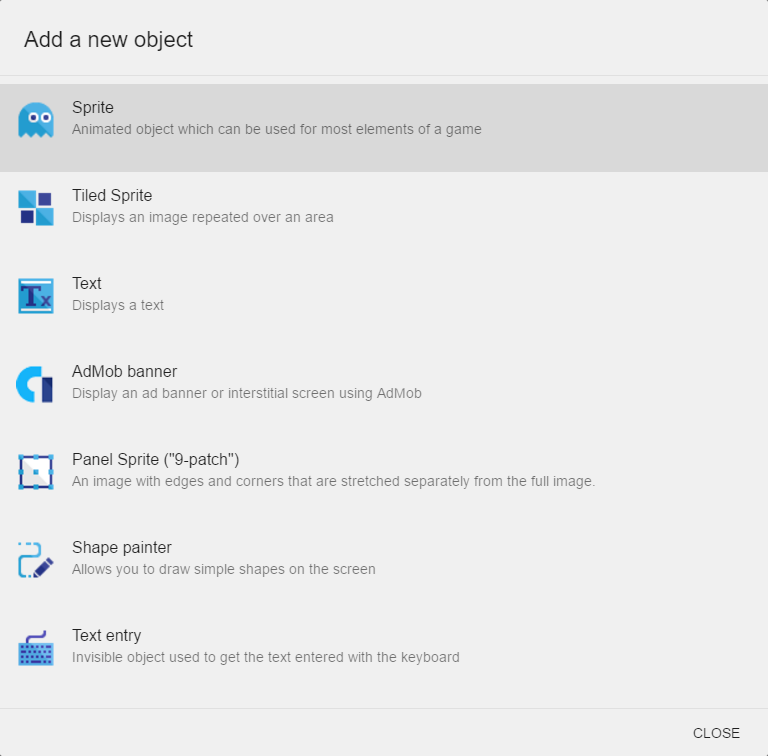
Different kinds of objects provide specific features. For most of our objects, we will use the Sprite objects, which are animated objects that can be used for a lot of elements (player, platforms, enemies, items...).
Click on Sprite in the list. The new object is added to the scene and the object editor is opened:
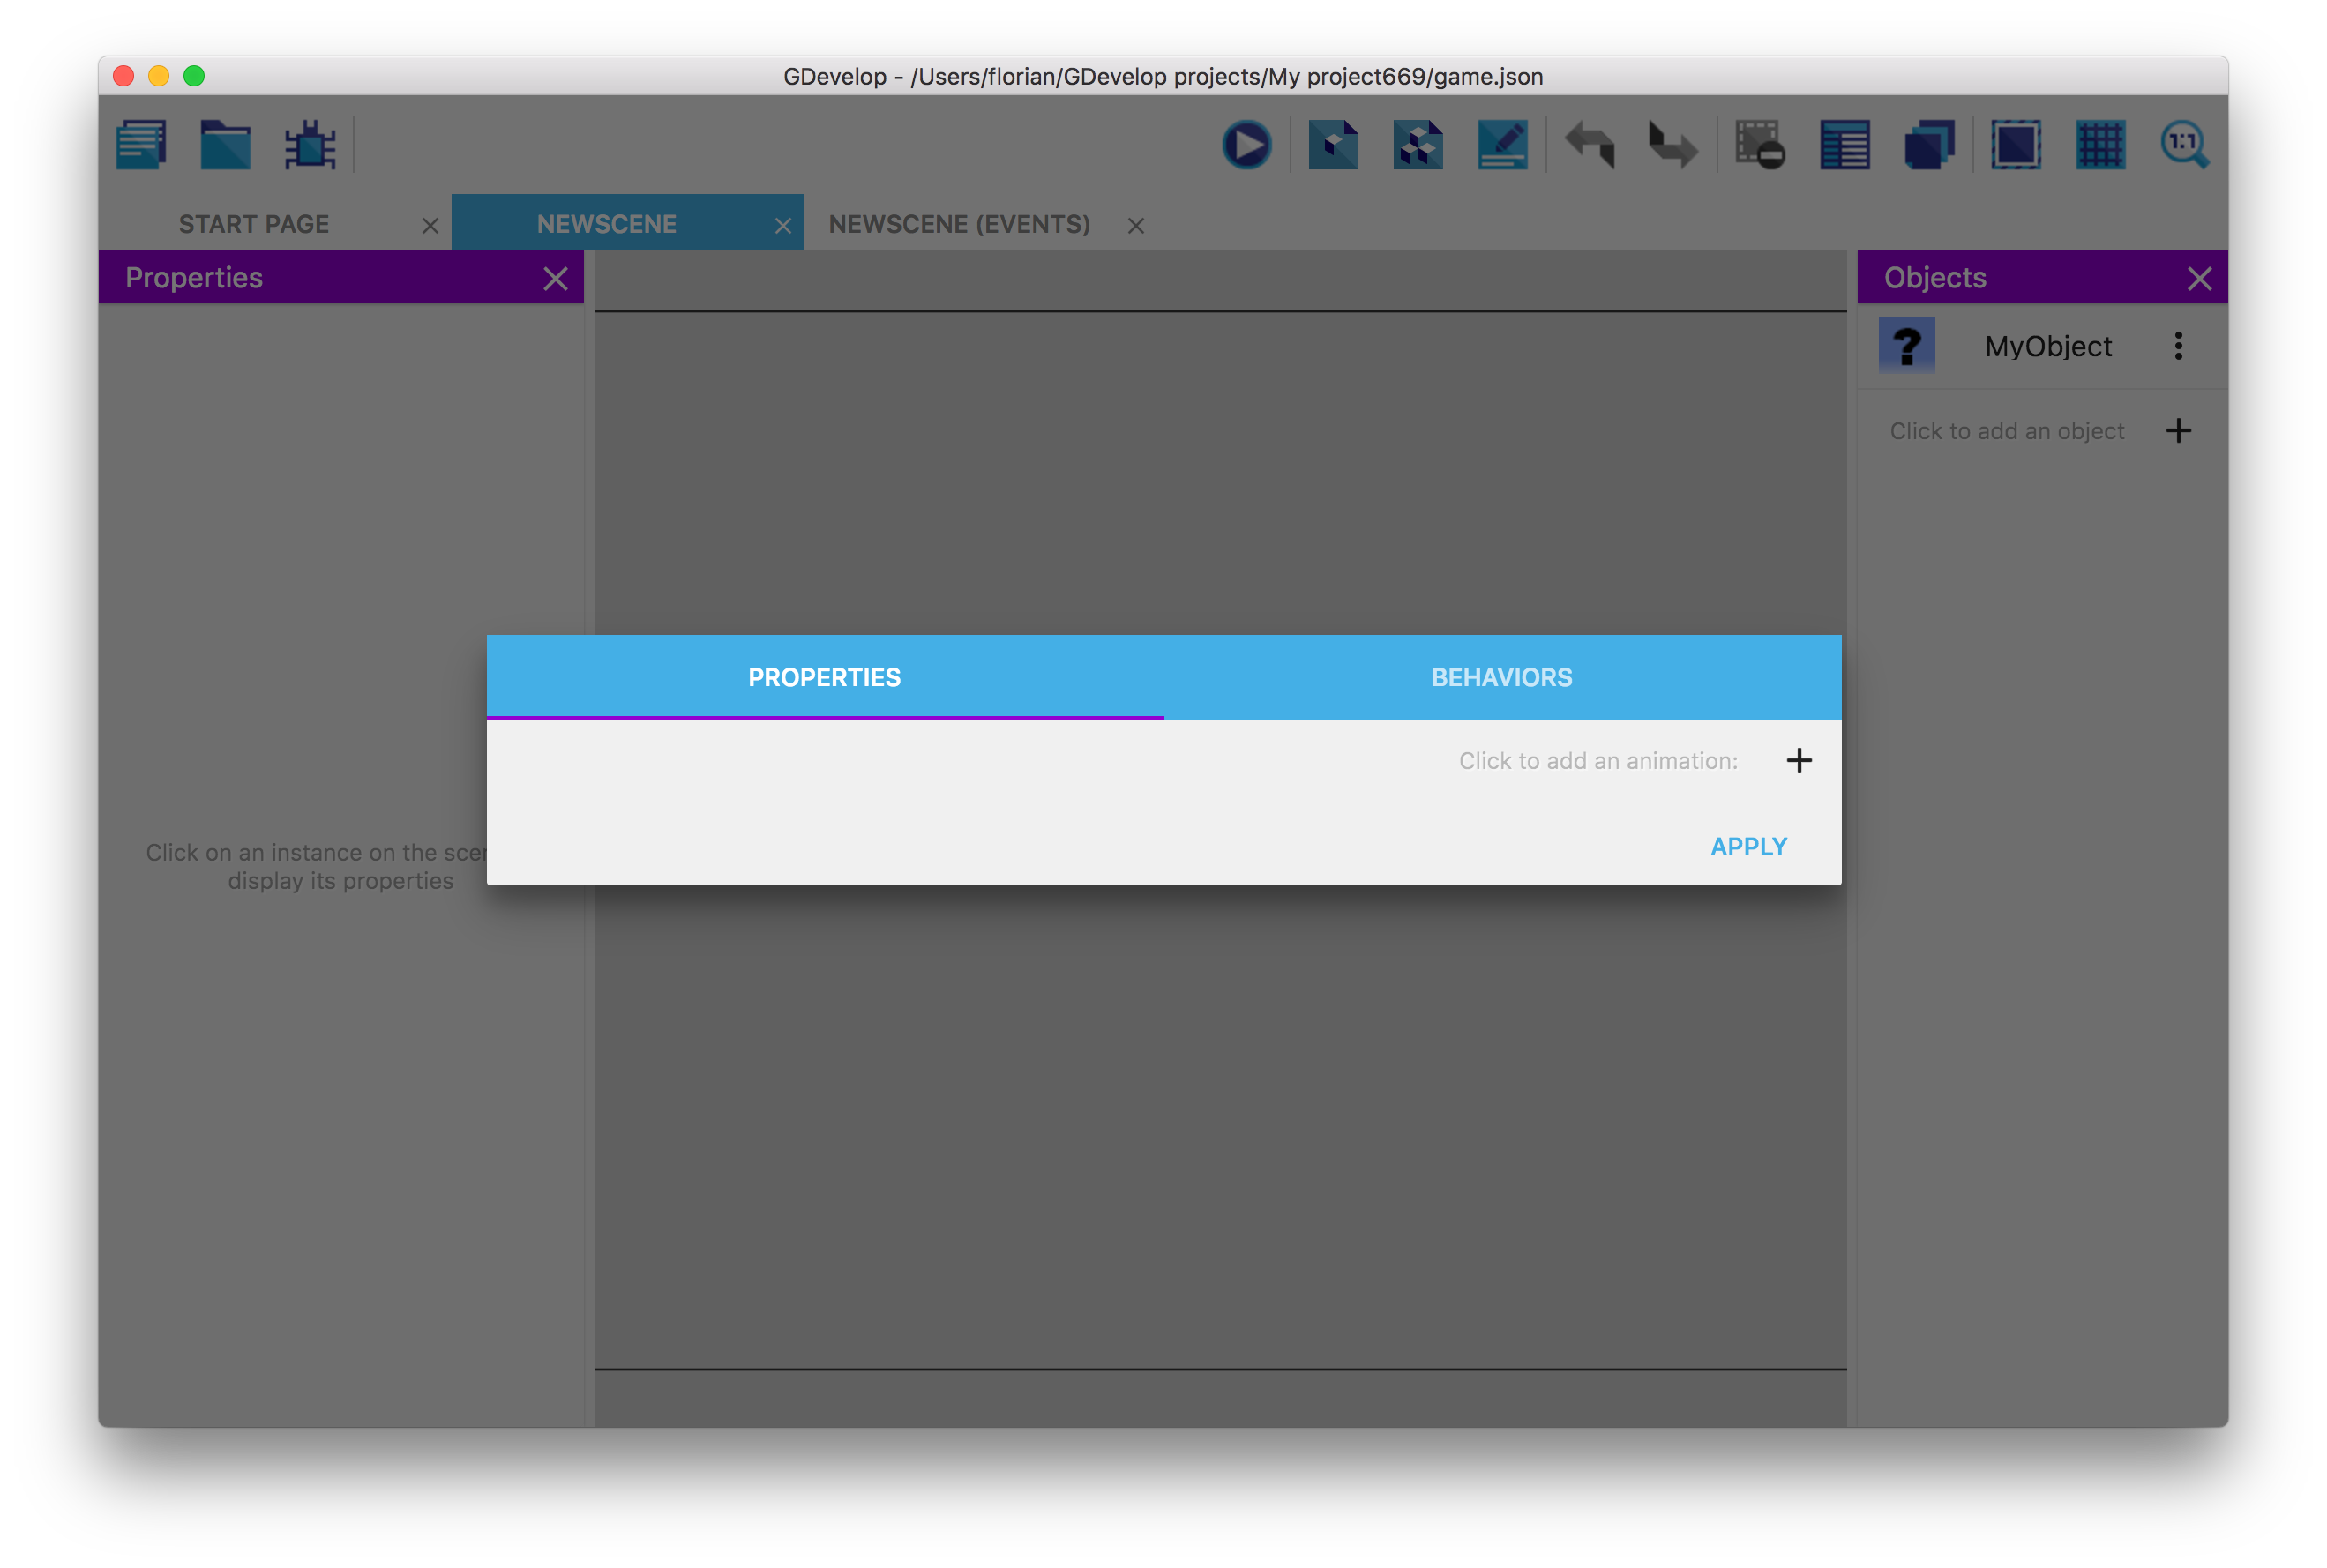
The object is empty for now. Sprite objects are composed of animations, and each animation can contain one or more images. Let's add an animation! Click on the + button.
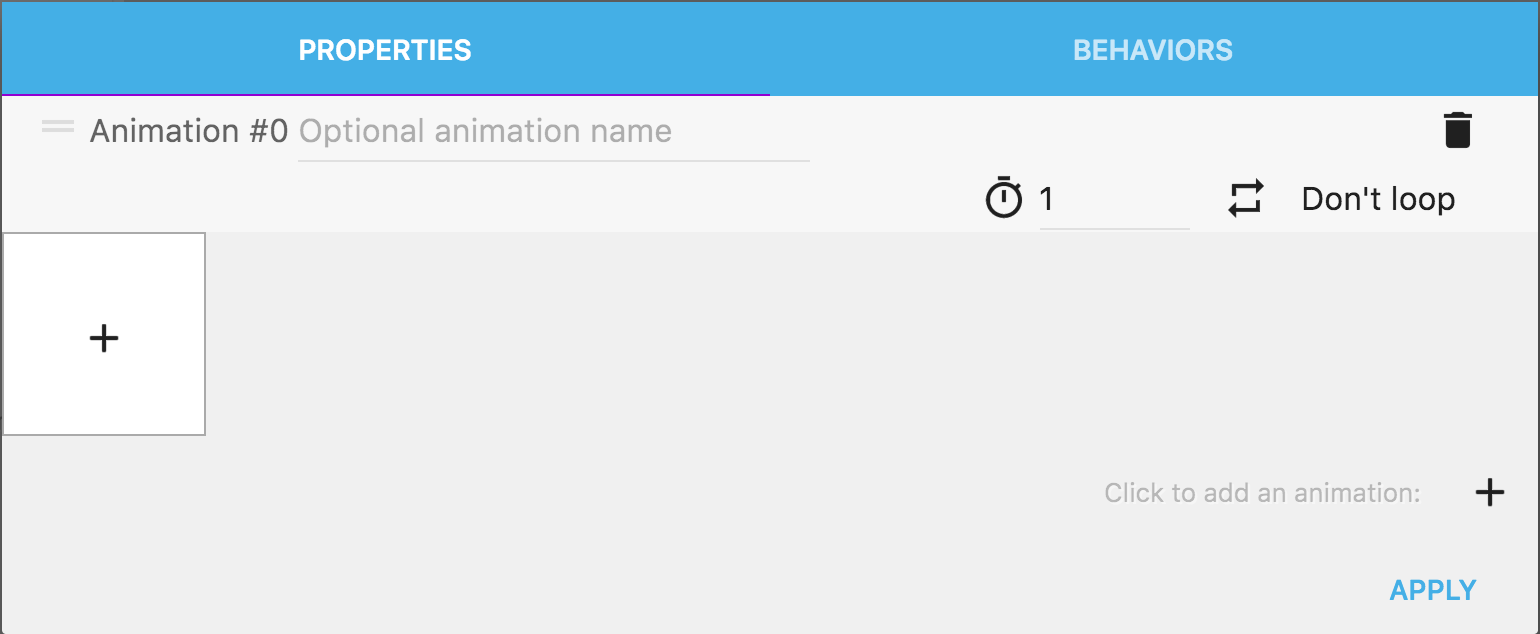
The animation is added but still empty with no images. To add an image, click on the + in the blank thumbnail.
Choose the image called p1_stand in the project folder. The image is added to the object:
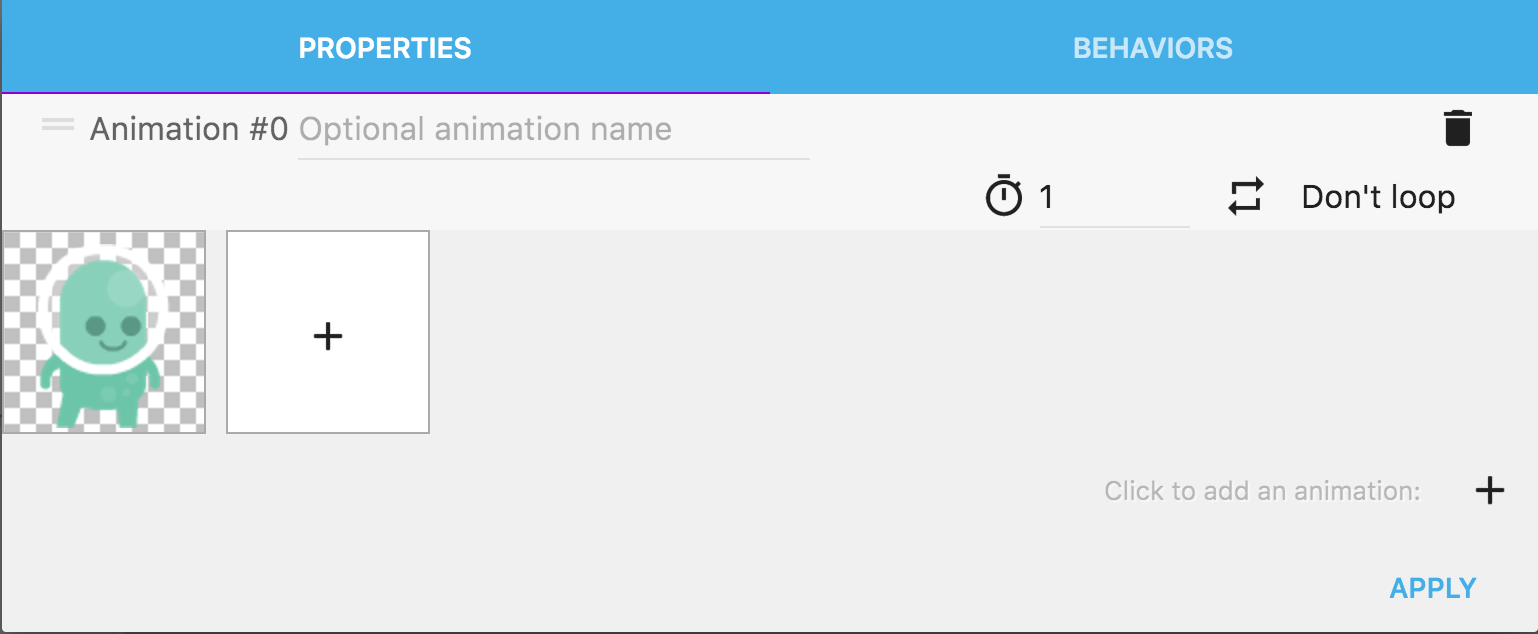
You can now close the editor by clicking the "Apply" button in the bottom right corner.
Put the object on the scene
To display the player in our level, we place it in the scene. Each object we add to the scene is called an "instance" of the object.
Our player instance will be unique as we are going to have only one in our level, but other objects (like platforms, coins, enemies...) can have multiple instances living on the scene.
To add the object, simply click on it in the list. It is then selected and displayed on a blue background:
You can then click anywhere on the scene to add the instance of this object:
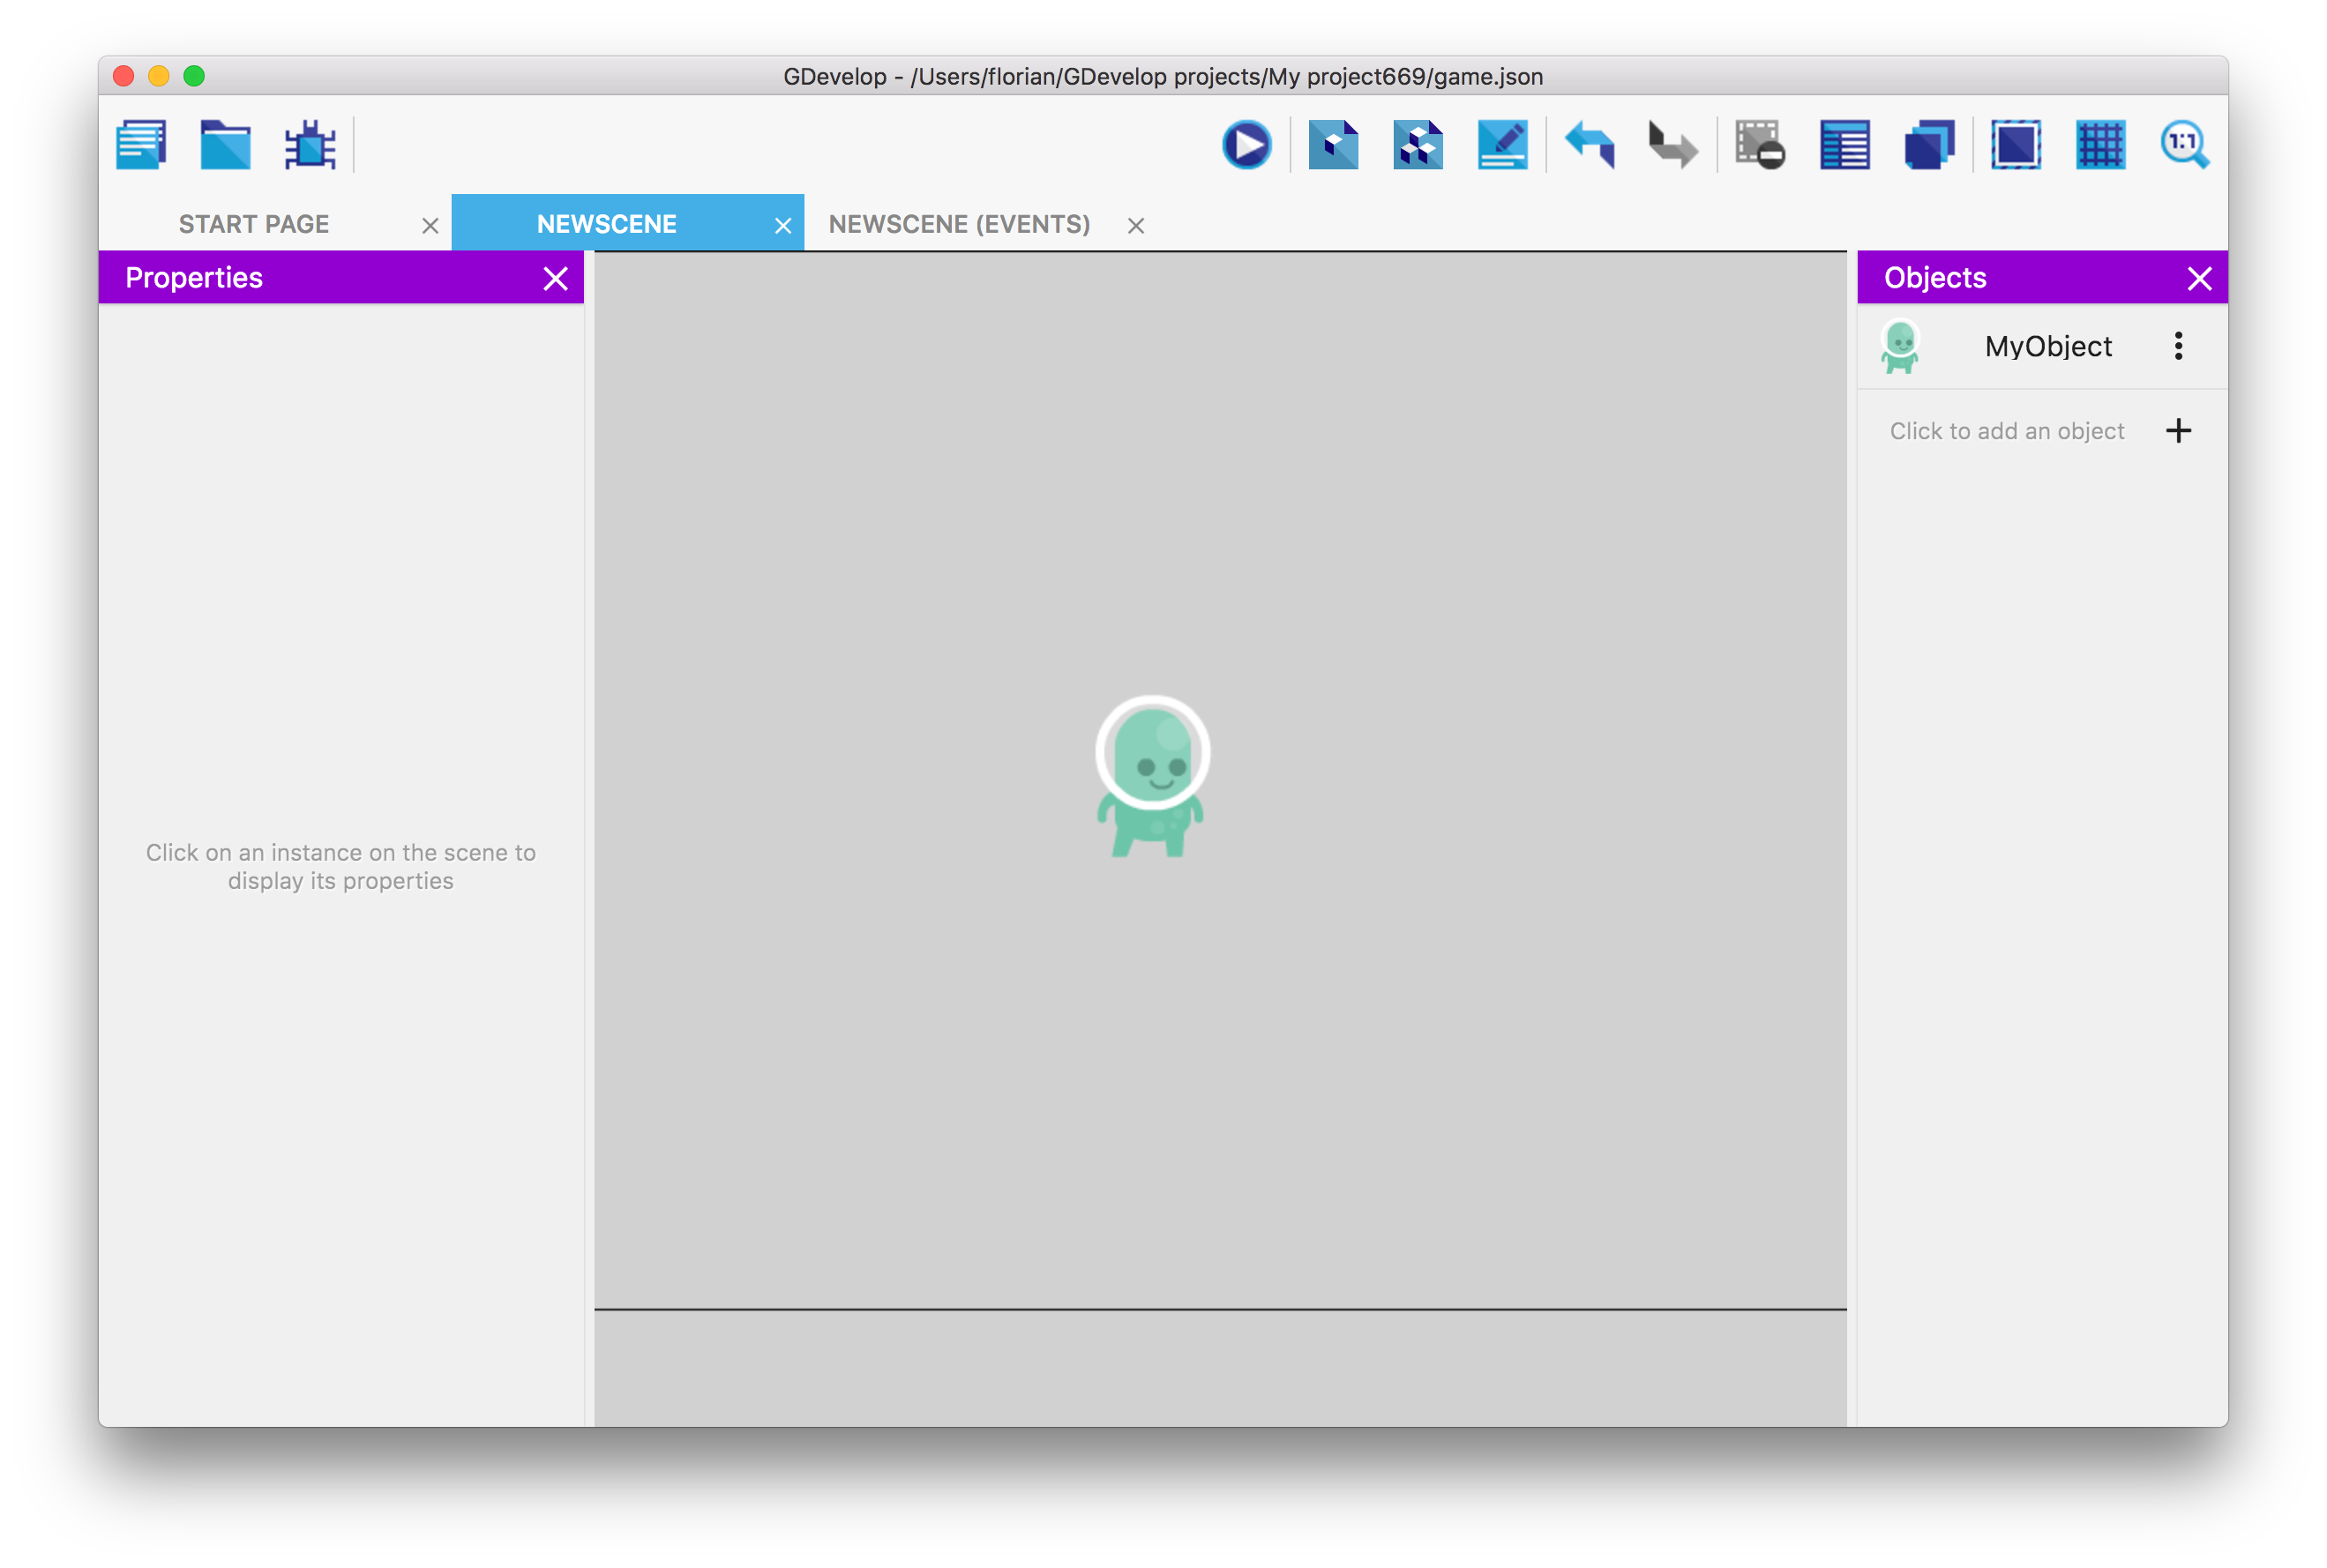
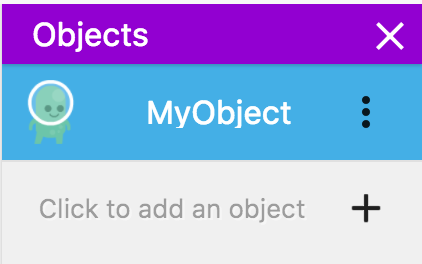
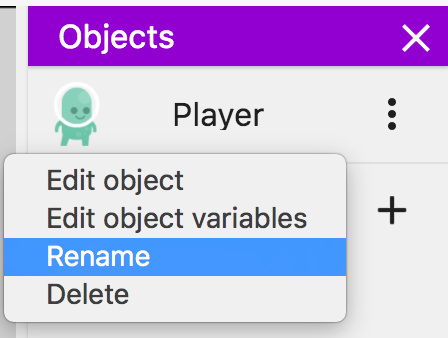
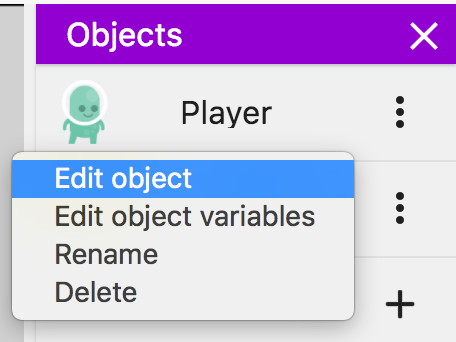
Give the object a proper name
To make it easier to refer to our object, give it a name rather than using the default name. Right click on it (or click on the ⋯ icon) and choose rename. You can then type "Player" and click anywhere on the screen or press Enter to rename the object.
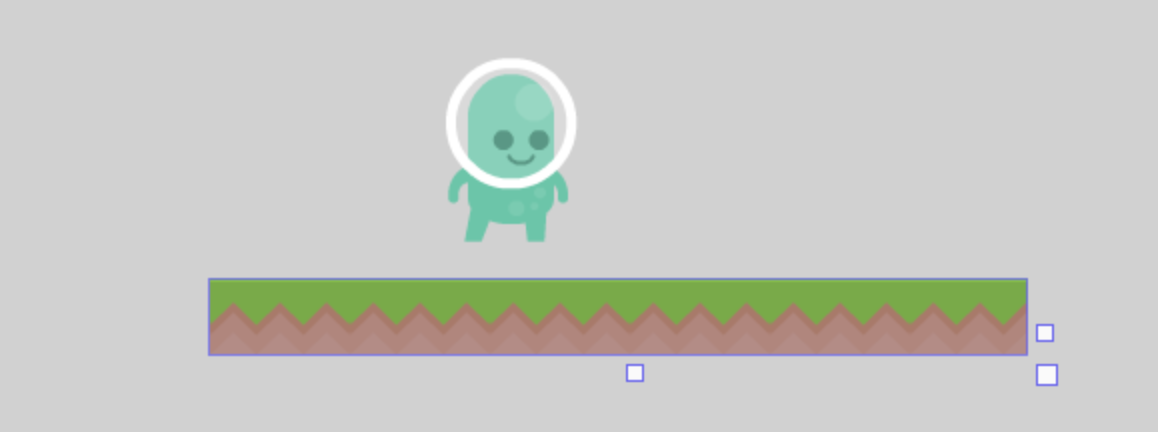
Add platforms
The level is still empty for now without any platforms. Let's add some.
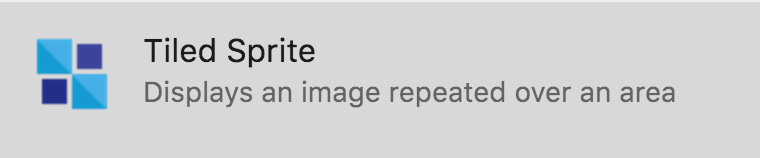
Create a new object by clicking on the + button in the Objects list. This time, choose Tiled Sprite when asked for the type of object:
The object editor is opened. It's a bit different compared to the editor of the Sprite object, as Tiled Sprite objects are not animated. Click on Select an image and then on Choose a new image. This time, choose the image called grassHalfMid.
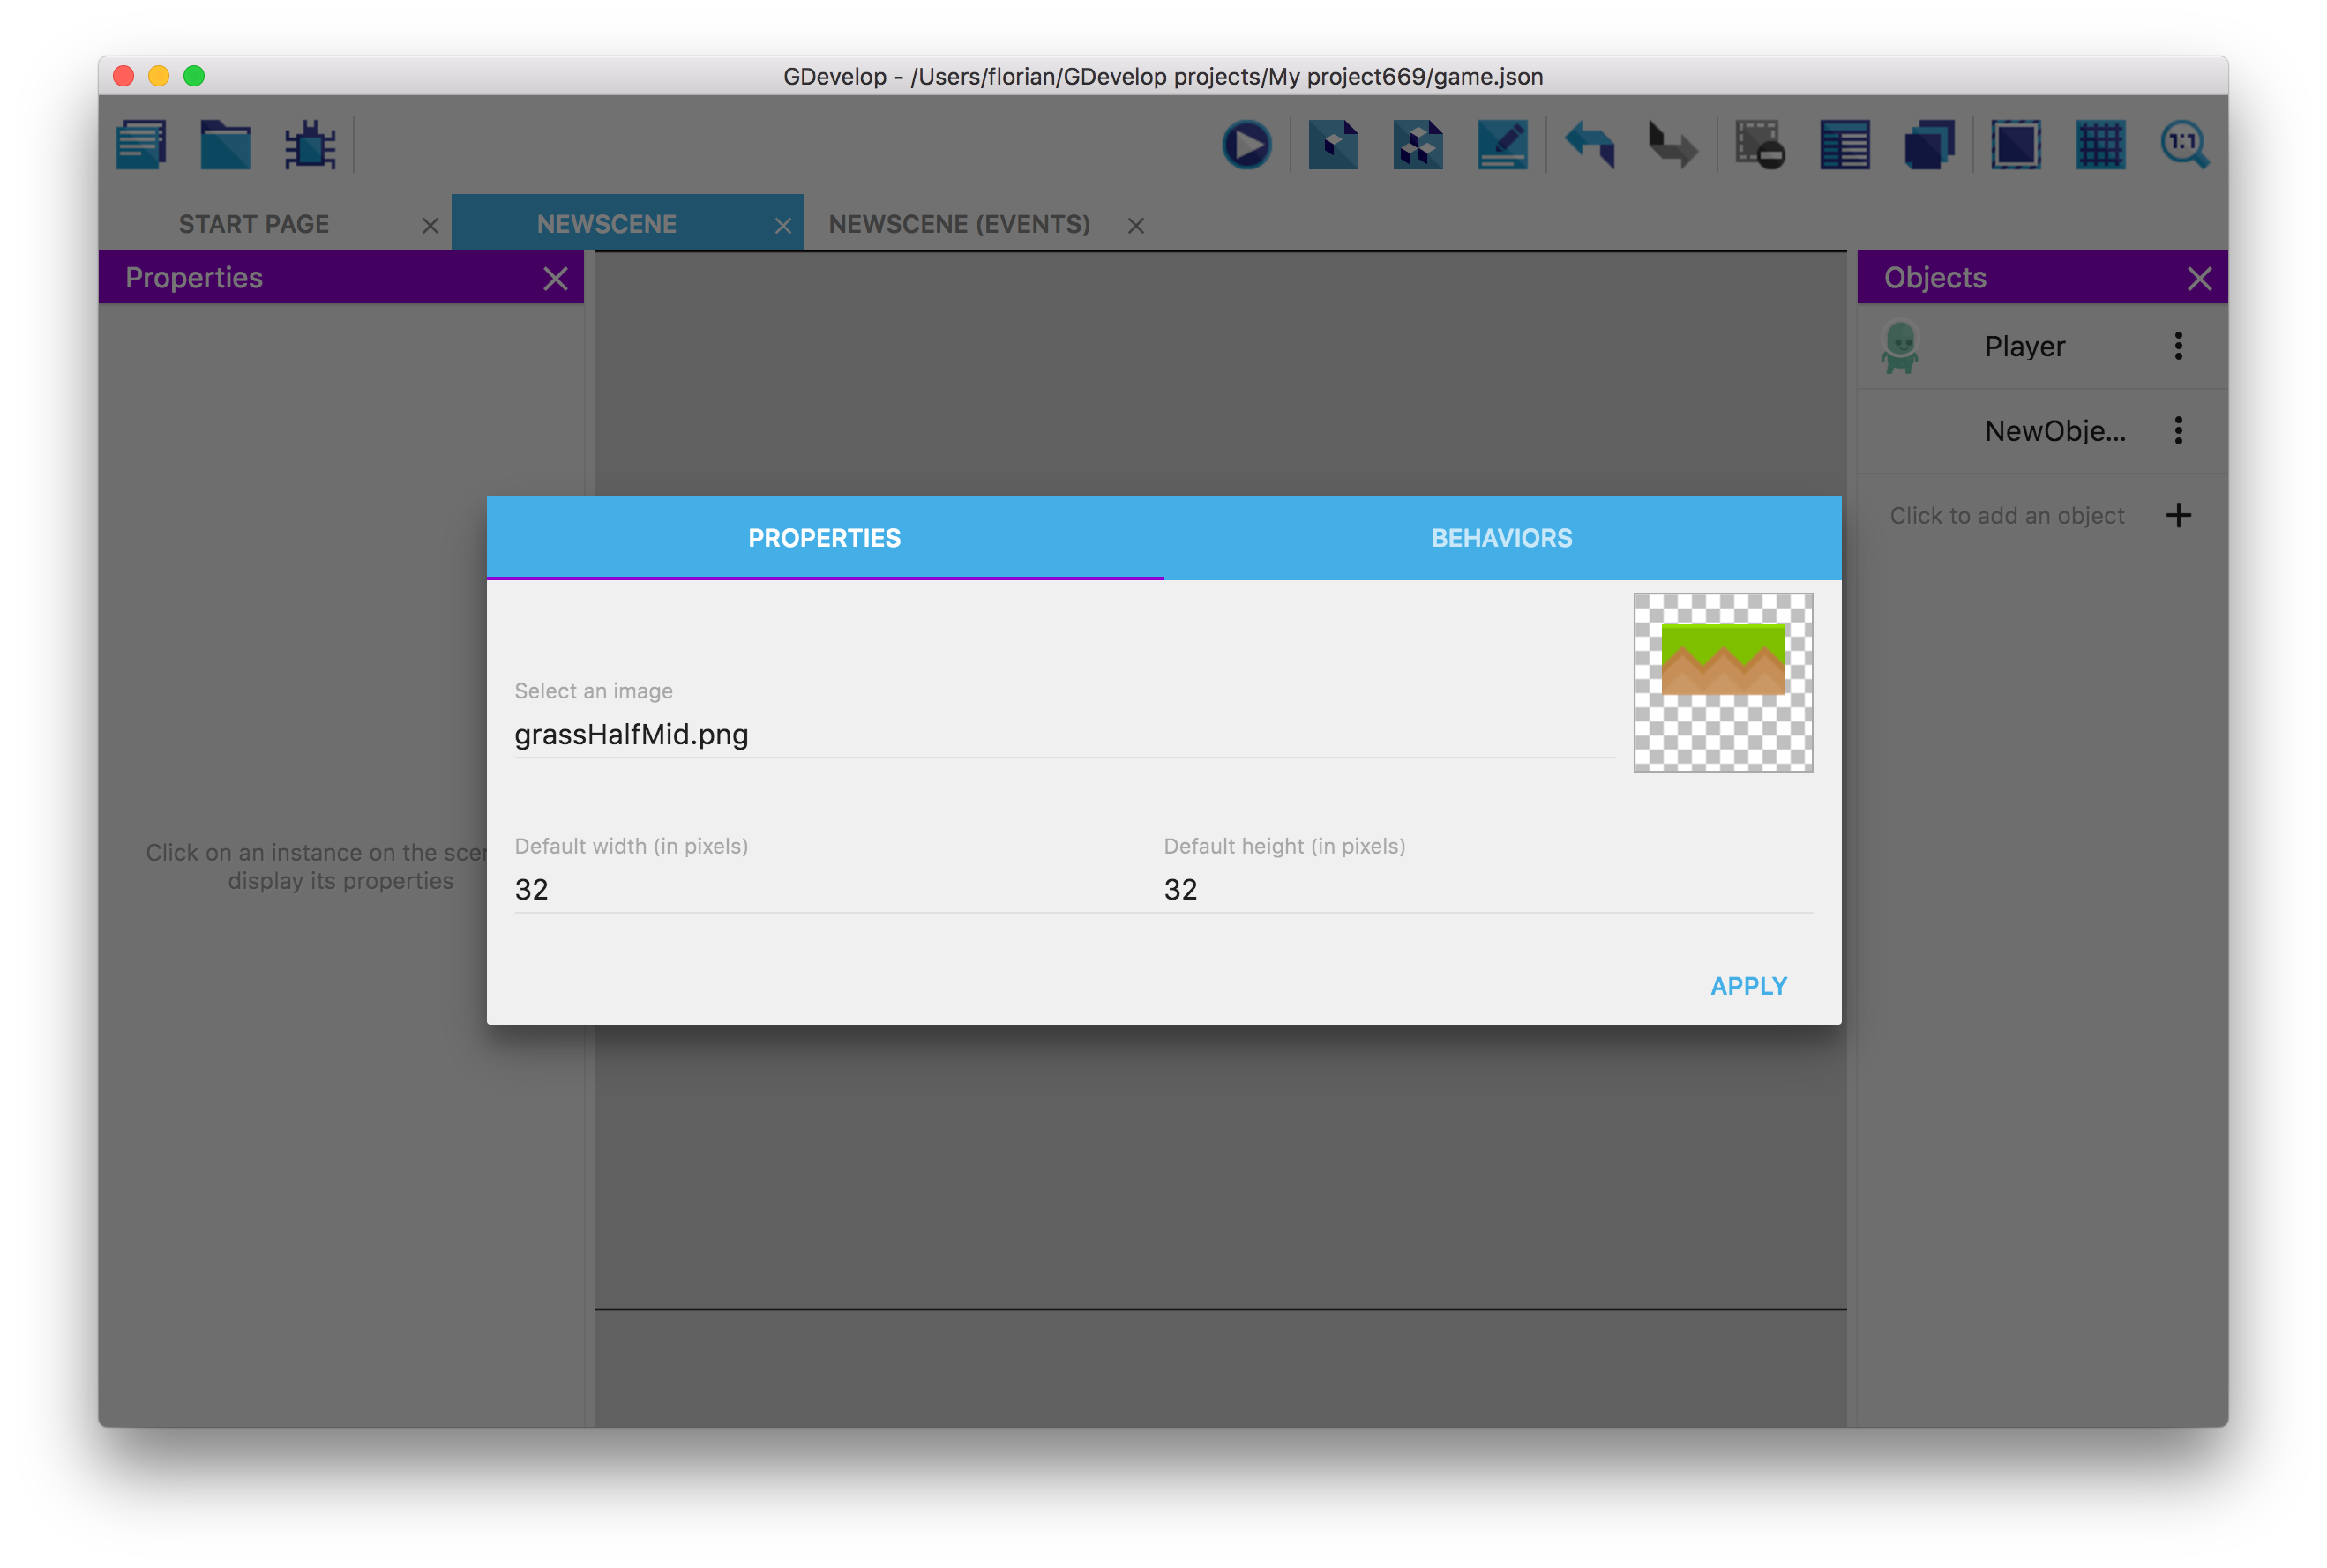
Close the editor by clicking on the "Apply" button in the bottom right corner. Click on the object in the list to select it, and click on the scene to place it in the level:

The object is added to our scene but it is very tiny. Click on it and use the handles to resize so that it looks like a platform:
Also, don't forget to rename the object to be called "GrassPlatform" instead of the default name.
Time to save!
Let's not lose what we've done so far: in the application "File" menu, click on "Save" (or press Ctrl+S/Cmd+S) to save your changes.
Add behaviors to objects
The player
The movement of the player could be created using the events of GDevelop, but it would be a quite long and difficult task to recreate a good platformer engine. Luckily, GDevelop already comes with a complete platformer engine built-in that we can use. For this, we need to use the "platformer behaviors", which allow us to access and use the built-in platformer engine.
Open the "Player" object editor:
Switch to the Behaviors tab and click on the + button to add a behavior to the object. Choose Platformer character in the list of available behaviors. You can then see the behavior in the editor, with a lot of parameters that you can tweak:
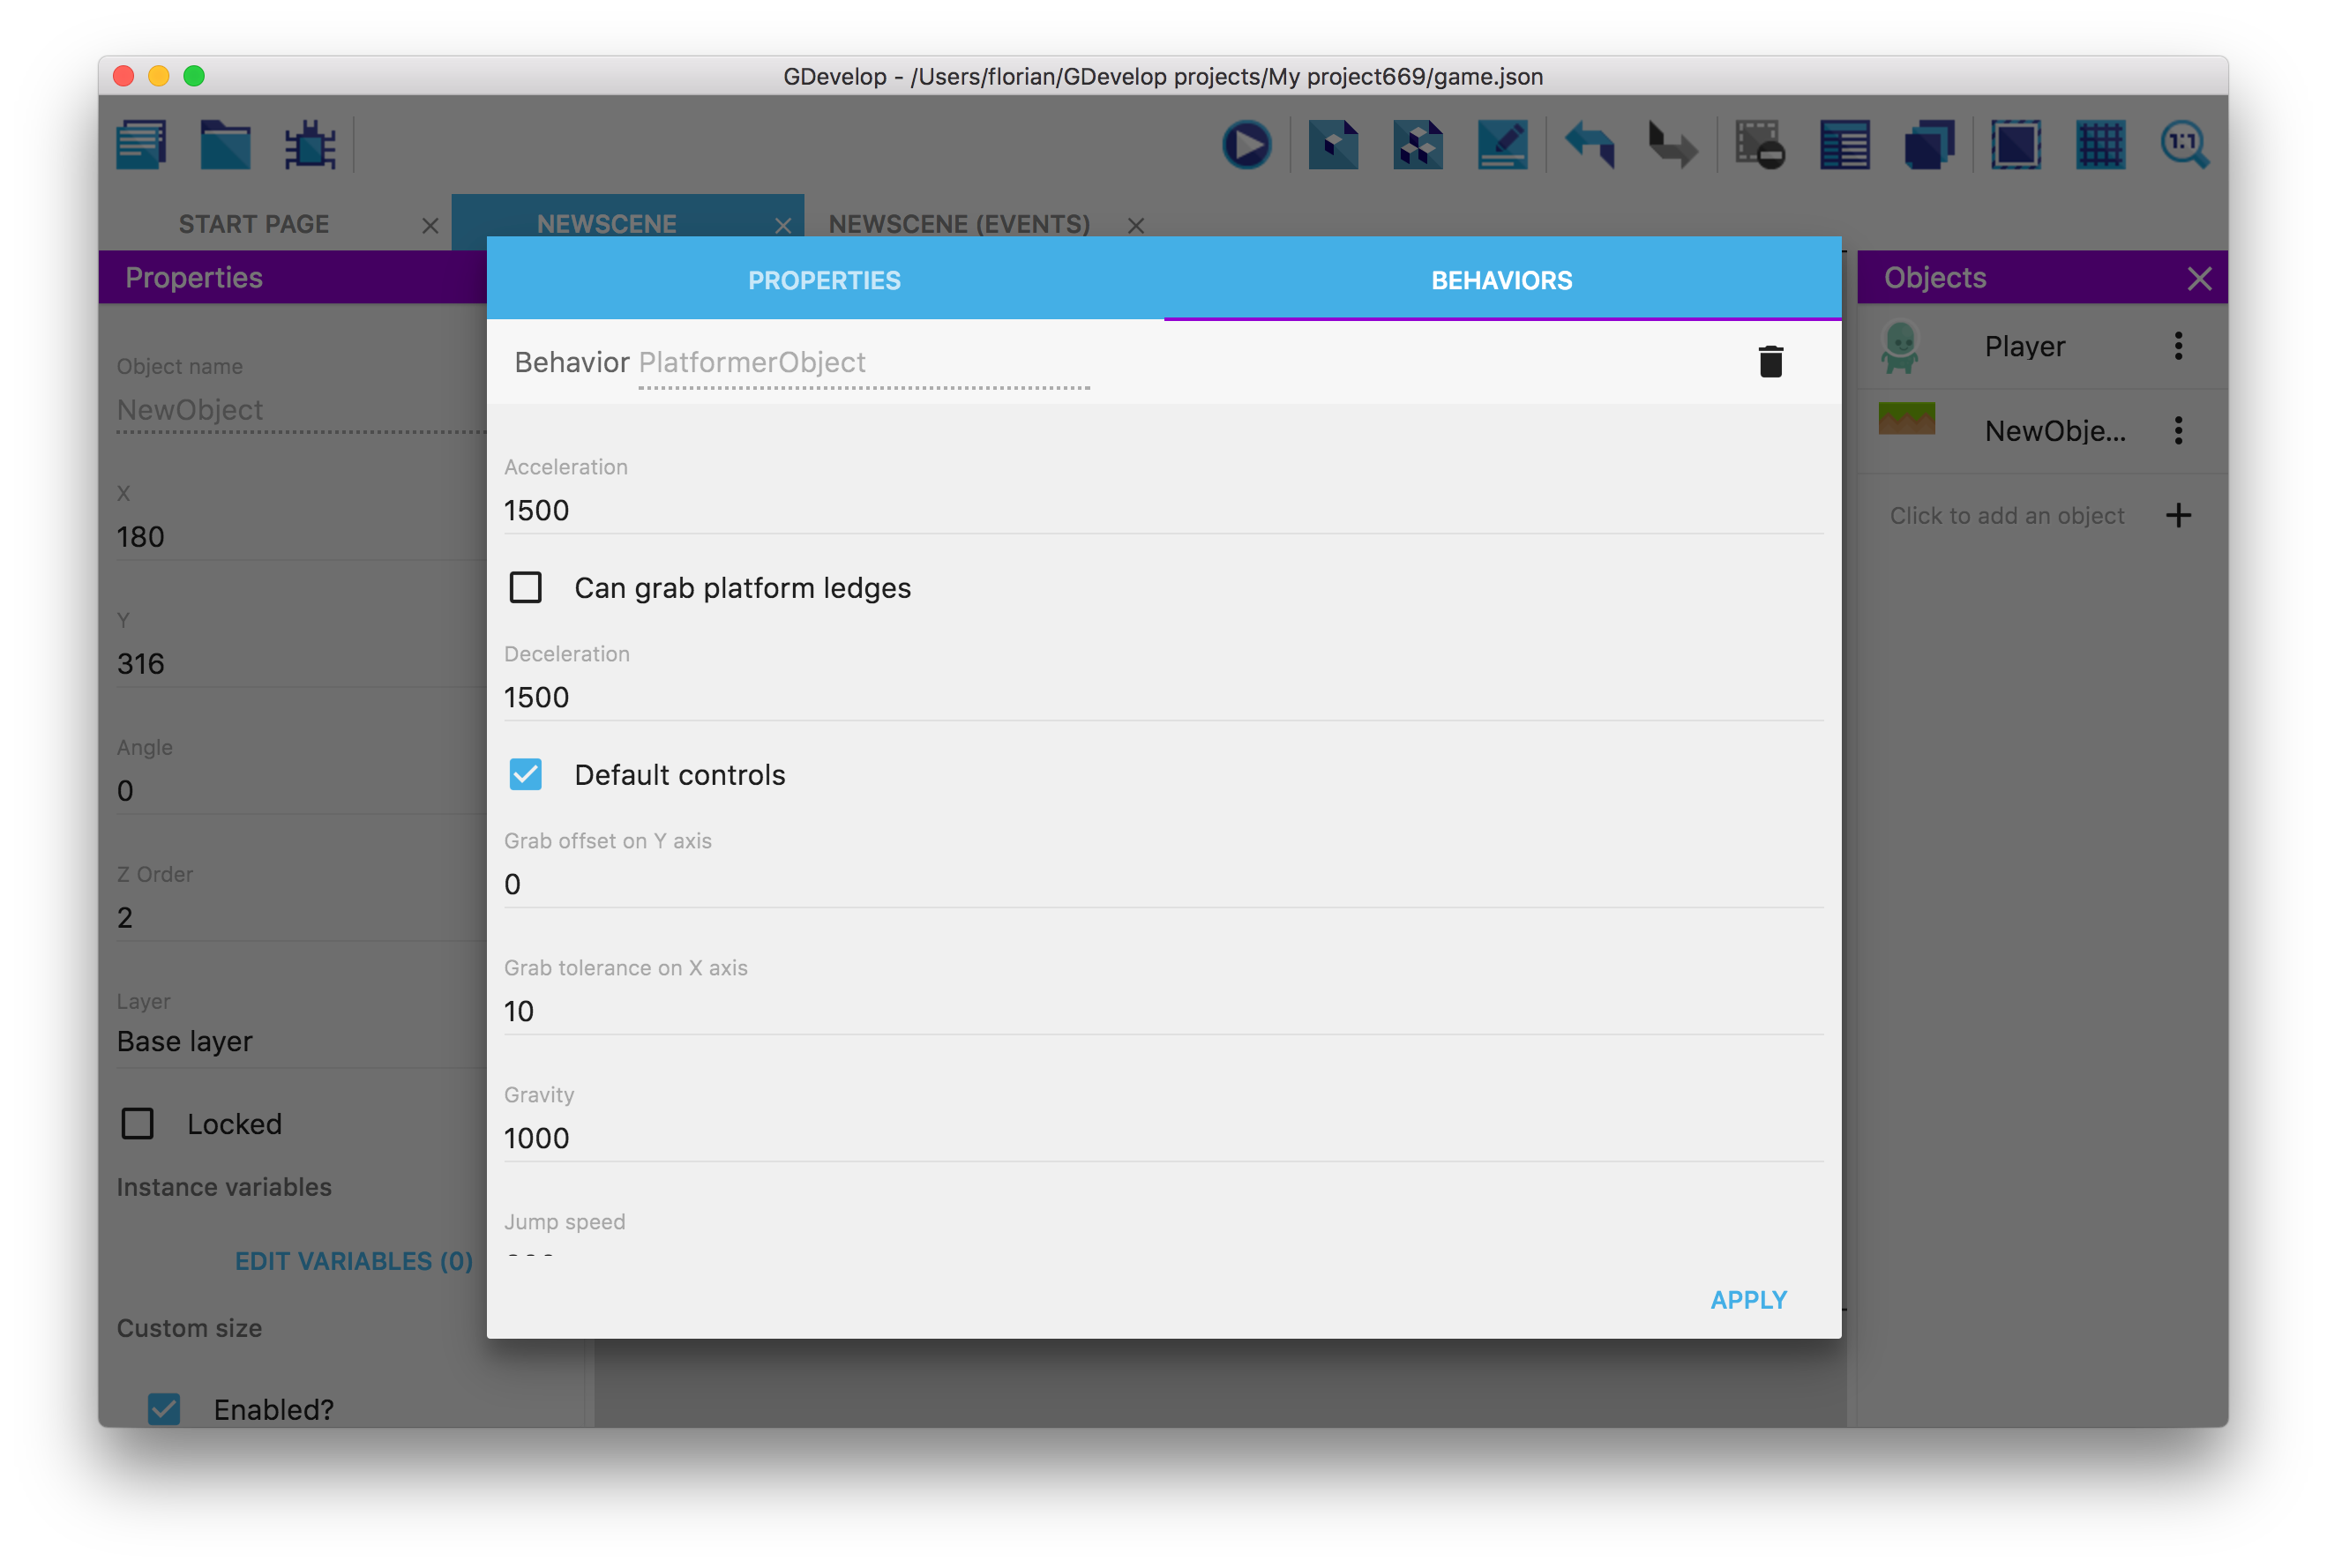
You can change some properties like the jump speed. Set it for example to 800 so that the jump is more powerful.
Platforms
We also need to set objects to be platforms. so the player can walk and jump on them. Otherwise, the player will fall through the object as we didn't tell to our character what to do when they land on it. By setting an object to be a platform, the platformer character will collide with it and be able to walk on it.
To set the GrassPlatform object to be a platform, open the GrassPlatform object editor. Switch to the Behaviors tab, then add a behavior: this time, choose the Platform behavior.

There are also a few options that you can change. For example, the option "Can grab platform ledges" is there to allow the platformer character to grab the edge of the platform. If we enable this option right now, the result will look strange though, as we don't have an animation to be displayed when the character grabs the edge. Let's keep this unchecked.
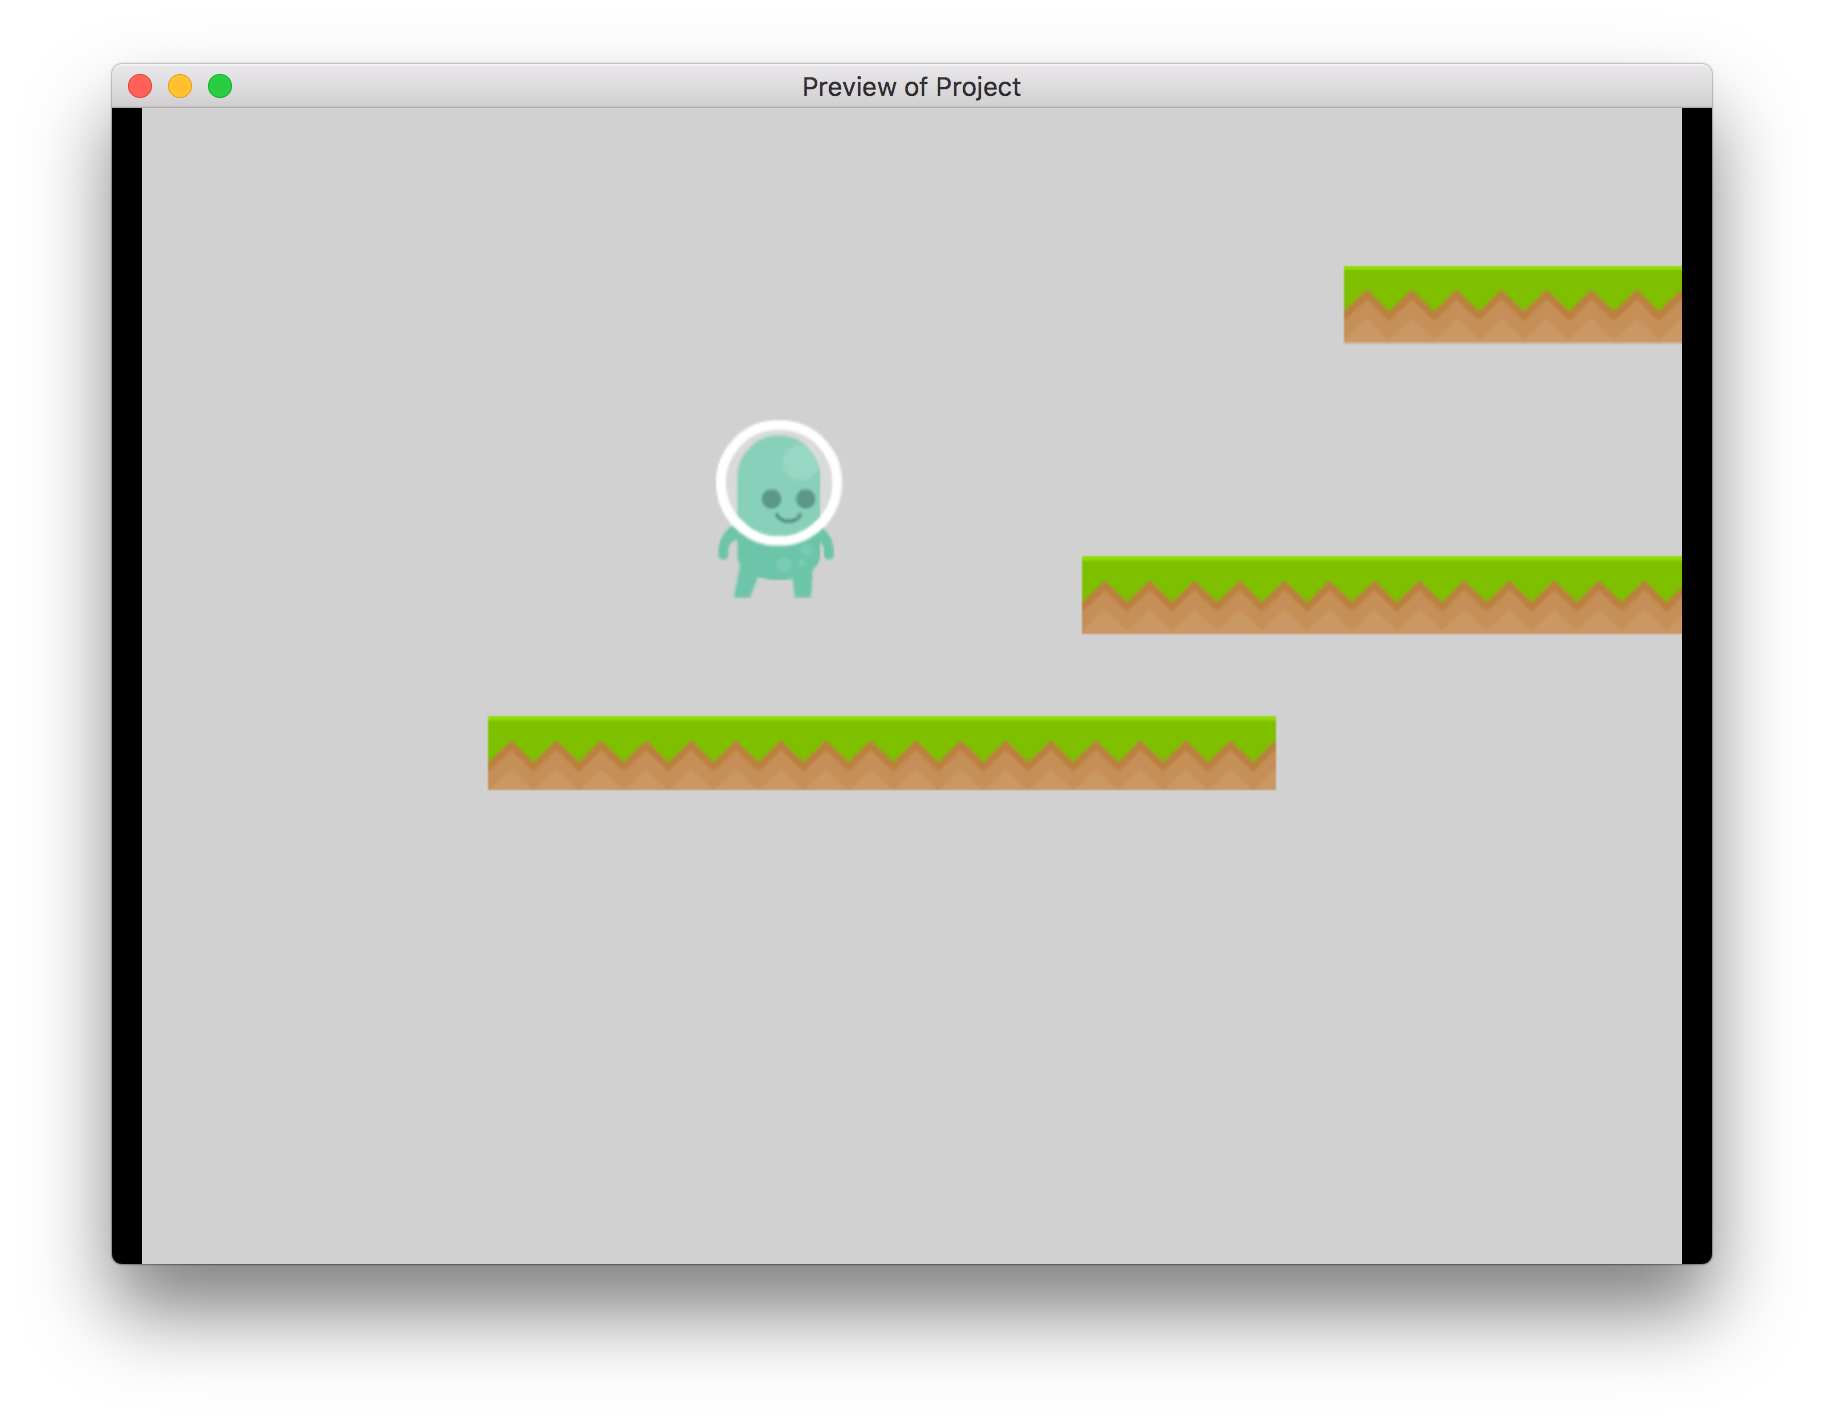
Start a preview
At this point, you should be able to test your game by pressing the "Preview" button at the top of the screen in the toolbar.

When you press the button, a preview is generated and just after, a new window is opened.
You should be able to walk and jump around using the default keys: move the character with the arrows keys, and press Shift or Space to jump! Feel free to add a few other platforms to the scene as we did before. Make sure you added the behaviors to the platforms, to avoid the character falling through.
For now, the object has no animations, we'll add some later.
If the object is not moving, be sure that you've added the proper behaviors.
Change the background color
The grey background is a bit boring. Later we can add an image, but for now, let's keep things simple. In the editor, right click on the grey background and choose "Scene properties":

In the new window that opened, click on Scene background color and select a nice color for the background:

Next step: animate the player
Our game is very basic at the moment, the player is not animated when jumping or running. The next part of the tutorial will show how to add different animations and how to use events to change the animations when the state of the player is changing.
➡️ Read the next part of the tutorial here!