Space Shooter
Series
You are reading Part 1 of the Space Shooter Tutorial.
- Create the Player
- Move the Player
- Shoot and Health
- Background and Camera
- Enemies
- Enemy Mechanics
- Meteors
- Powerups
- User Interface (UI)
- Sound Effects & Music
- Visual Effects
- Levels
- Main Menu & The End
This tutorial will help you to begin to use GDevelop. You will create a simple space shooter game where the player controls a spaceship and shoots enemies, and avoids meteors in space. Note that you can read the Getting Started page to get an overview of the software: it explains the main concepts and describes the interface of GDevelop.
Create a new game
Click on Create a new project on the start page.
In the next window, choose a folder for your project and select Empty project to start a new game from scratch.
![]()
Create the first scene
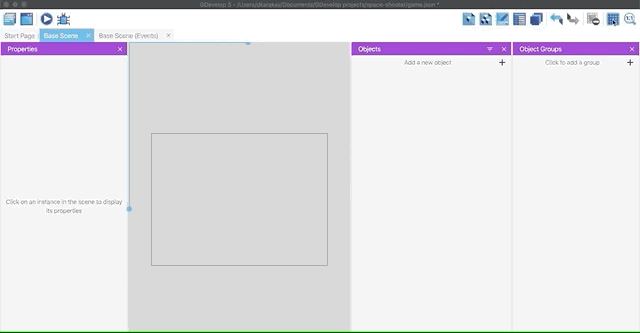
We will create a new scene to put your objects and set up your game.
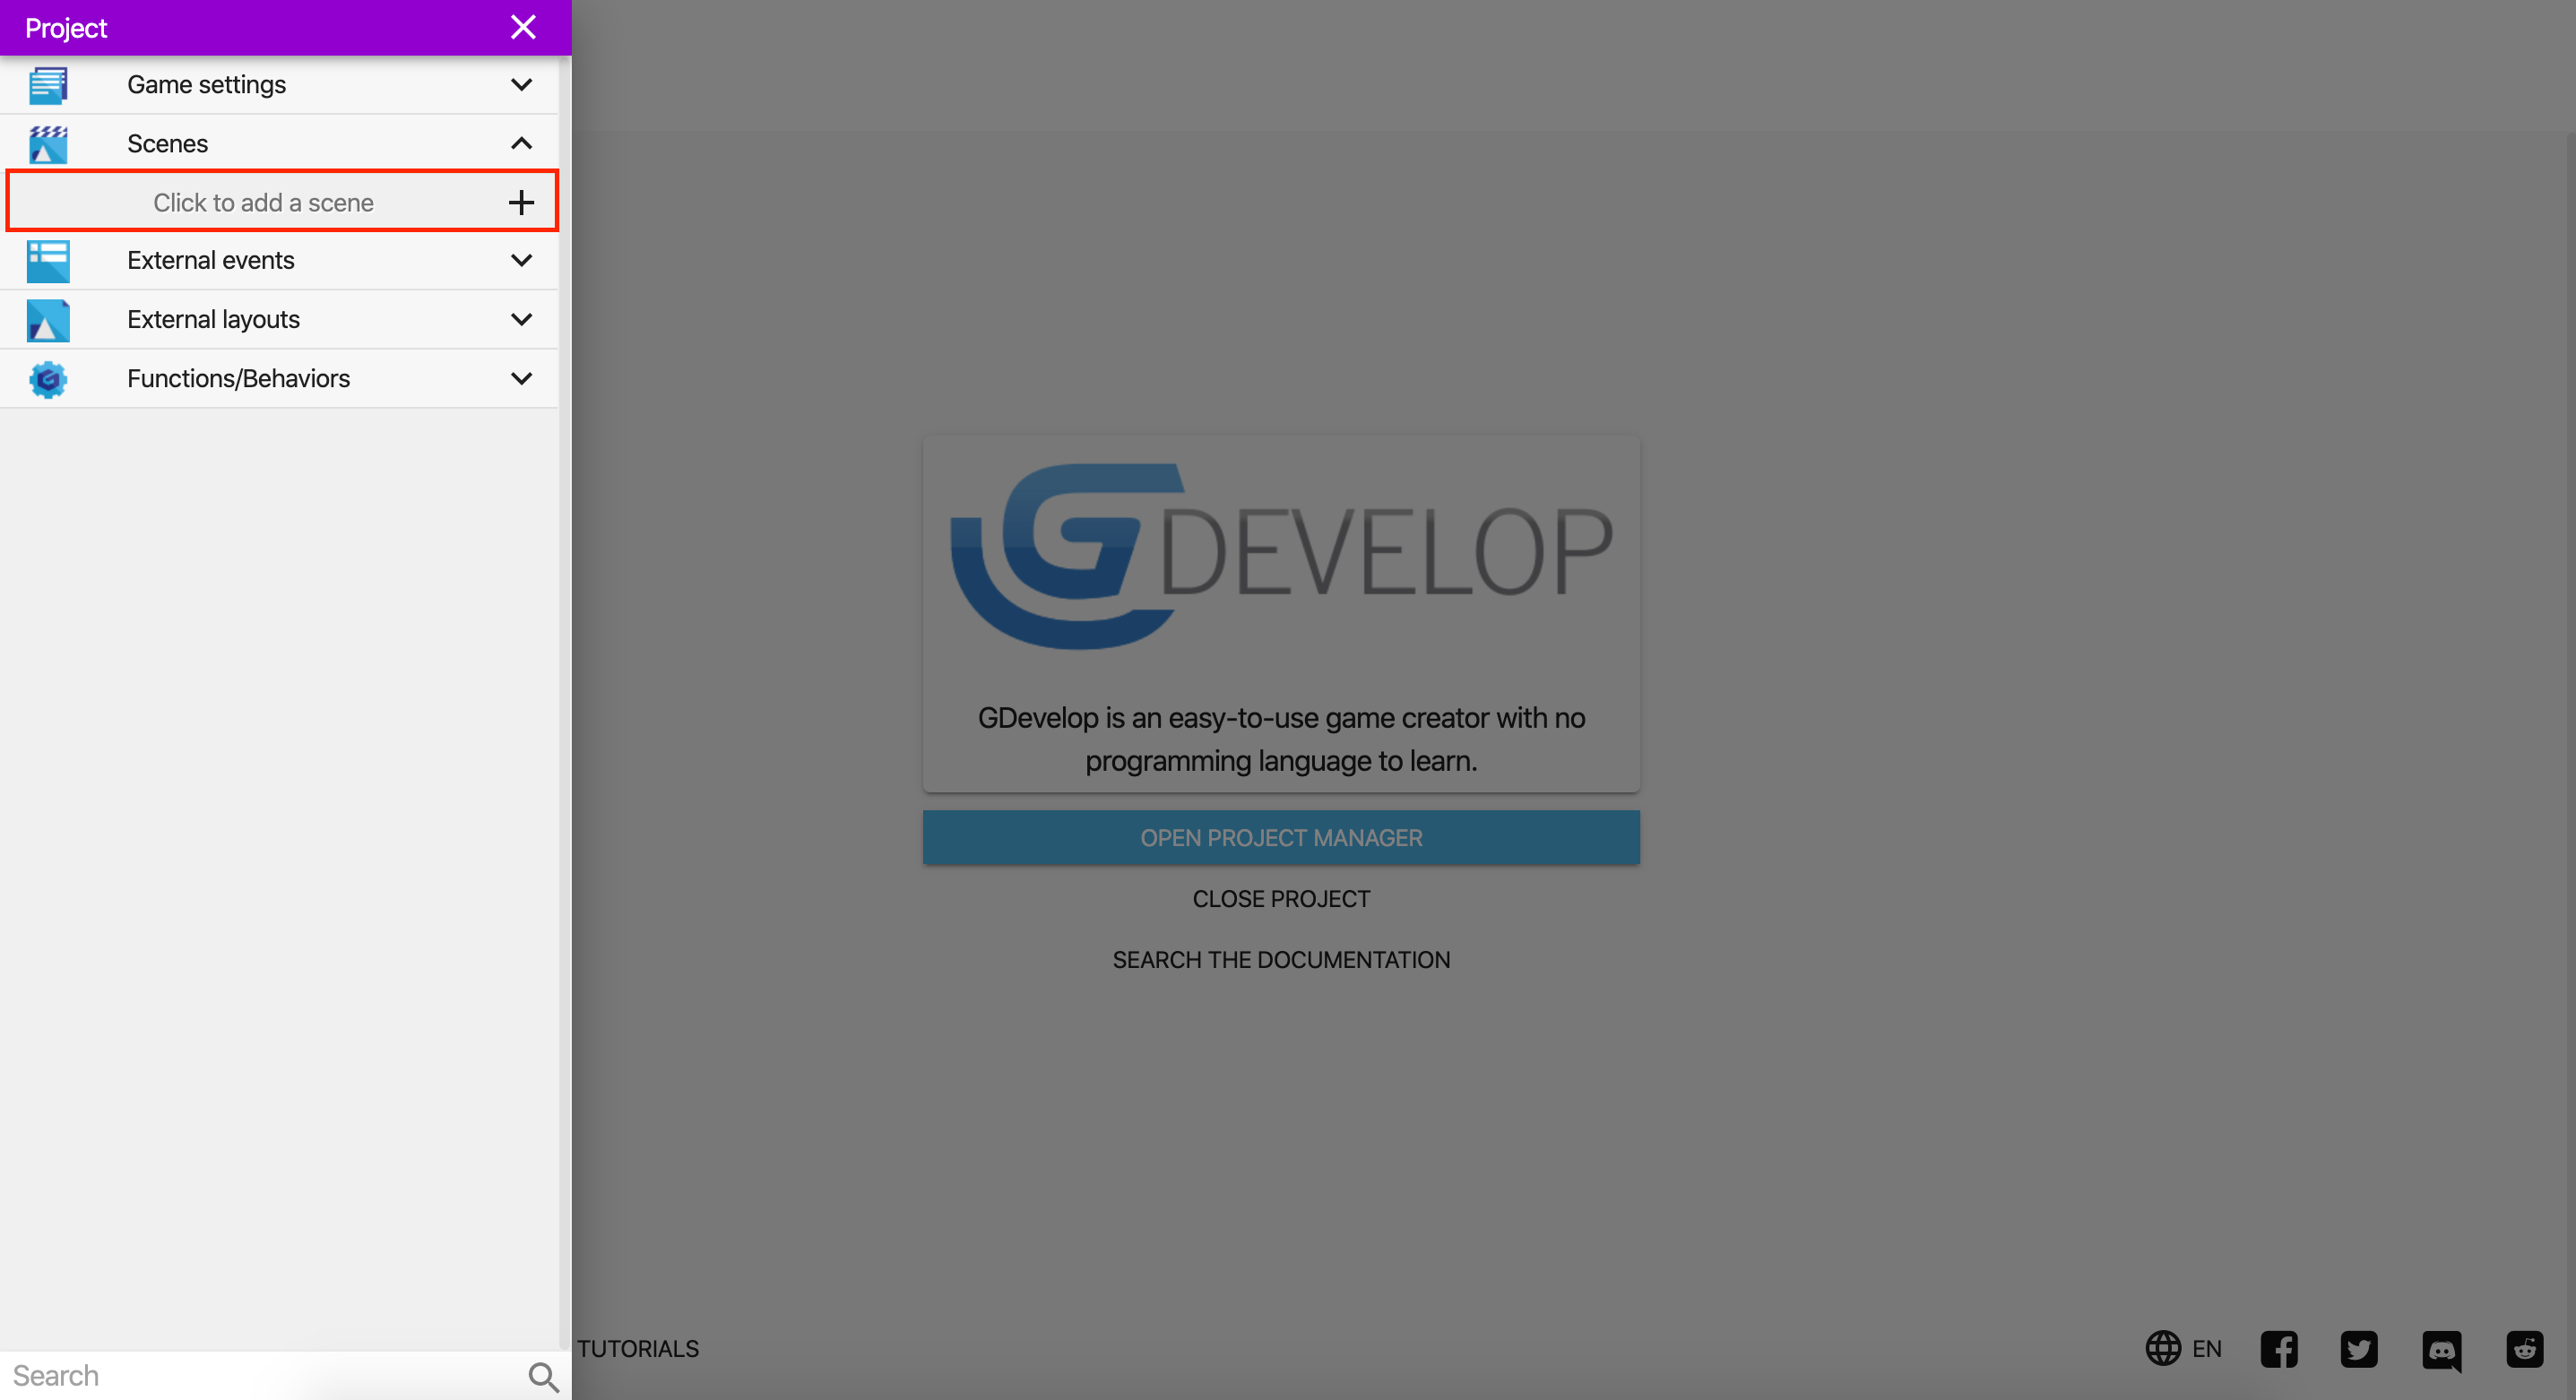
To add a scene, you should select the Scenes section on the left panel and a Click to add a scene button.
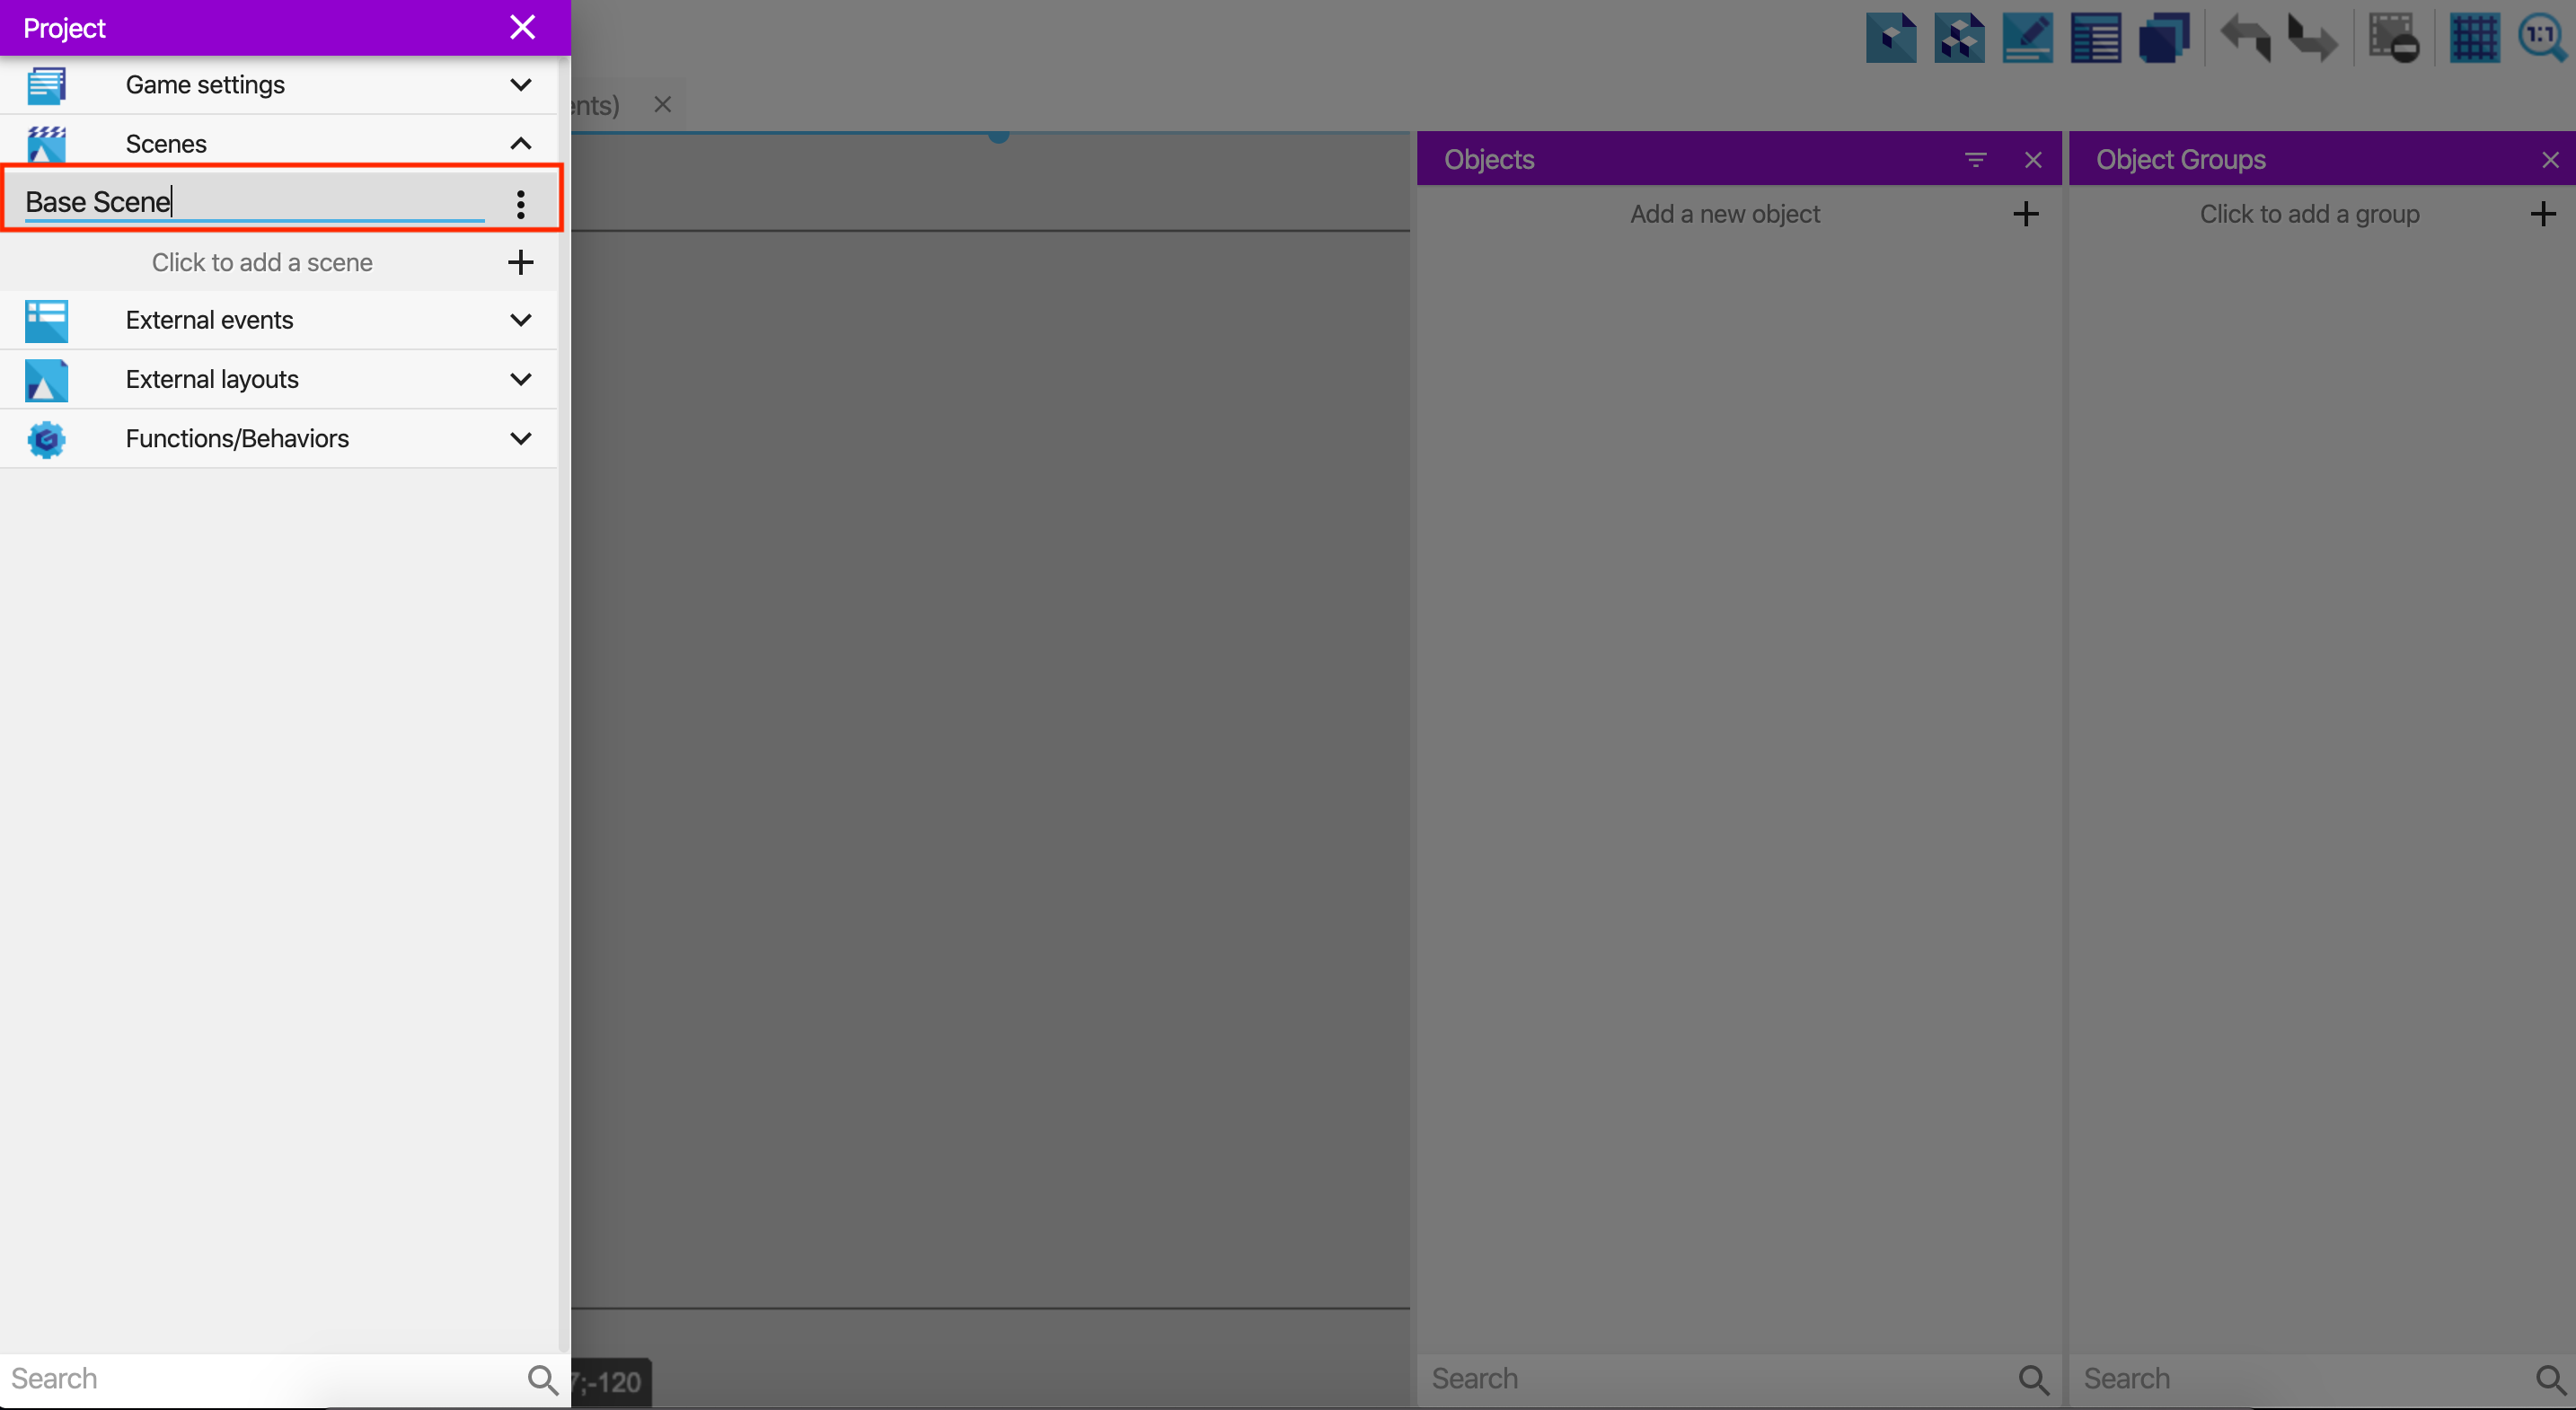
You can rename your scene by right-clicking and selecting Edit. We will call this scene a Base Scene. Then, we will add levels in the incoming sections. This is going to be the base scene for our levels.
Setting the size of the game
To edit game settings, we will select Game Settings on the left panel. After the new menu appears, we will choose Properties to open the game settings window. We will change the project name to anything you like, in this case, Space Shooter. Then, replace the game resolution width with 900 and height with 500 since our game will be a horizontally scrolling space shooter.
Enabling Grids
We will show grids to prepare our scene better and easier. Hence, click the toggle button on the upper right corner, then select Show Grid. Now you can see the grid lines on the scene view. We will change cells' widths and heights with 16 by selecting the Setup Grid from the previous menu.
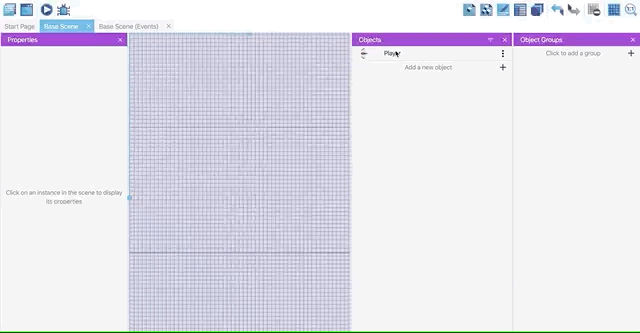
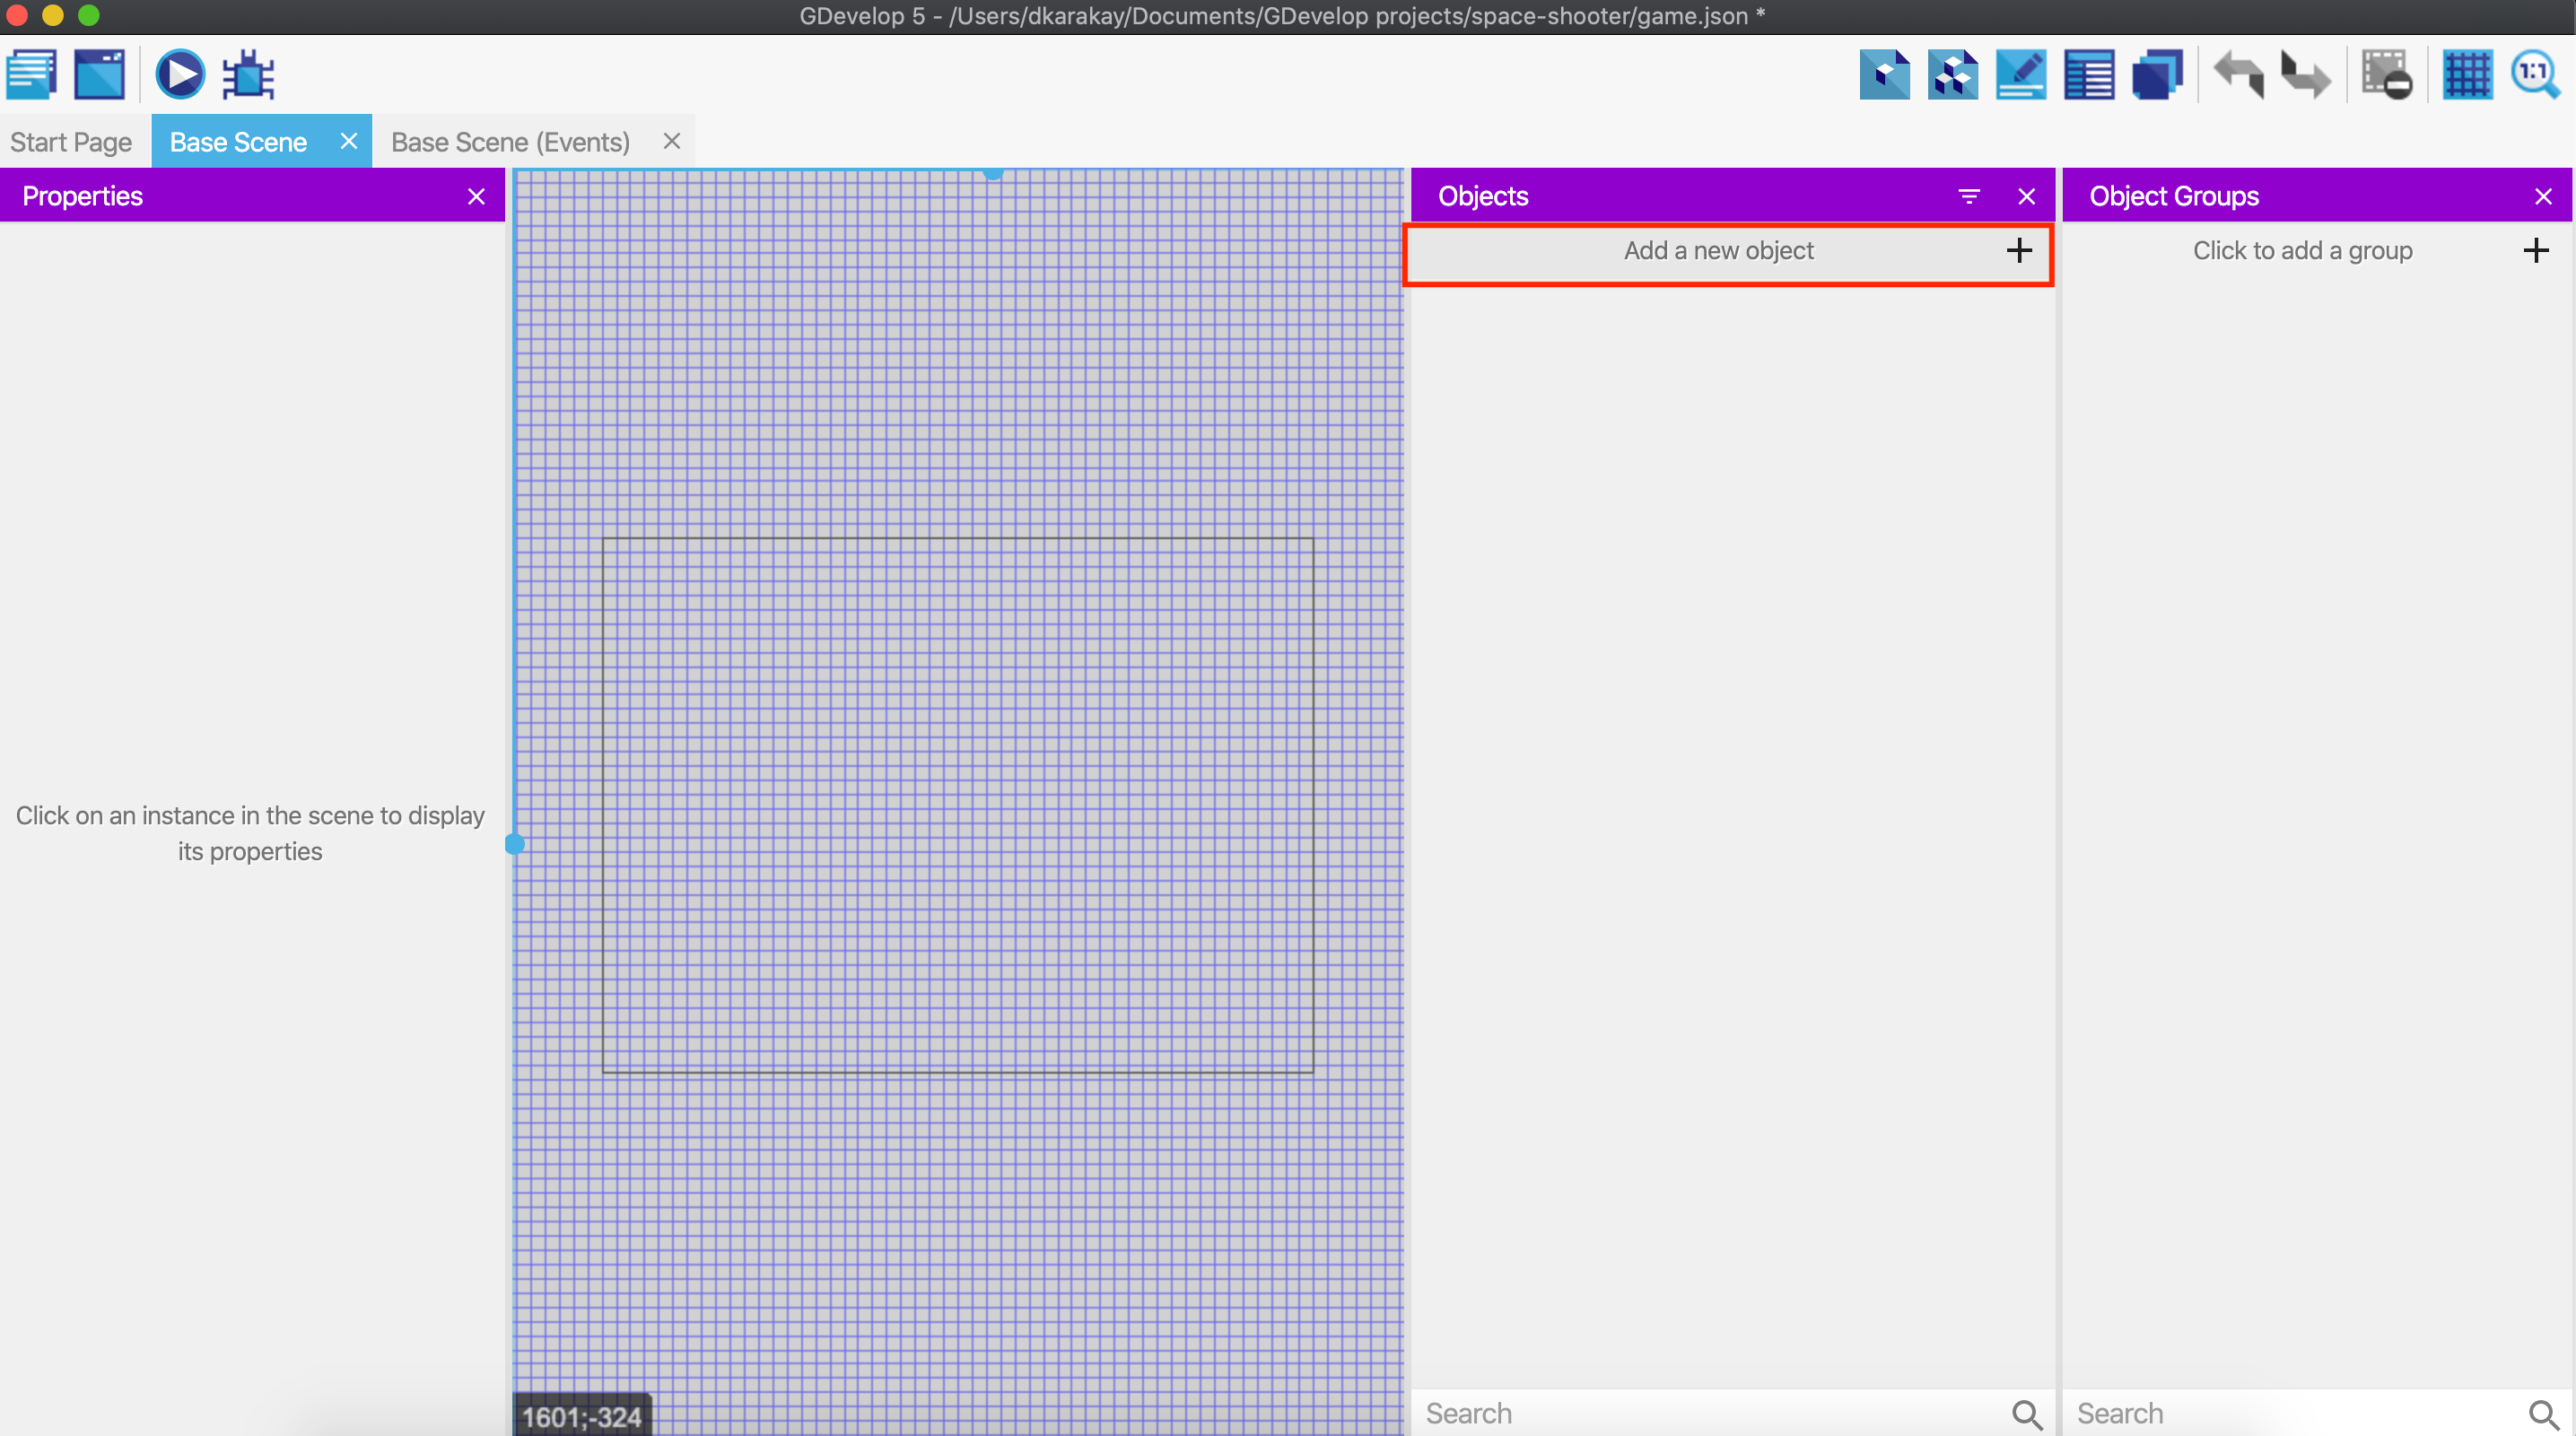
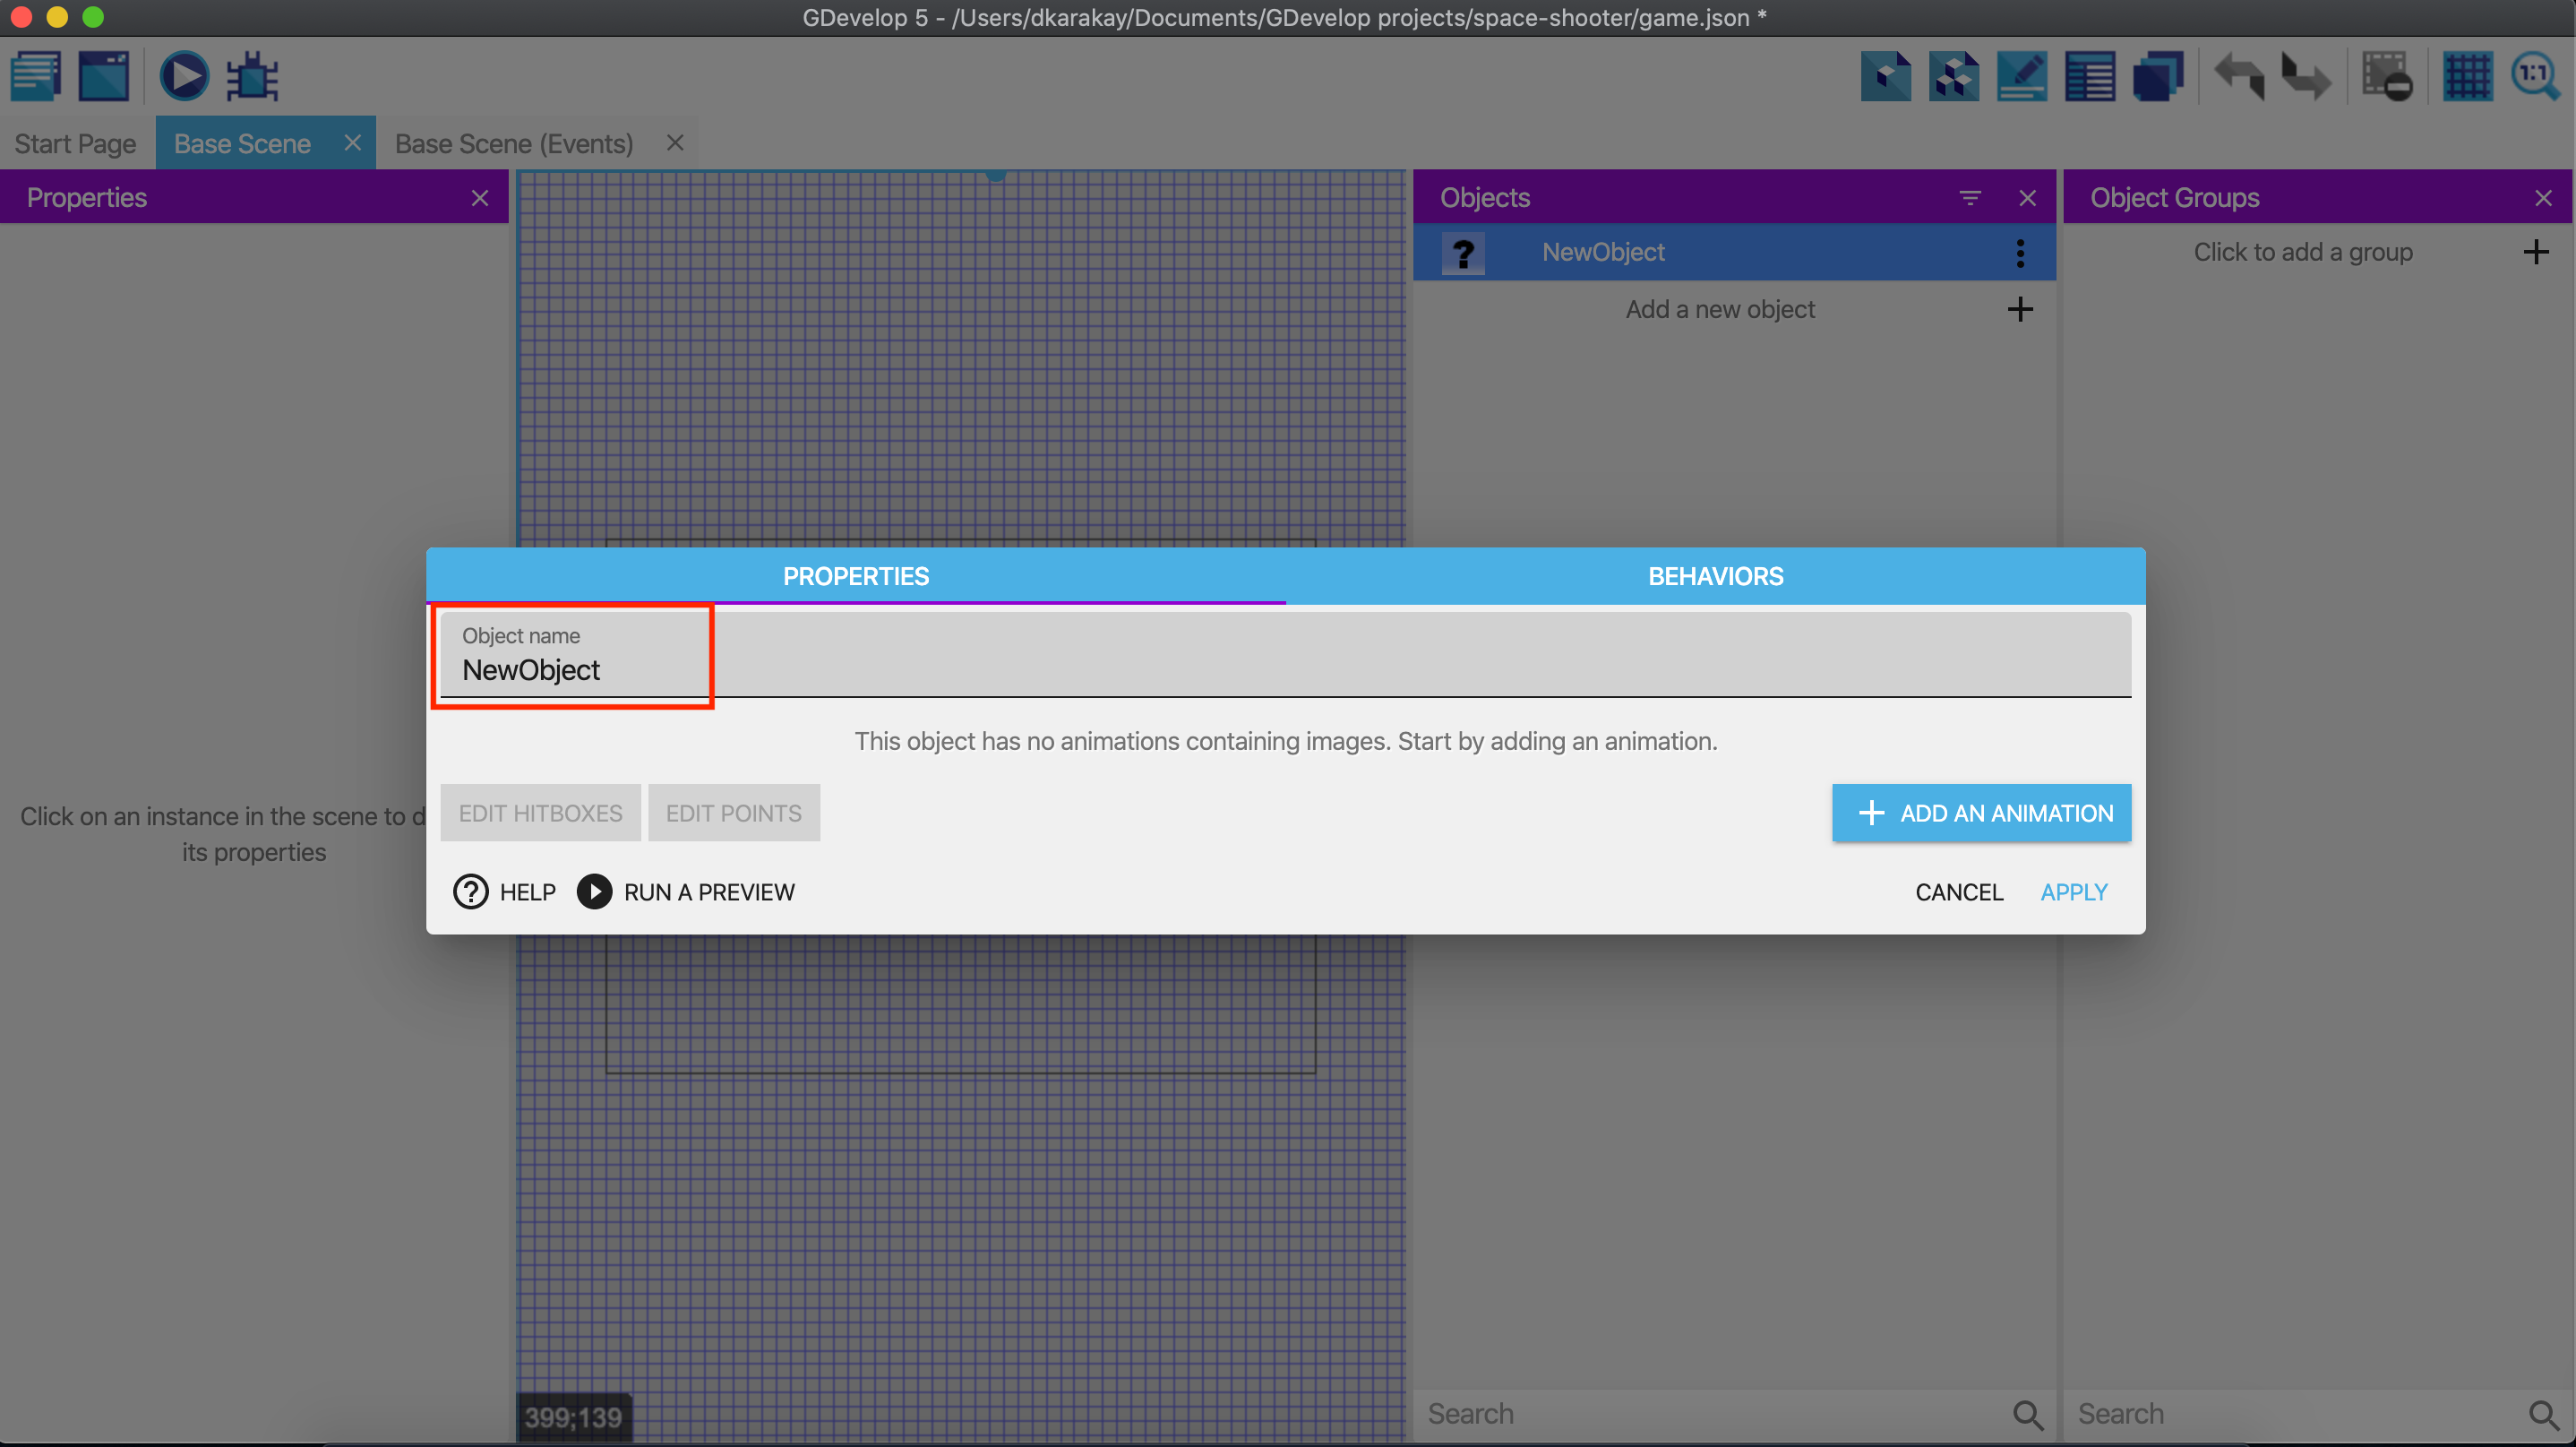
Adding the player
We are ready to add our player (space ship). After downloading the assets from here, we will click the "Add a new object" button.
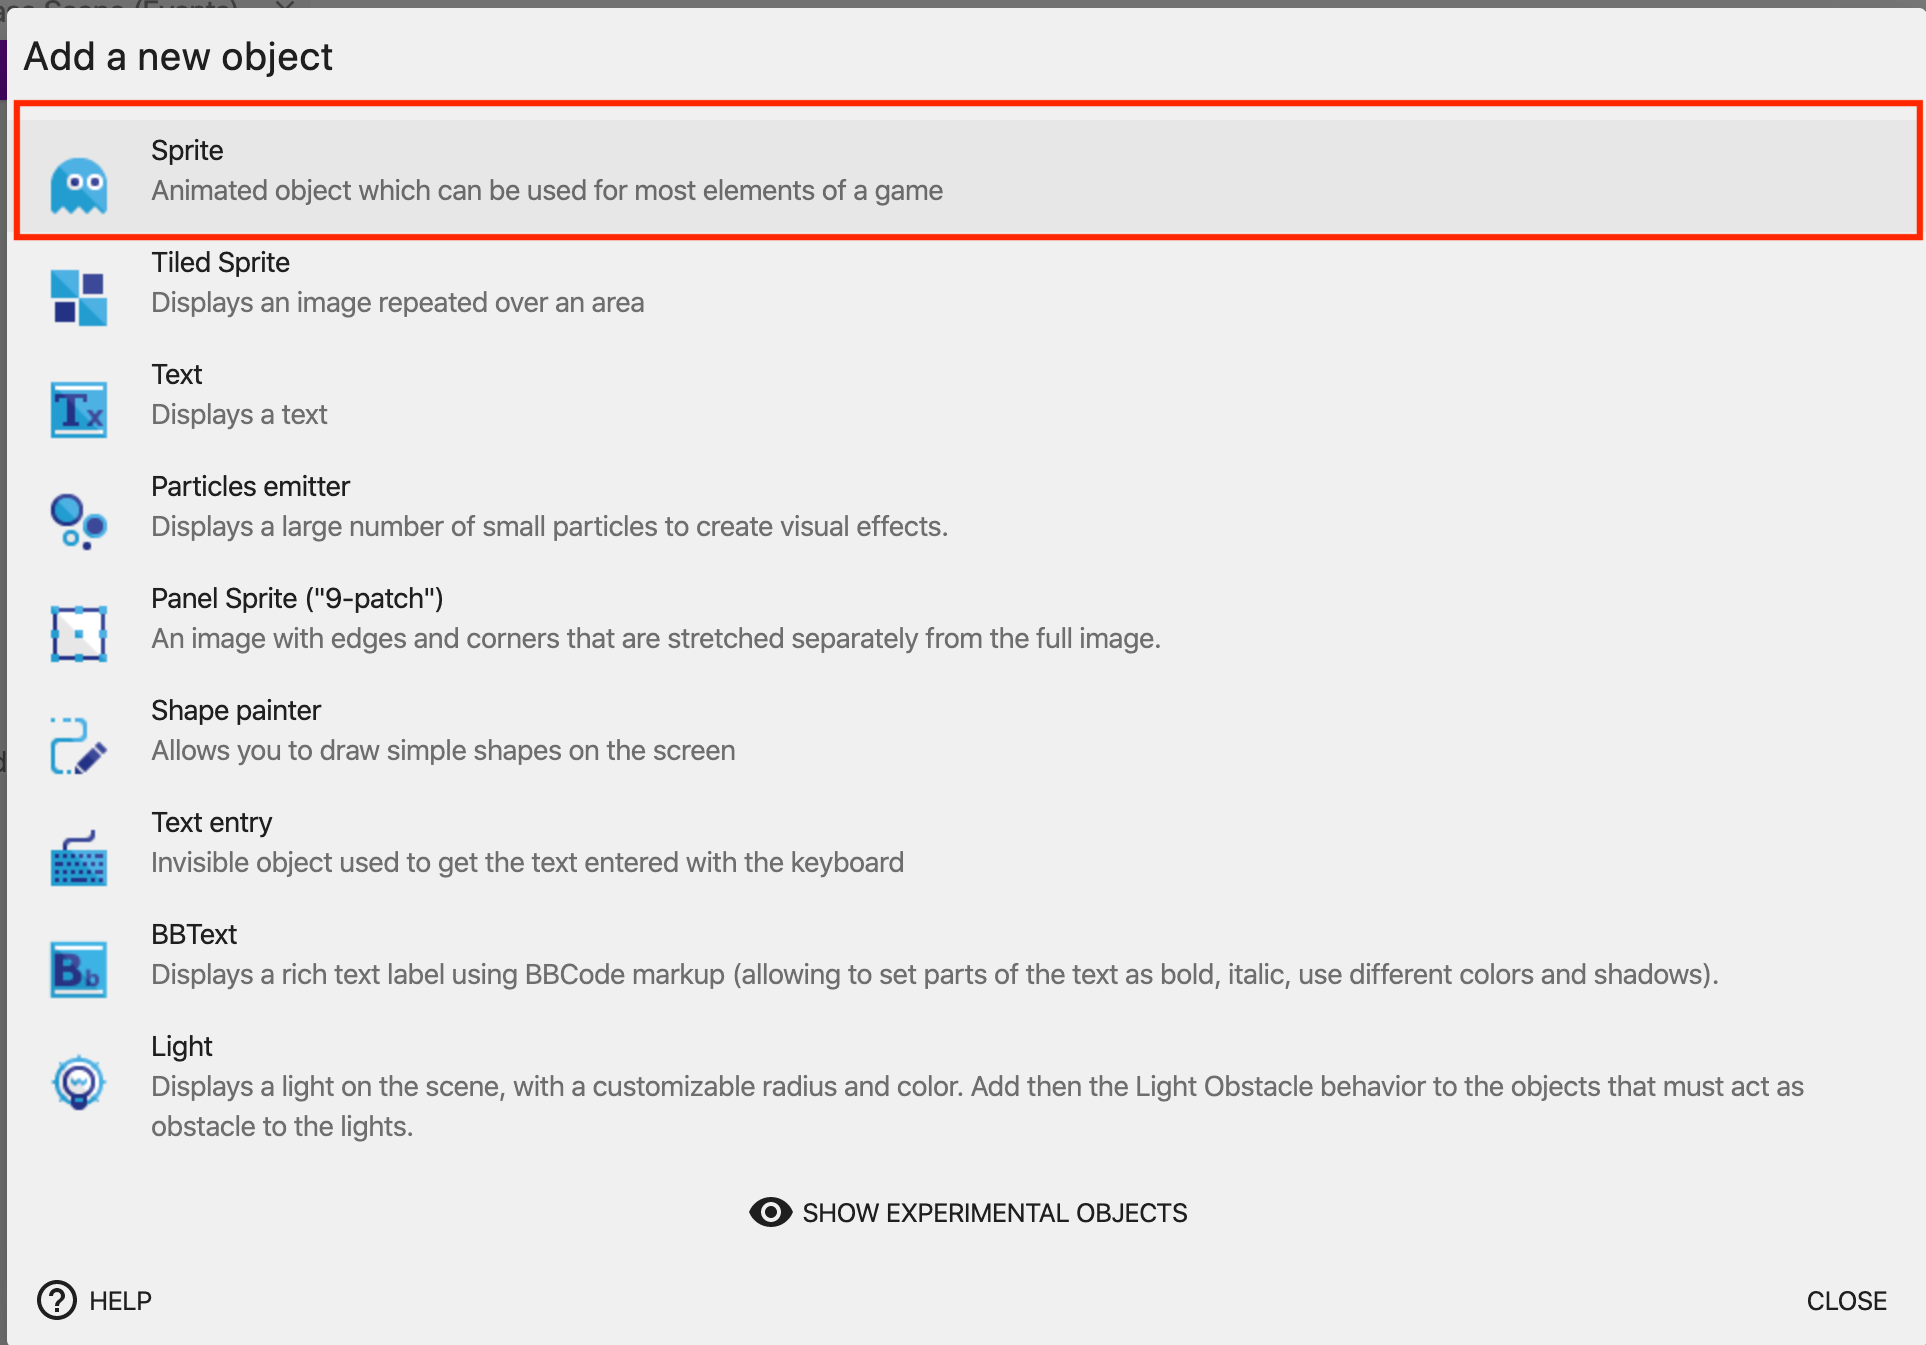
This is a menu for choosing the types of objects. We usually add Sprites as an object. Sprites allow us to add images. However, we will use different types of objects in the following parts. Now, select Sprite.
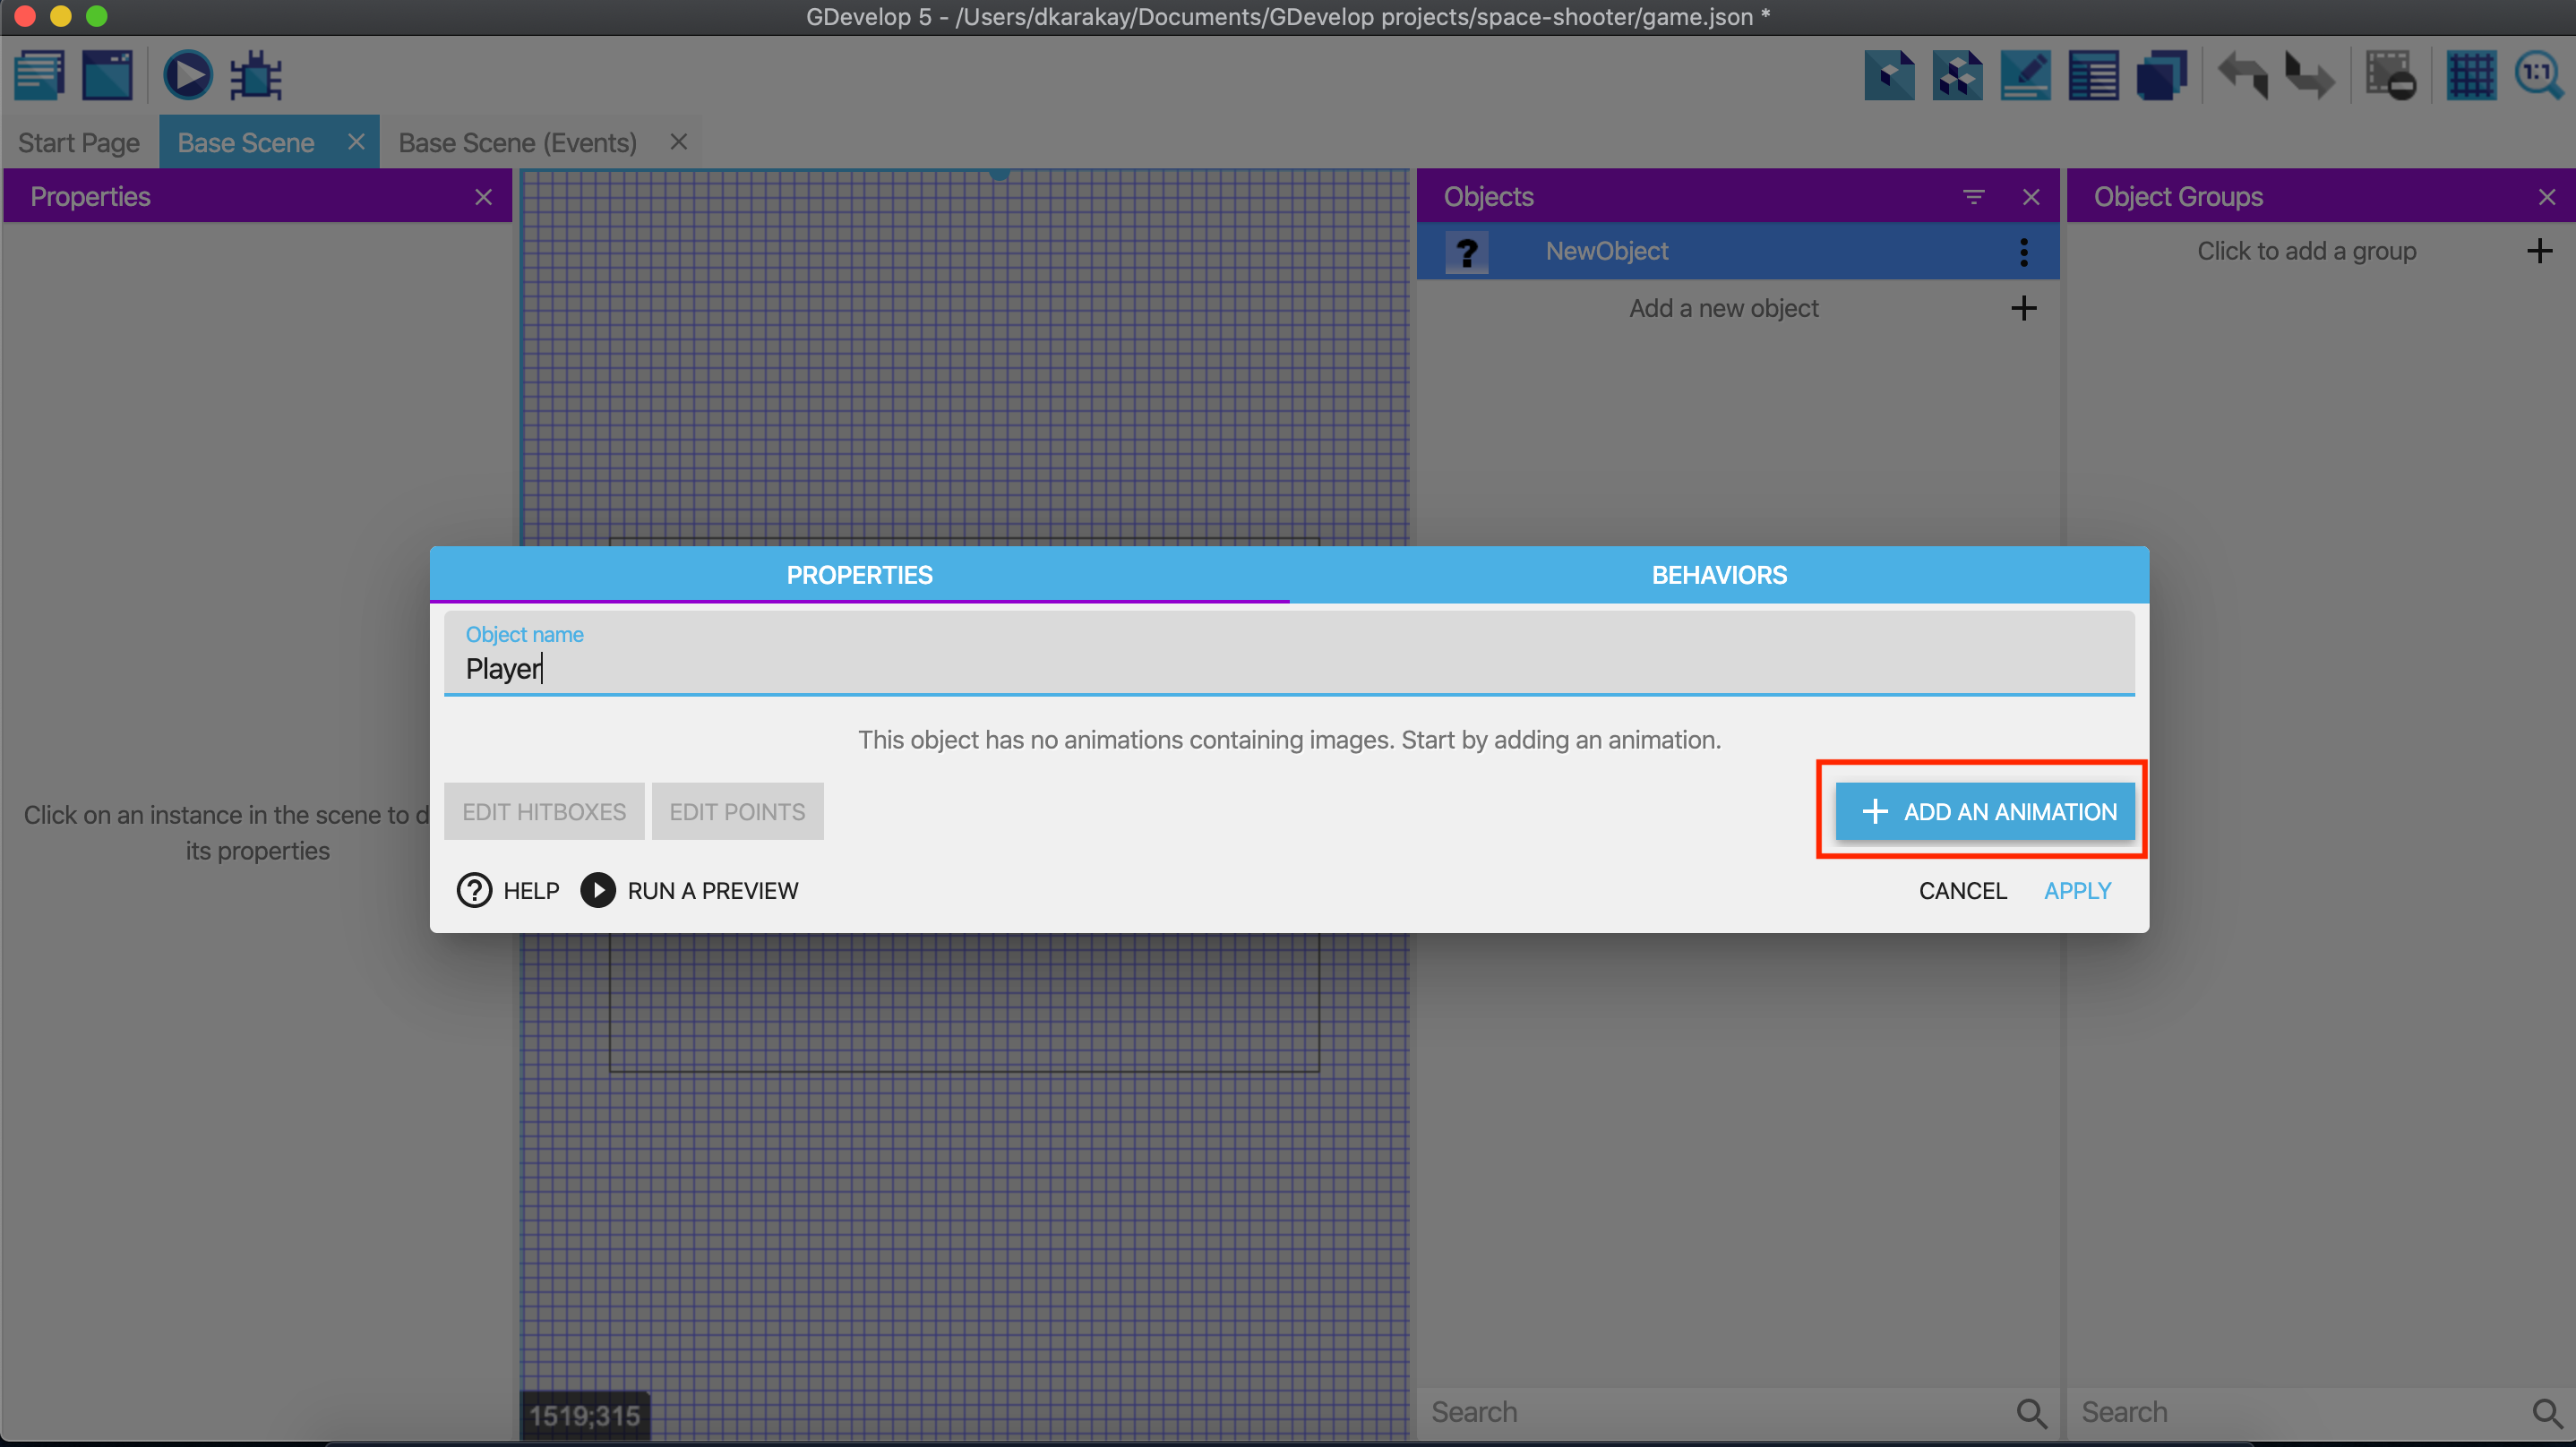
We will change the name of the object to Player.
Click on Add an animation.
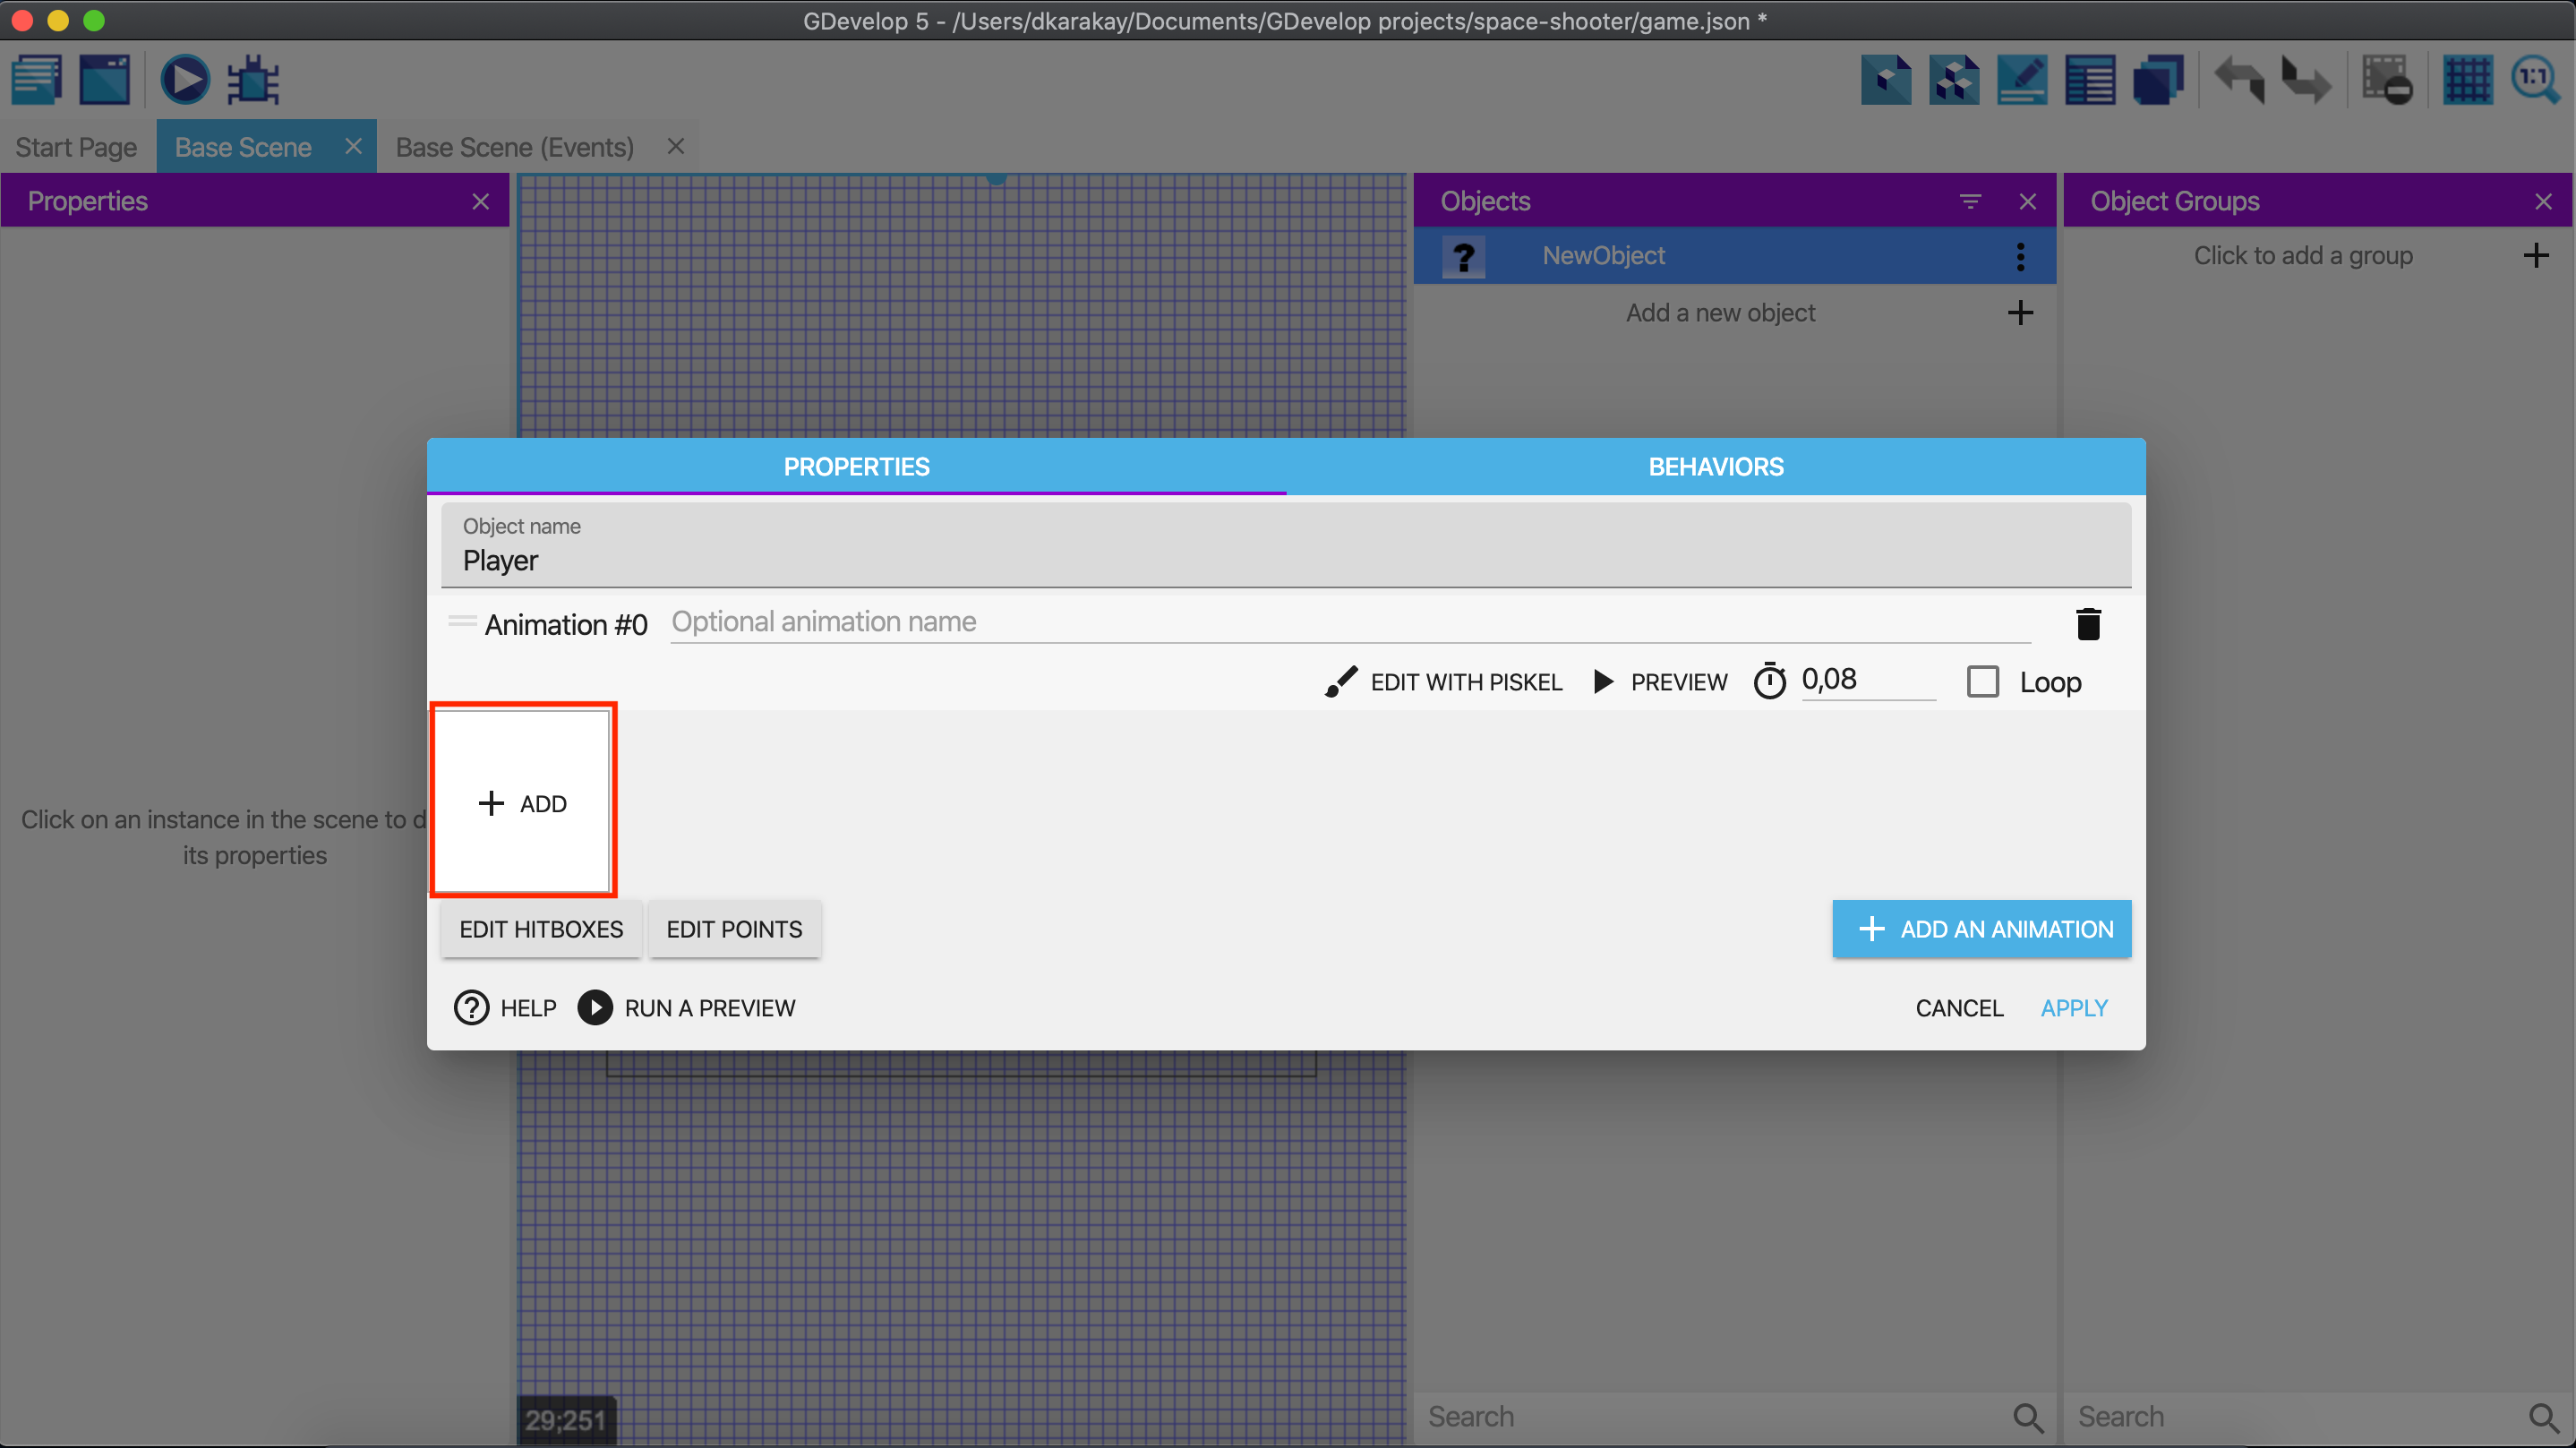
Click on Add to add an image for our object.
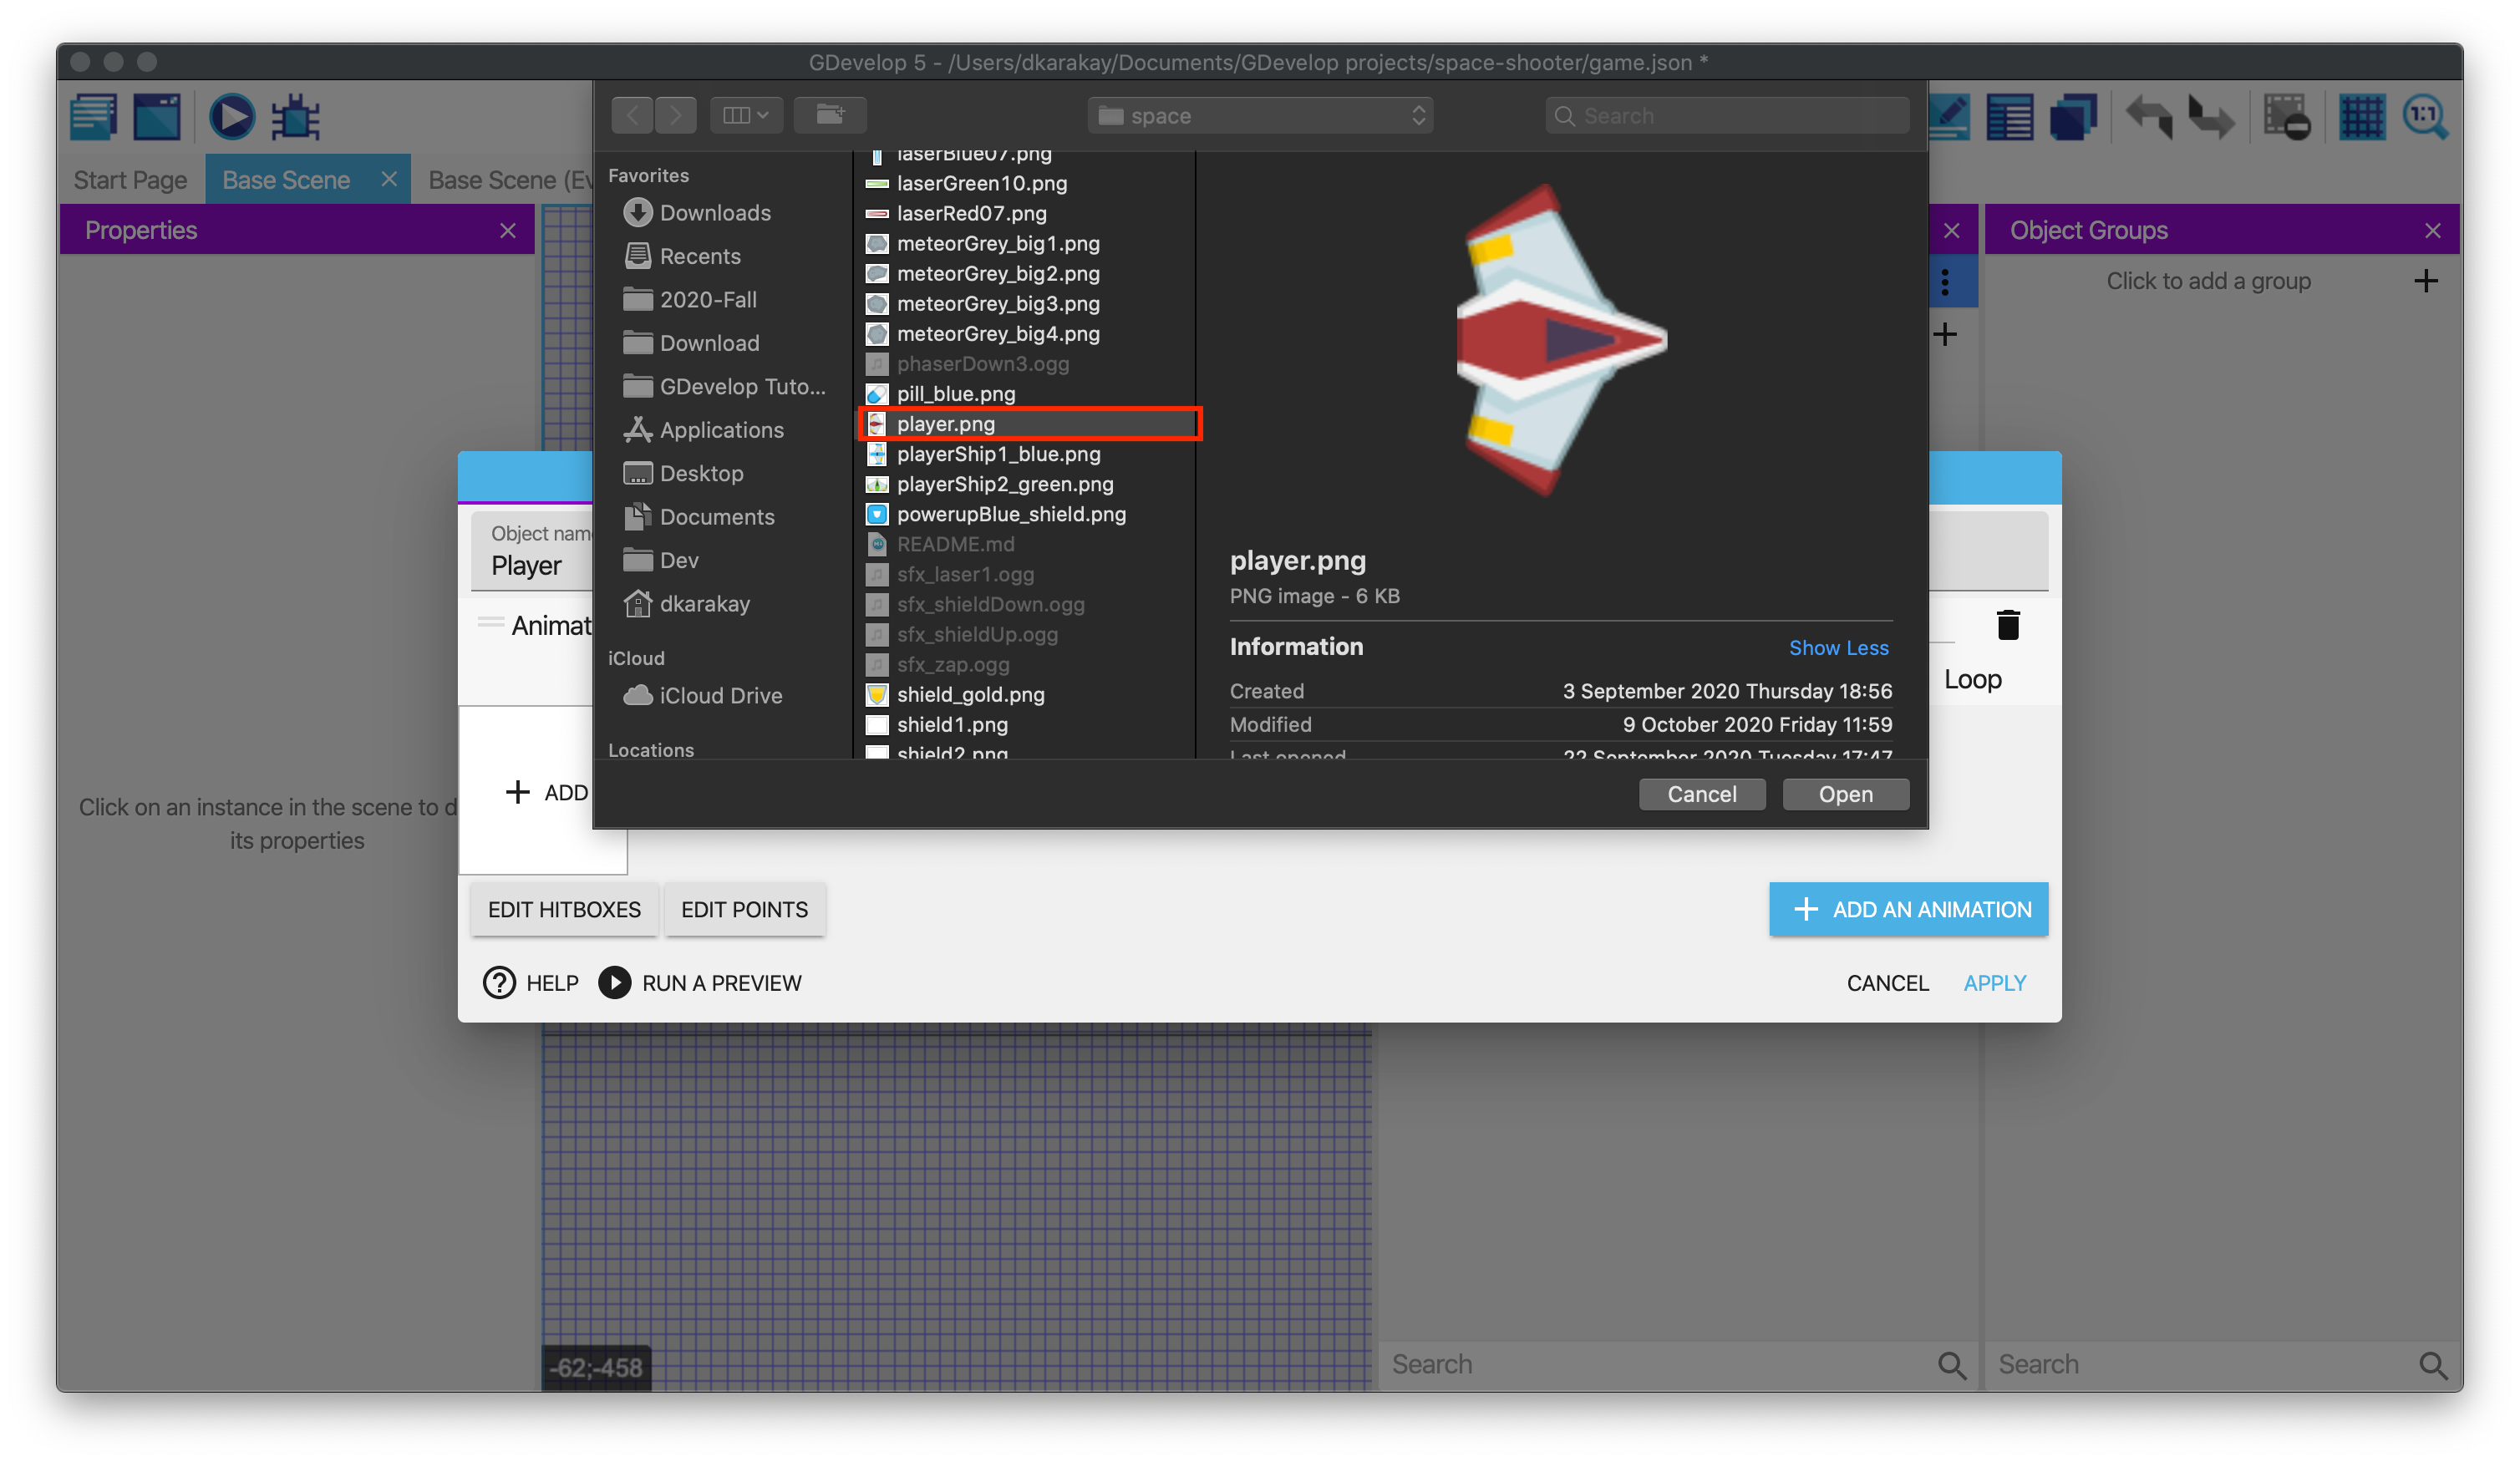
We will select our player image. Select player.png in the downloaded assets folder. Then, click Apply.
Now, you can drag and drop the Player object whenever you want! We will add basic controls to the player in the next chapter!