12. Levels
Series
You are reading Part 12 of the Space Shooter Tutorial.
- Space Shooter, Part 1
- Space Shooter, Part 2
- Space Shooter, Part 3
- Space Shooter, Part 4
- Space Shooter, Part 5
- Space Shooter, Part 6
- Space Shooter, Part 7
- Space Shooter, Part 8
- Space Shooter, Part 9
- Space Shooter, Part 10
- Space Shooter, Part 11
- Space Shooter, Part 12
- Space Shooter, Part 13
Tip
In this chapter, we will learn how to design different levels and use them.
Finishing the levels
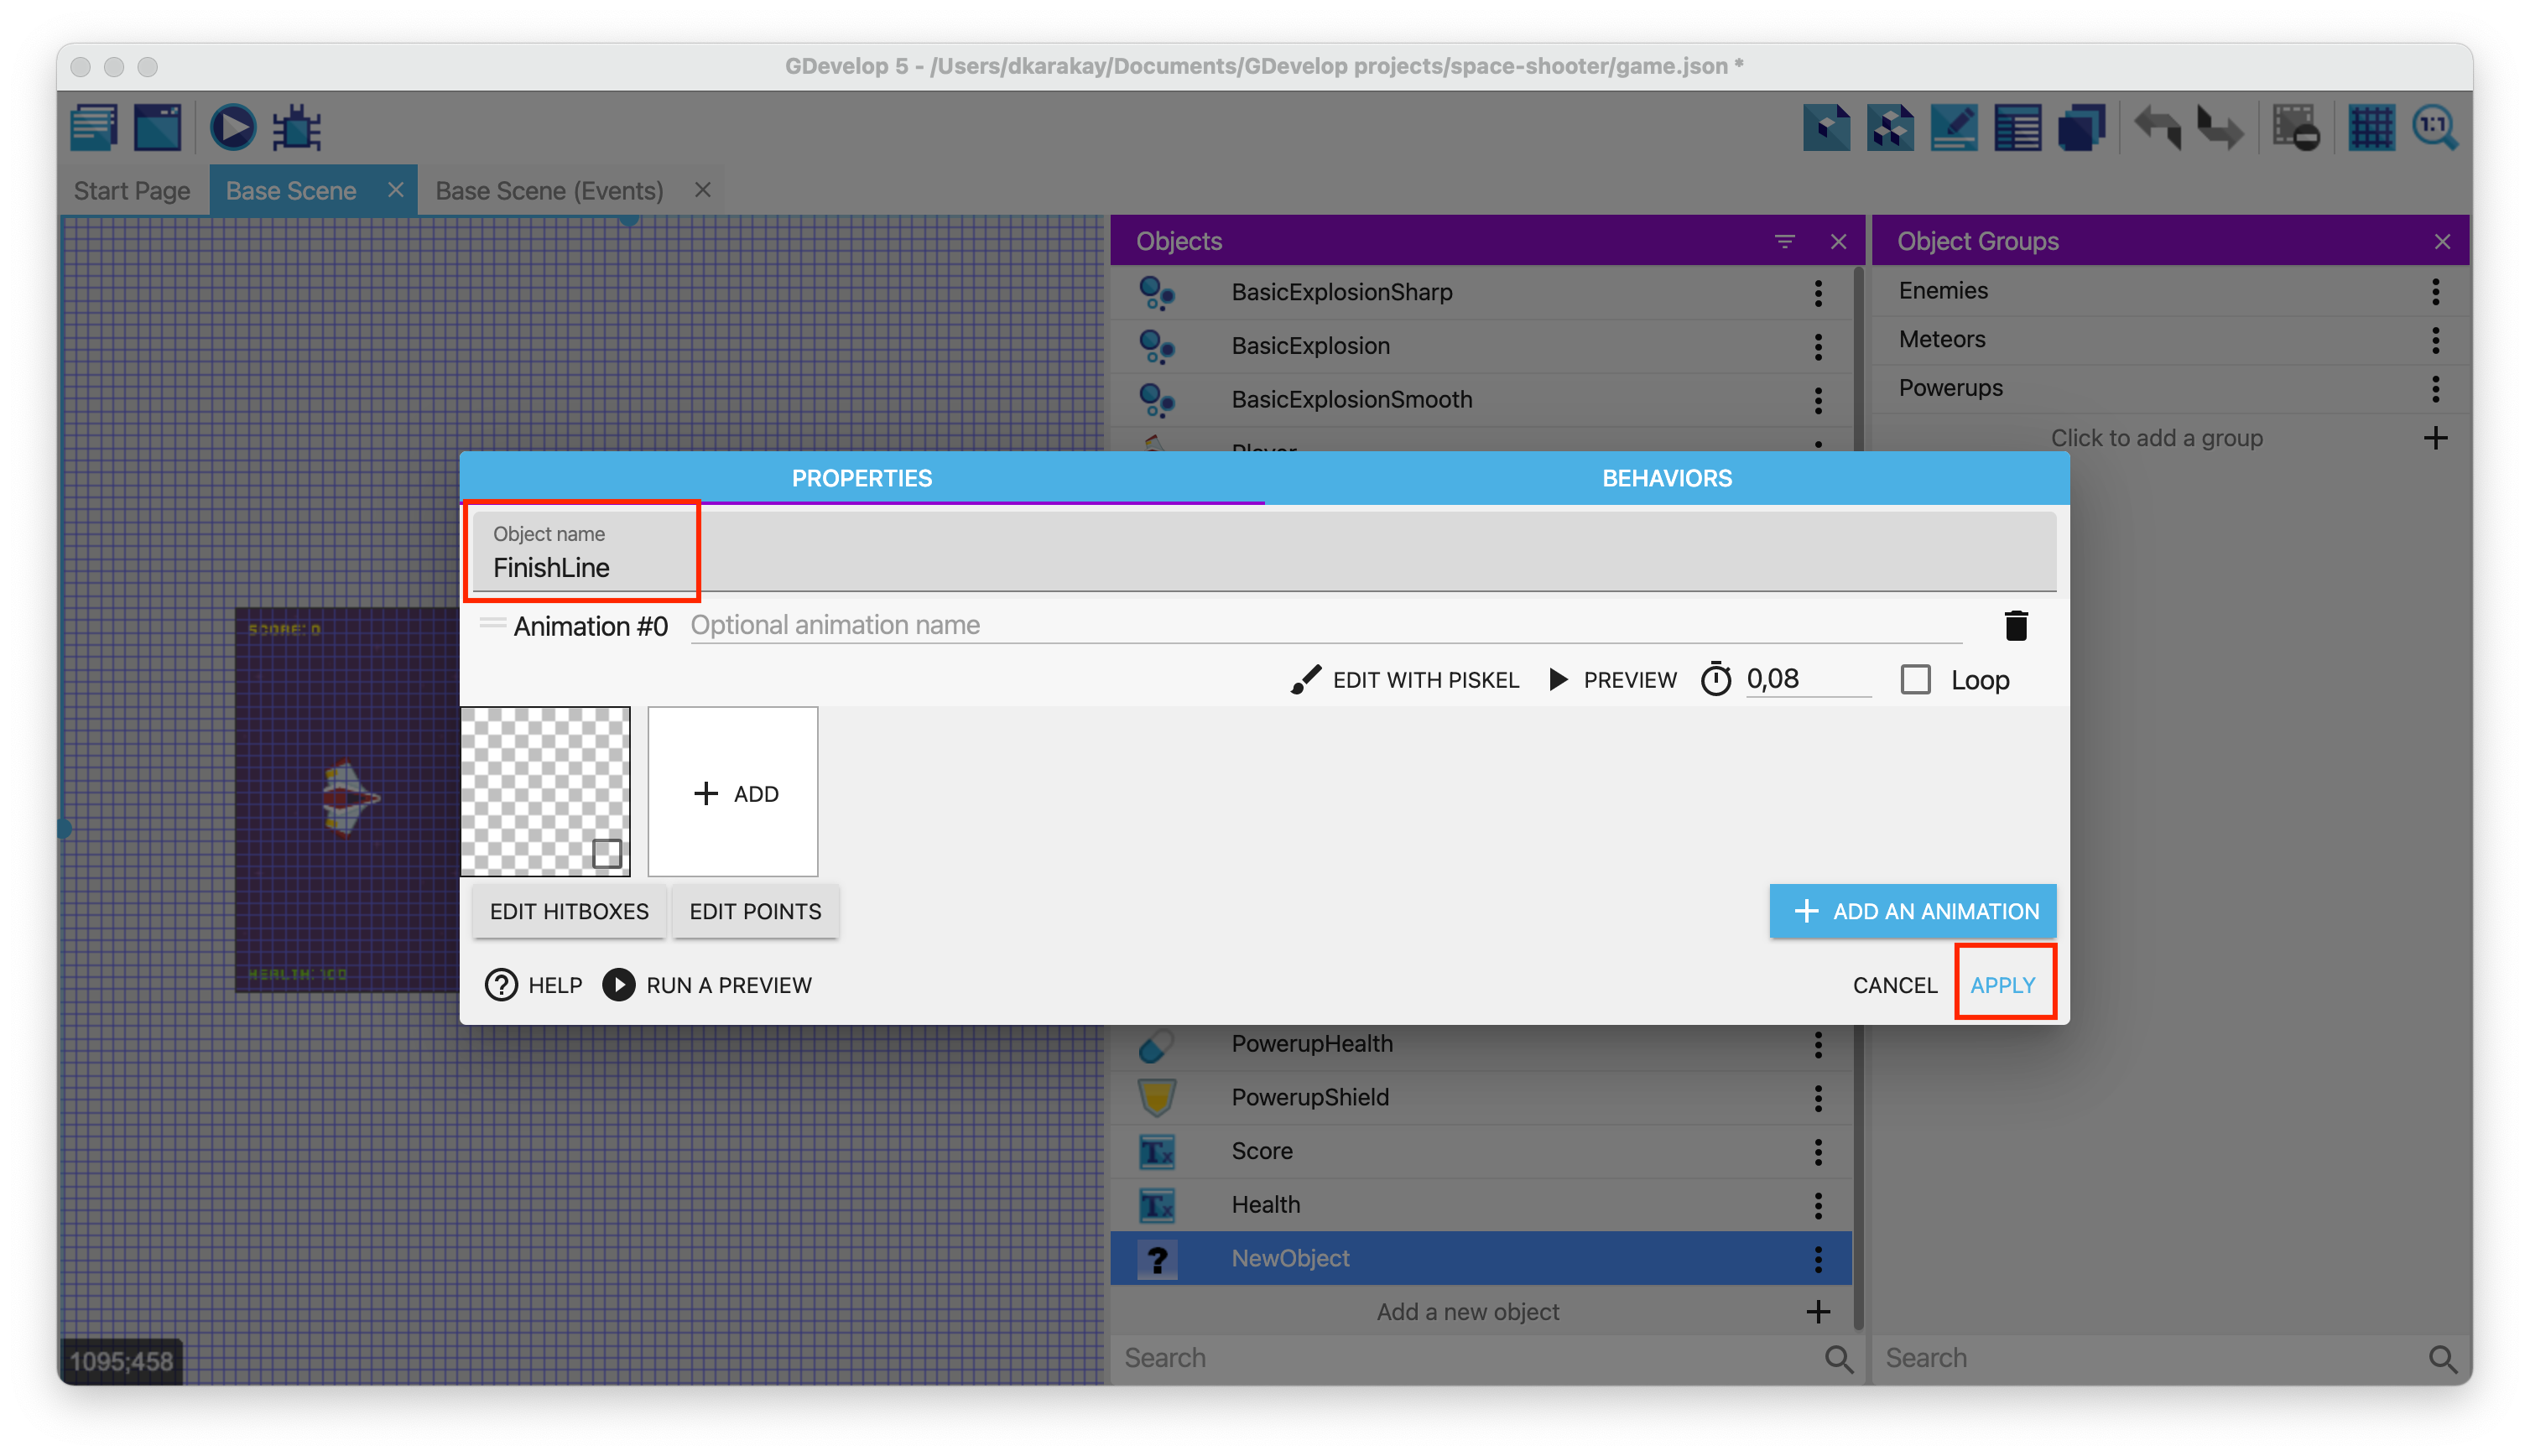
We will add an object called FinishLine to determine the end of the level. Use a transparent image finish_line.png from the assets folder as a sprite.
Tip
We are using the collision between the Player and the FinishLine objects to determine the end of the level.
Then, drag and drop the FinishLine to the end of the level.
Warning
Ensure that you resize the object and cover the height of the screen. If it is too small or does not cover the size of the screen, the player may miss the finish line.
Open the Events tab, and add a new condition to determine the collision between Player and FinishLine. Then, create a new global variable called CurrentLevel and set to 1.
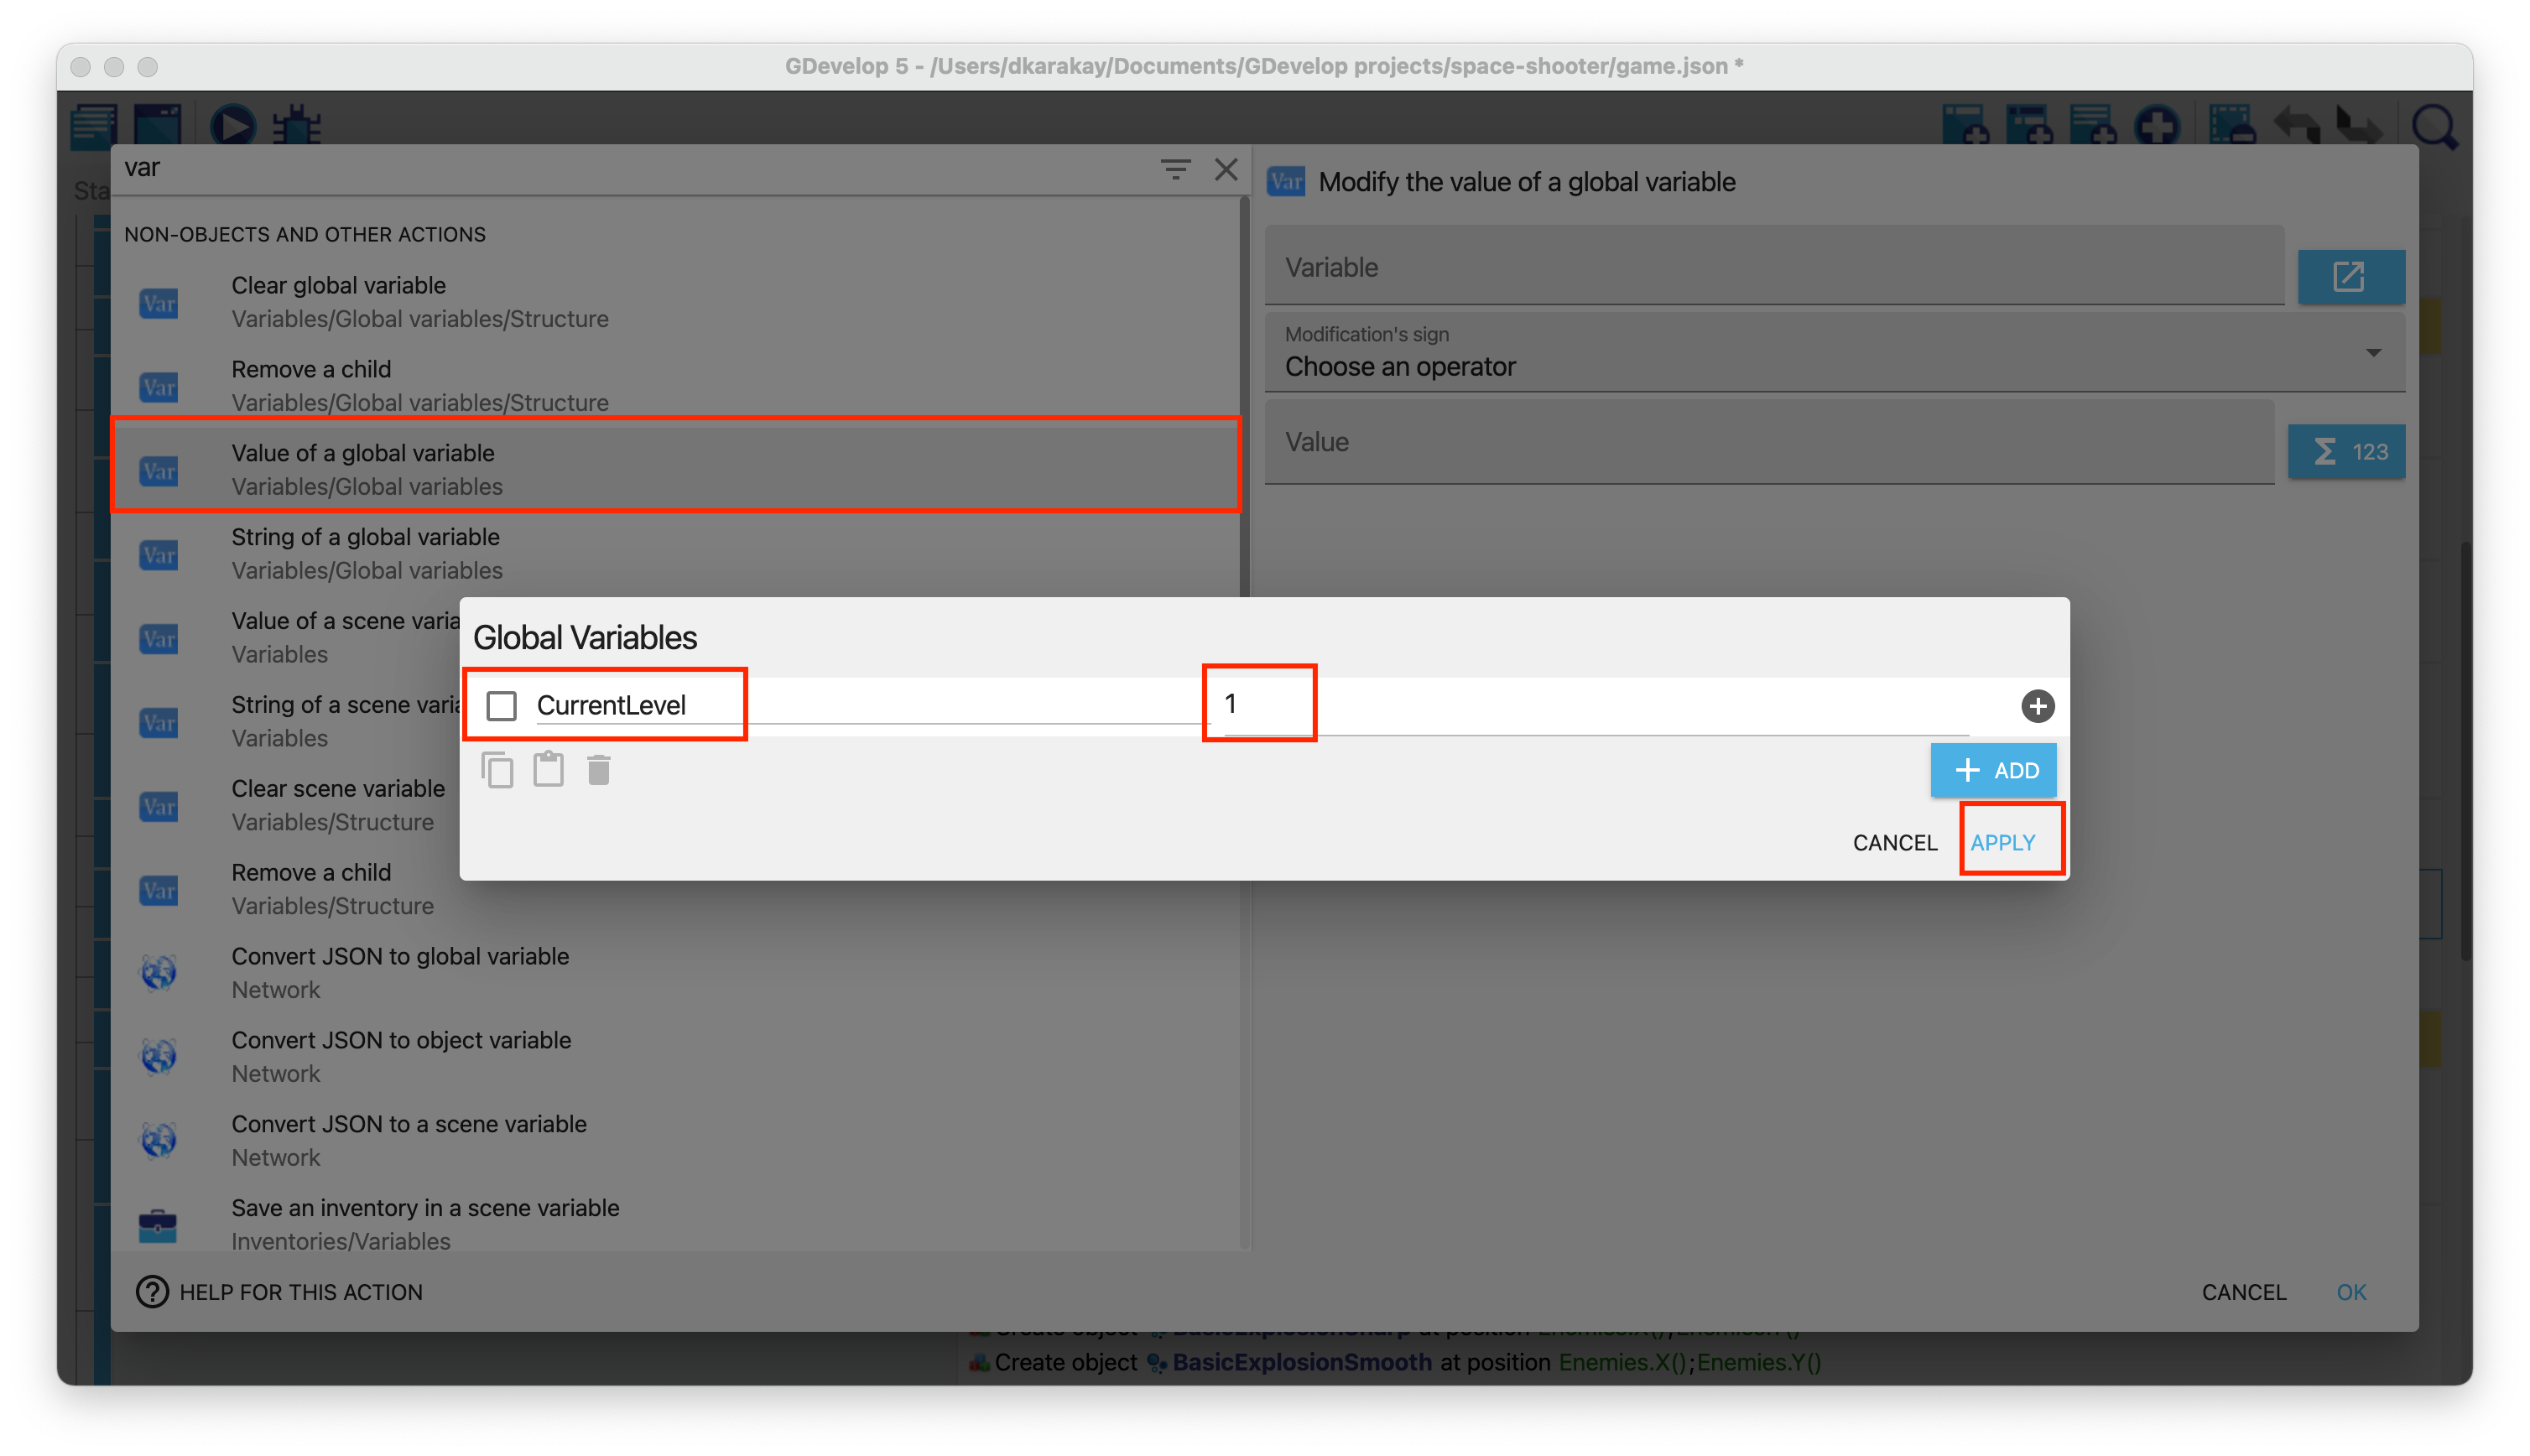
In the action, increment CurrentLevel by 1.

In the end, your event should look like this:
Warning
This event only increases the CurrentLevel variable by 1 and does not affect the level changing process yet. We will update this event in the last chapter.

Using external layouts to create levels
We will use External Layouts to create new levels. The external layout can create a layout of objects, just as in a scene editor. The objects can be then dynamically inserted in a scene using the actions in the External layouts category. Create a new external layout from the project manager panel. Then, select the Base Scene as an associated scene. Change the name of the external layout with Level1.
Set the grid view, just like in the first chapter, and show the grid. Select 16 for the cell sizes.
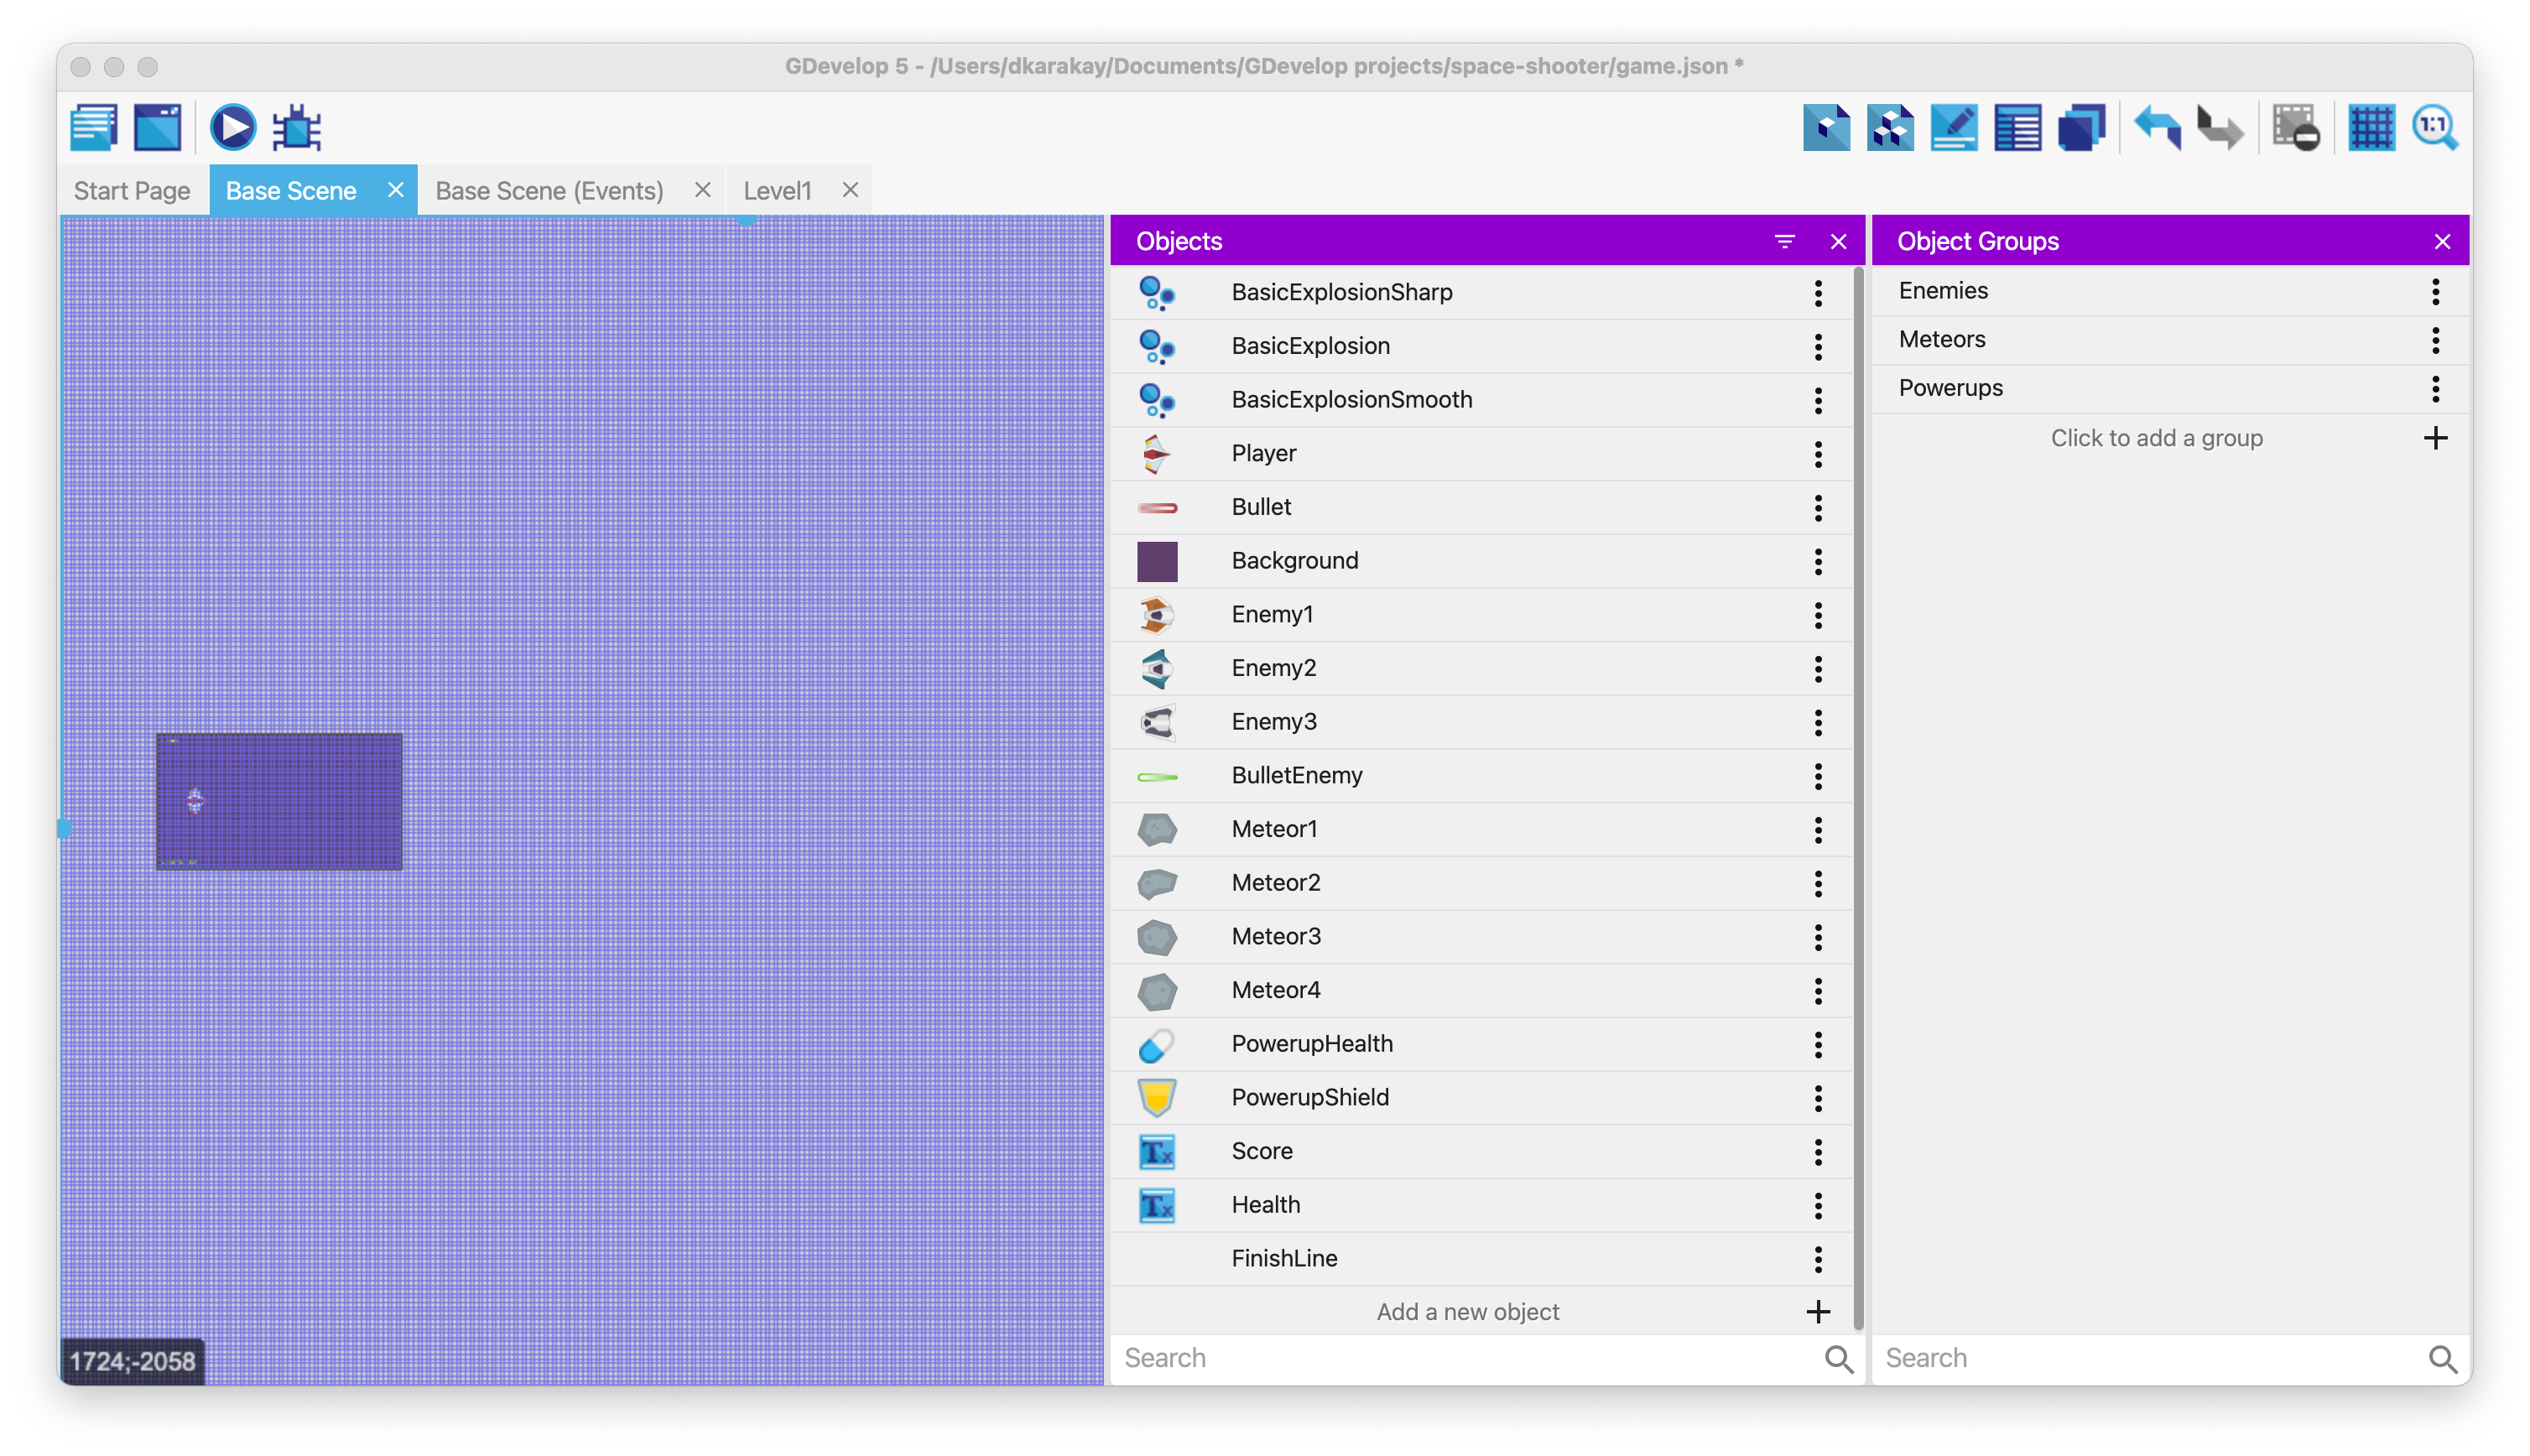
Now, we should go back to the Base Scene and delete all enemies, powerups, meteors, and the finish line. We will add those objects and set up our levels in the external layouts.
Warning
Do not delete objects from objects tab. Delete the objects from the scene view.
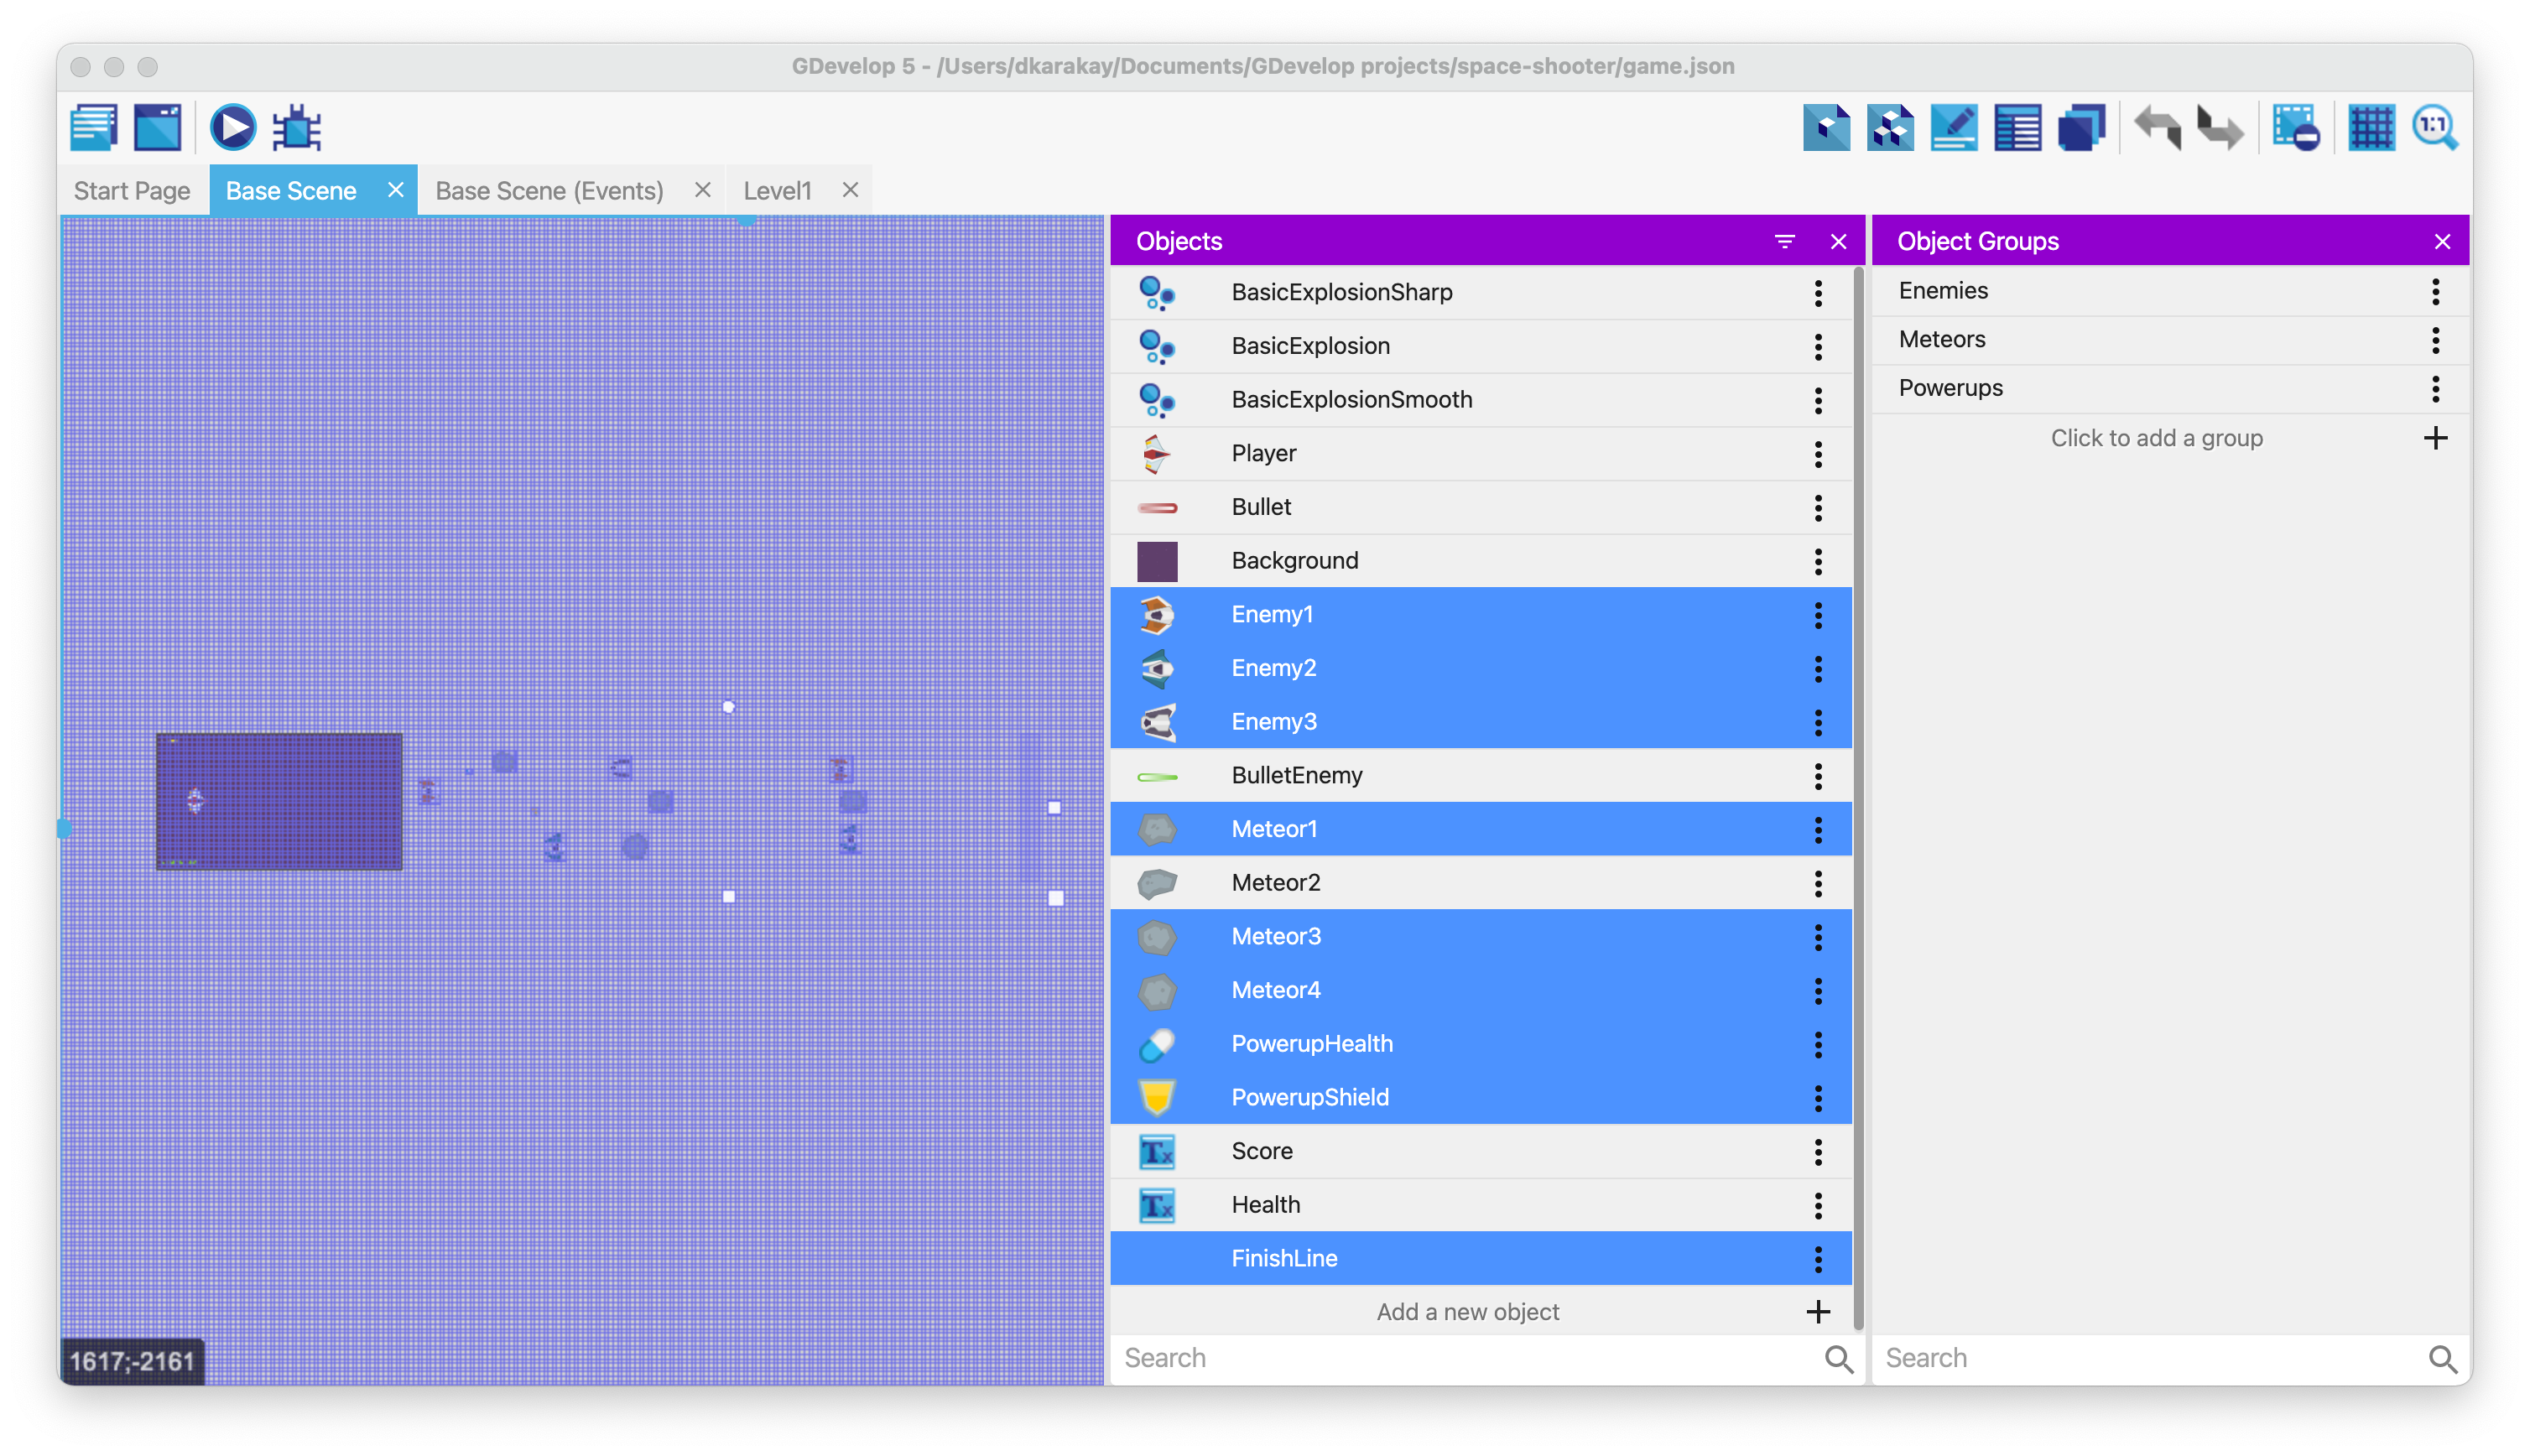
You should see a clear view of the scene and see the same objects in the object's tab.
Warning
Do not delete the player, background, text objects, and other objects on the camera.
Open the events tab, and add a new action under the At the beginning of the scene event. Select Create objects from external layout and enter the name of our external layout, in that case, Level1.
Tip
We will use a global variable to load the particular level in the next steps.
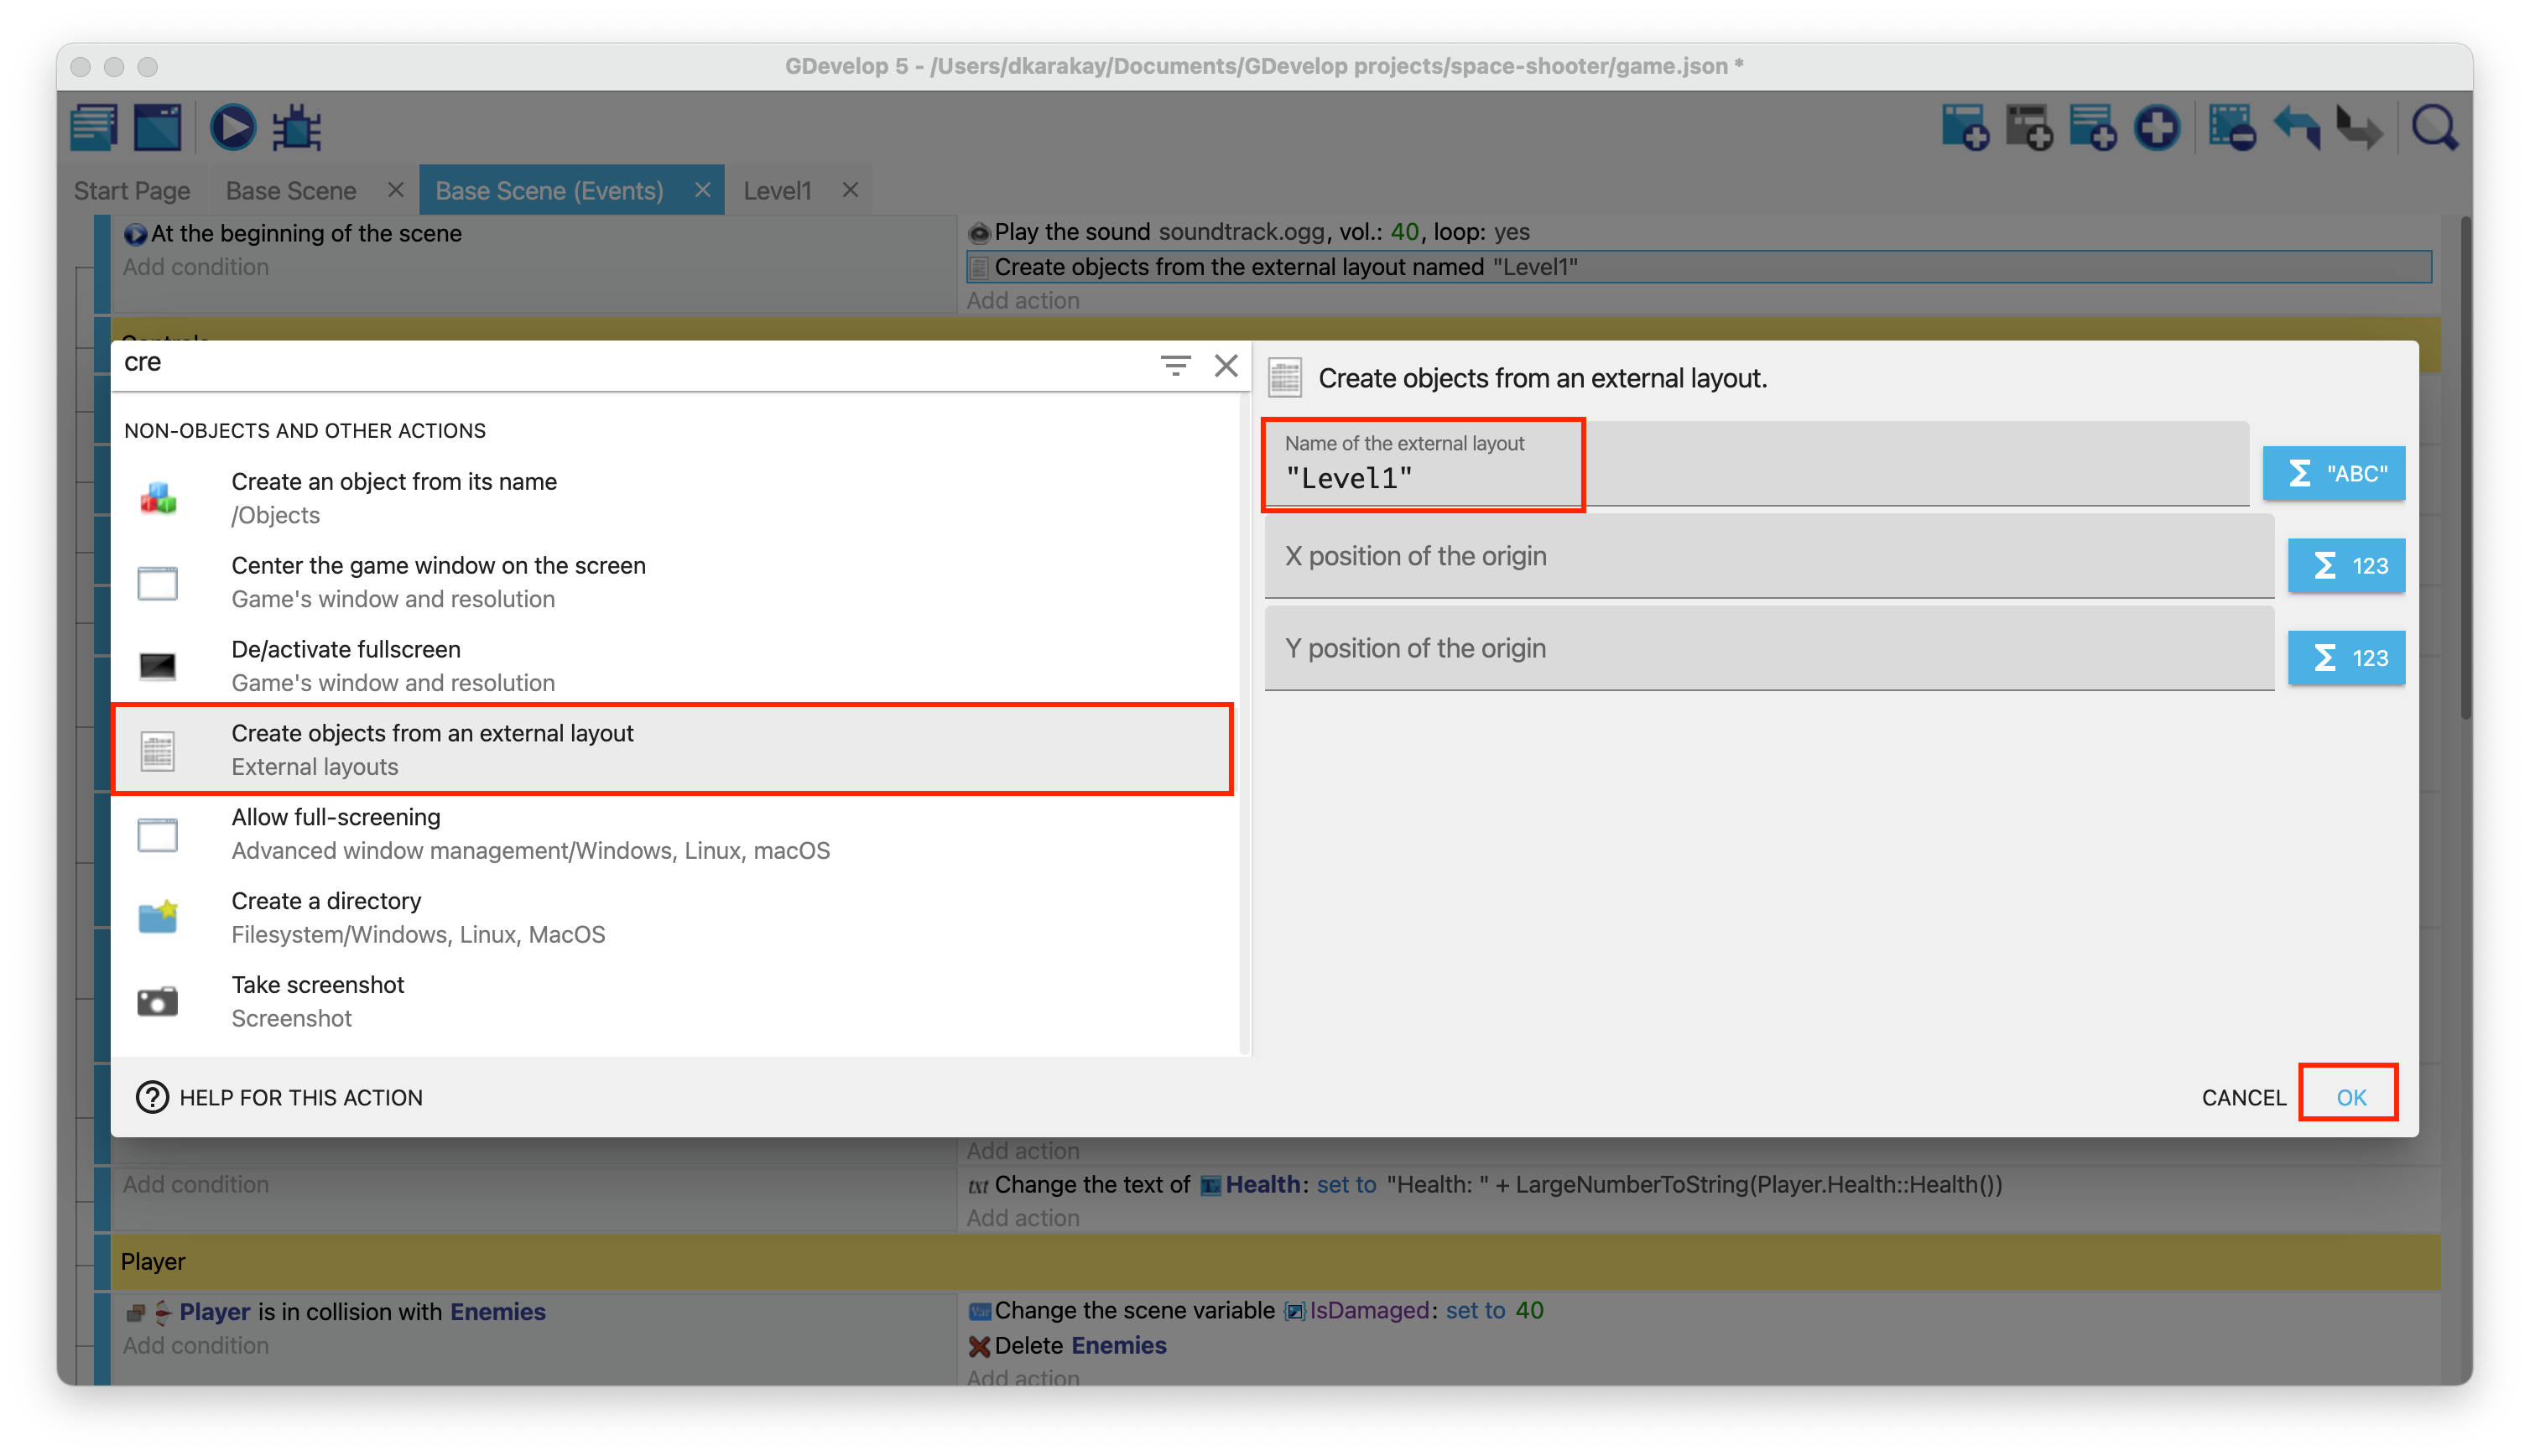
In the end, your event should look like this:

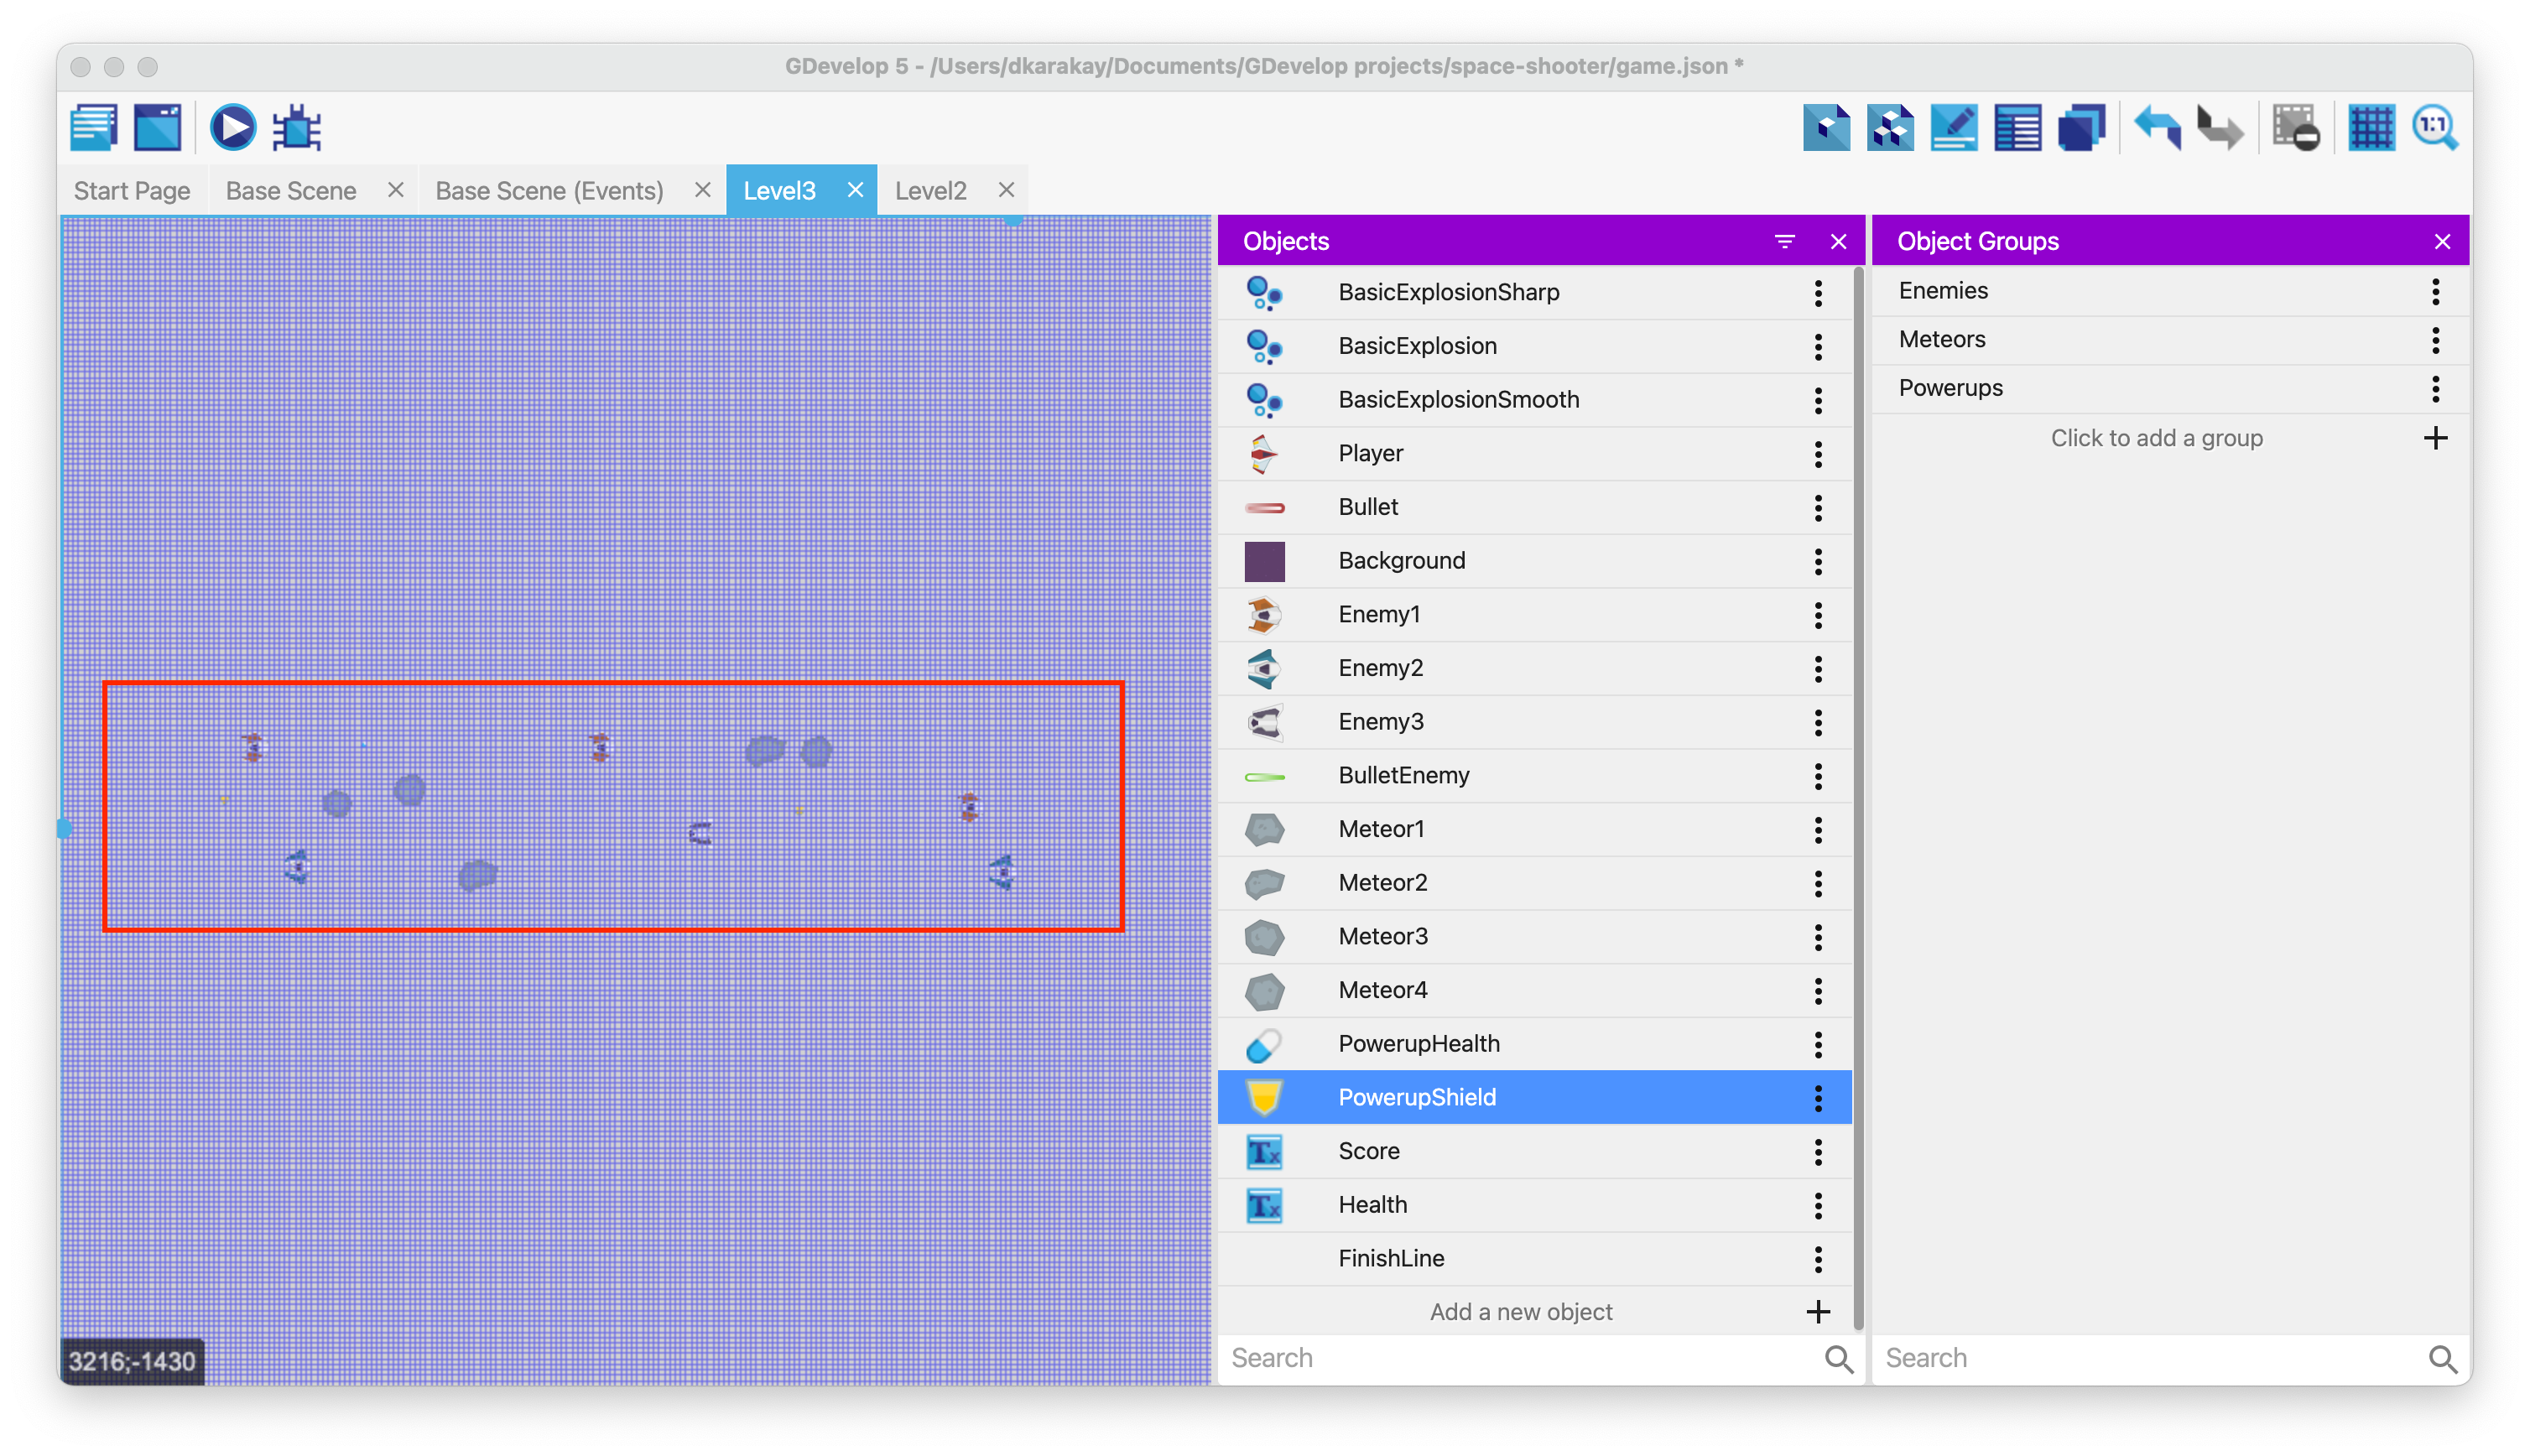
We can now go back to our external layout and design our level by dragging and dropping the objects.
Then, add the finish line at the end of the view.
Repeat the same processes to create two more levels. In the end, you will have three different levels.
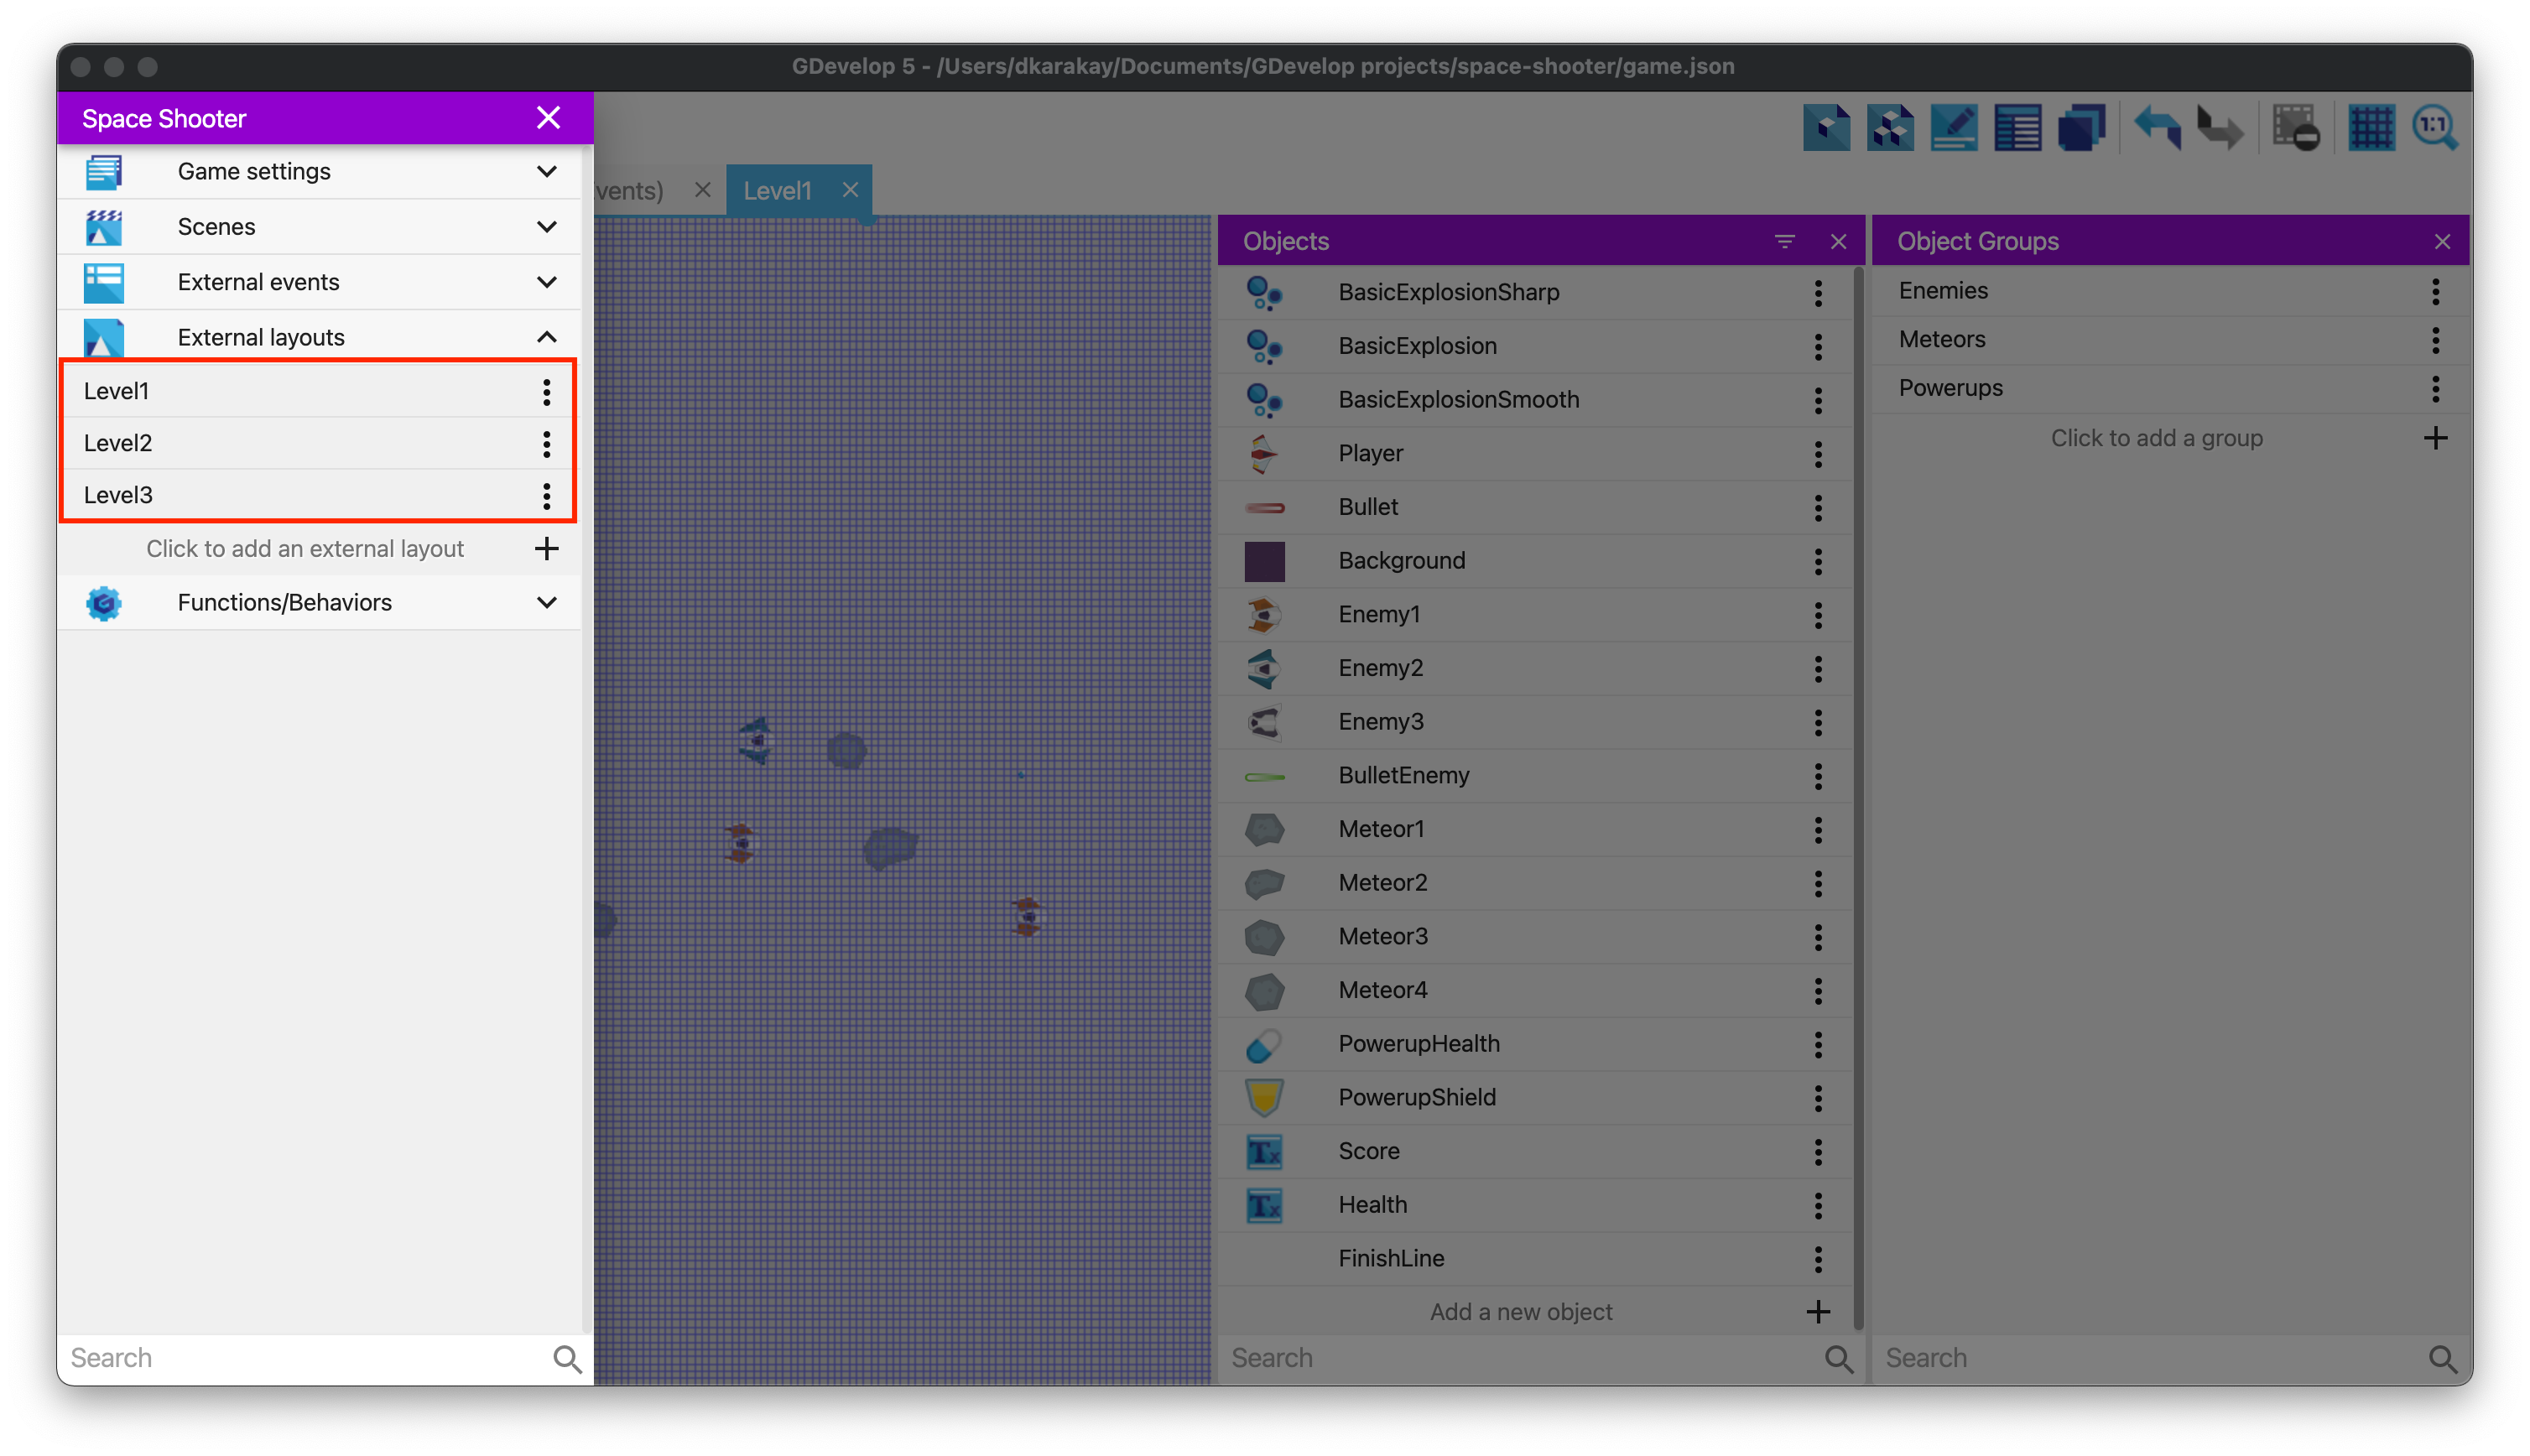
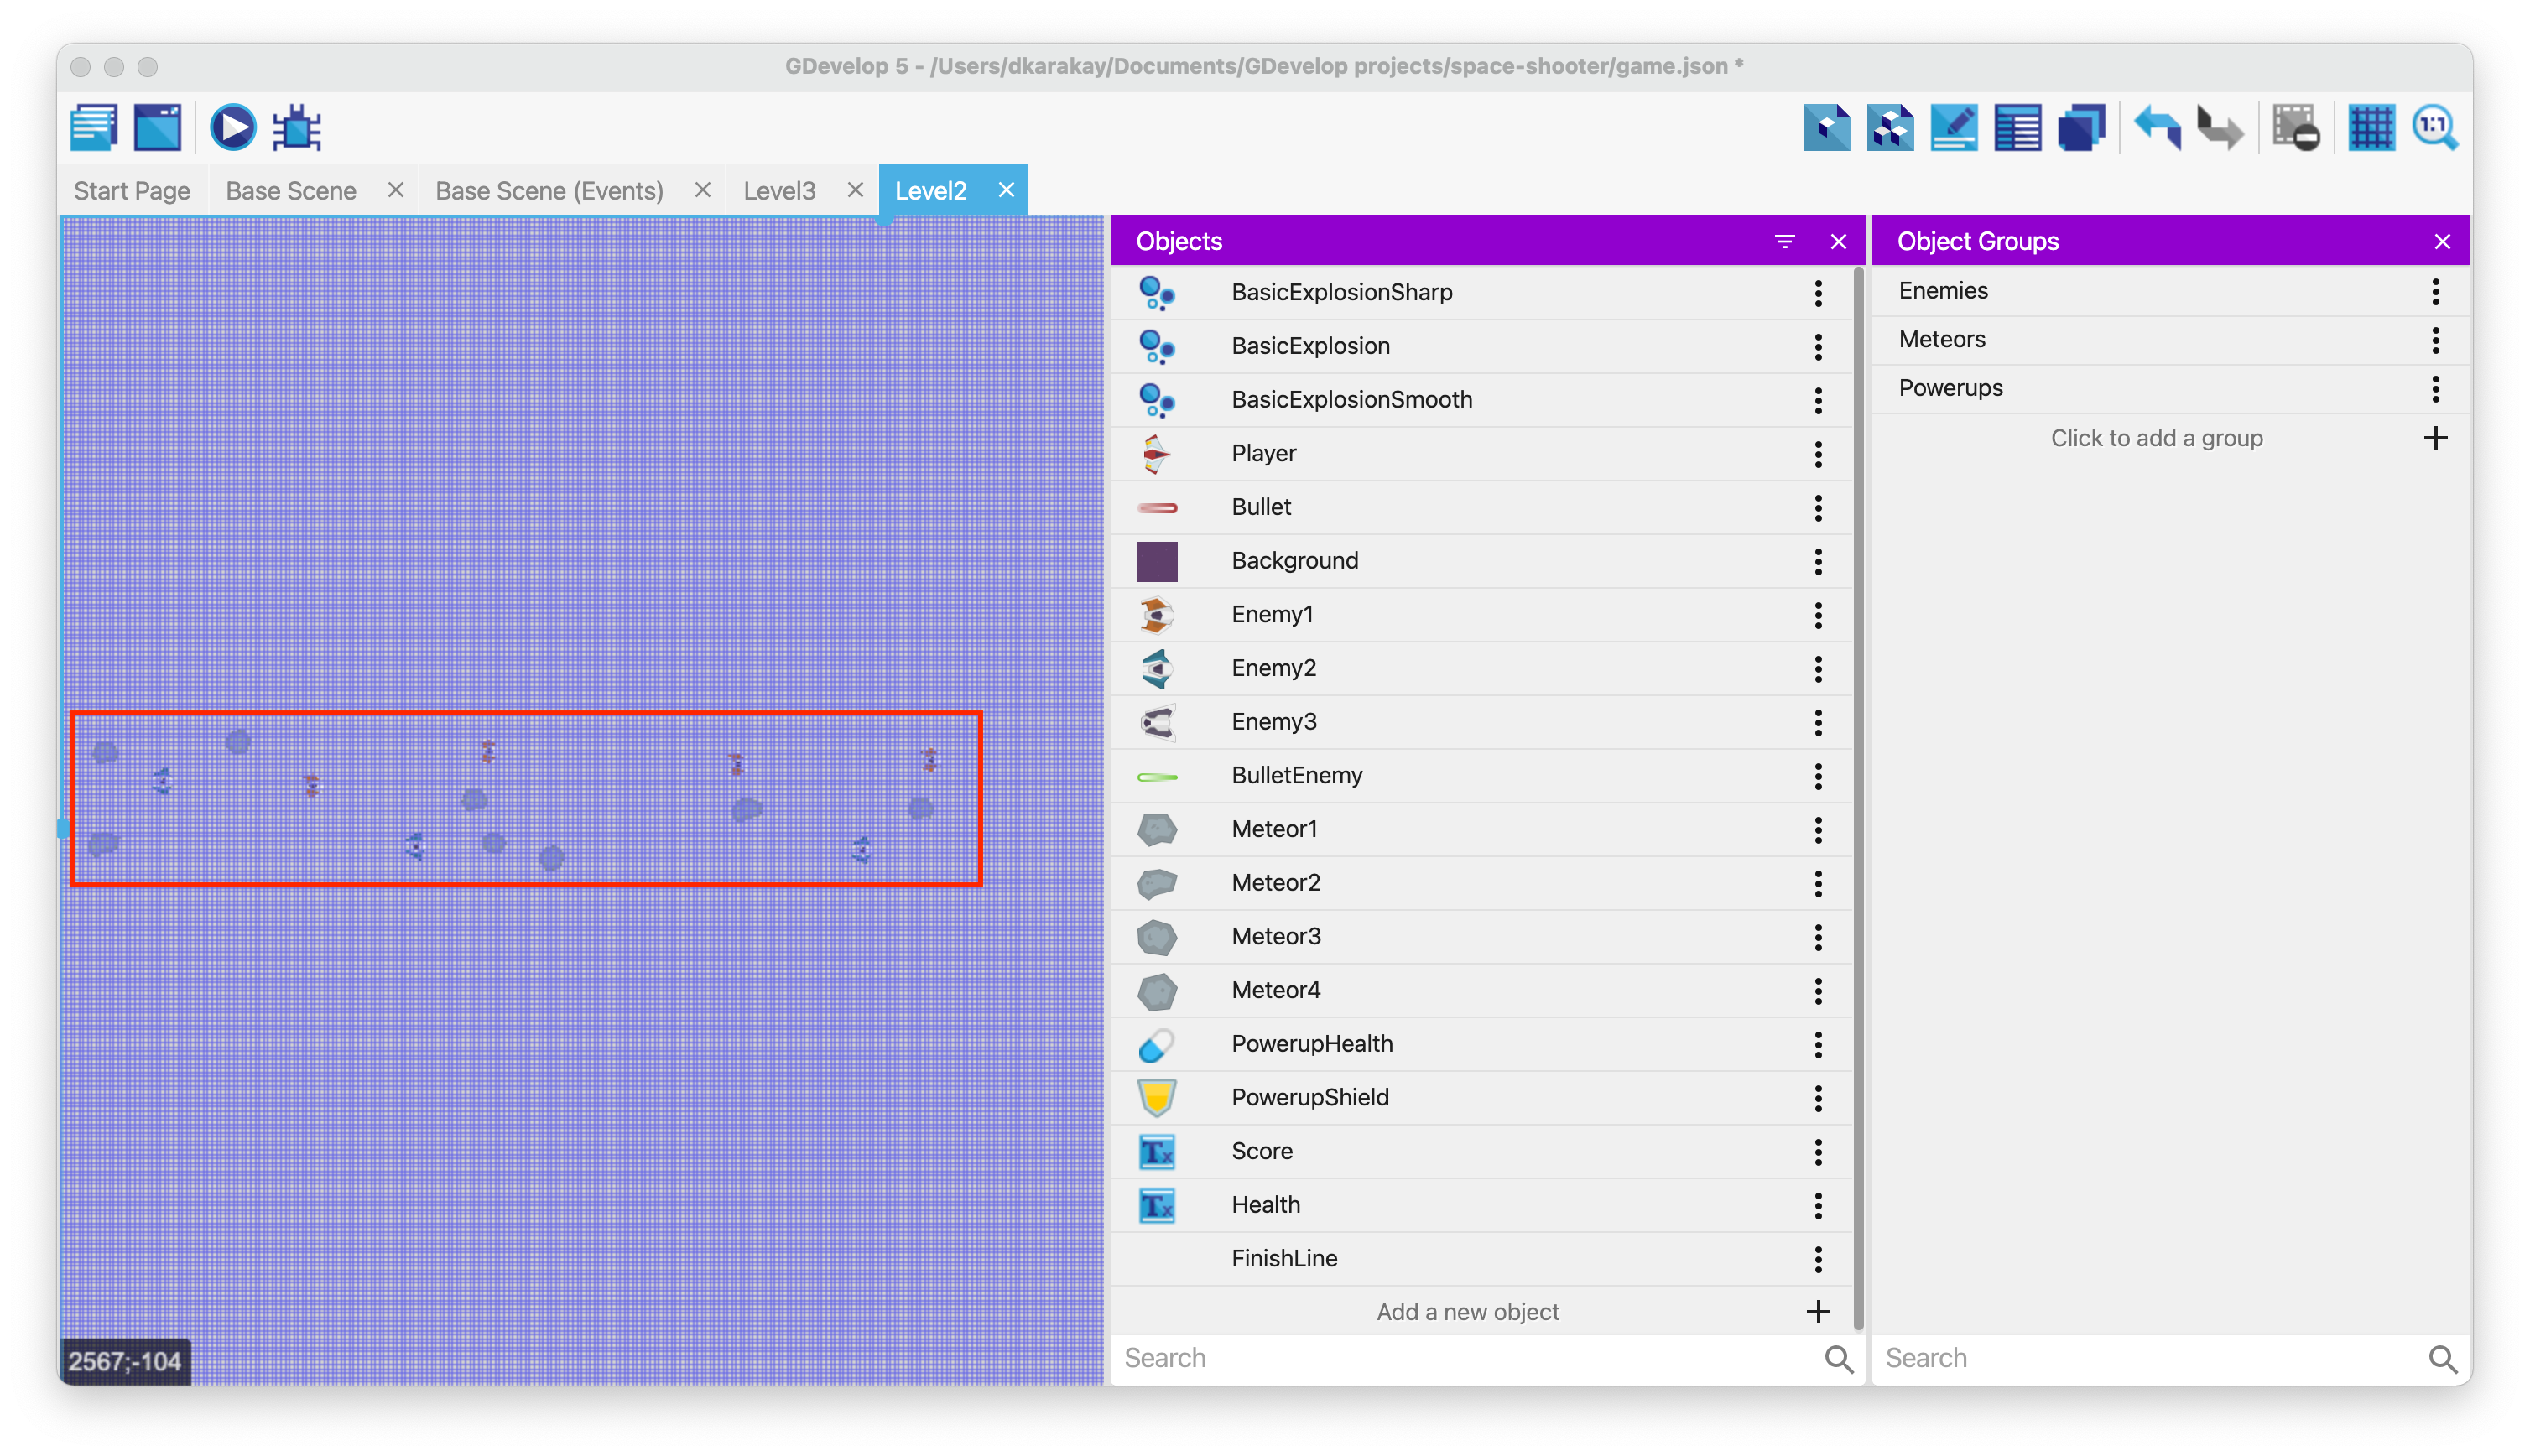
Level 2 as an example:
Level 3 as an example: