In App Purchases (IAP) (experimental)
In-App Purchase allows to sell premium features or items in your game when published on Google Play or on the App Store.
You define items to sell in their interface, and add buttons or ways to buy them in your game. After the player purchased them, you can unlock the associated bonus.
Warning
This extension is still experimental and needs a bit of work to use it properly. Be sure to study the example, this page and read about In App Purchase best practices to understand how to best use them in your game.
Set up In App Purchases in your game
Note
To set up In App Purchase, you'll need a developer account on Google Play Console or Apple App Store Connect. You will also need real phones/devices to test IAP, because emulators are not supported.
Integrate the In-App Purchase extension in your game. The general workflow is the following:
First, the setup:
- Register your products on the Google Play Console or App Store Connect (see the rest of this page),
- In your game, register the same products using the action "Register an item". You have to chose a unique identifier ("ID") for each item, and a type. Usually you may want to use "consumable" or "non consumable".
- Call the action to finalize the store registration. You need to do this after registering the available items using the action described before.
- Wait for "the store is ready" condition to be true. Once it is, you can display and order items.
Note
A "consumable" is something like a bonus for your player health. A "non consumable" is something persistent, like a version of your game where ads are deactivated, or a purchase for a premium version unlocking some levels.
Then, display items in your game and order them:
- Get the items data to know what to display (in particular the price of each items) in a variable.
- Display the price and available items in your game.
- Register a variable that will be updated when an item purchase is approved (and other variables for when other things happen).
- When the player clicks on an item, use the action to order it.
- If the purchase is approved (the variable you set up is set to true), give the user what they bought.
- Mark the purchase as completed for the user to be charged by the store.
Tip
The best way to understand this is too look at this example, showing the usage of In-App Purchase extension in a GDevelop game.
Set up In App Purchases on Google Play (Android)
Log in to your Google Play Console account, where you'll set up your payment information and the products for your app. This guides assumes that you already created an app and filled up the details for it. If you're unsure about how to do that, read this page about publishing on Google Play.
Create a payment profile
Set up your payment profile on the Google Play Console :
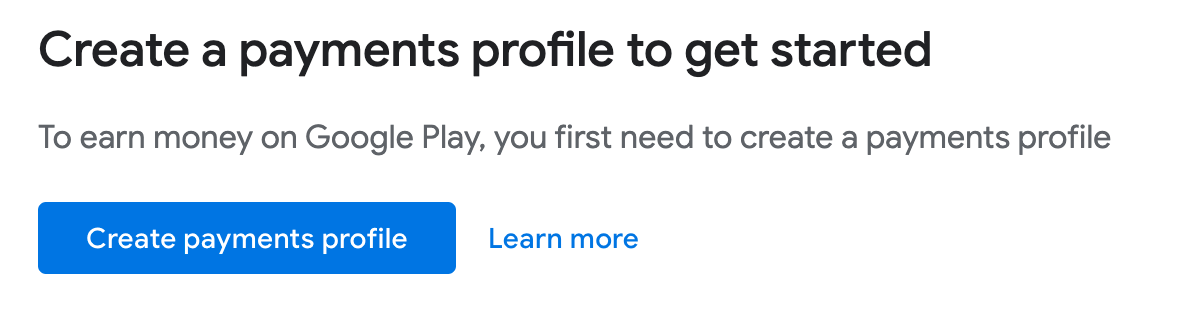
You'll need to enter details about you as an individual or your business to receive payments from Google.
Upload a new release of your app with In App Purchases extension integrated
Package your game as an Android App Bundle in GDevelop.
Upload then this AAB file in a new release. Make sure to fill everything that is needed for the release. We recommend you first start by an alpha ("closed testing") release, before doing the same thing for a release that you will publish once you're satisfied with your set up.
Google Play Console will list the steps to do to upload a release:
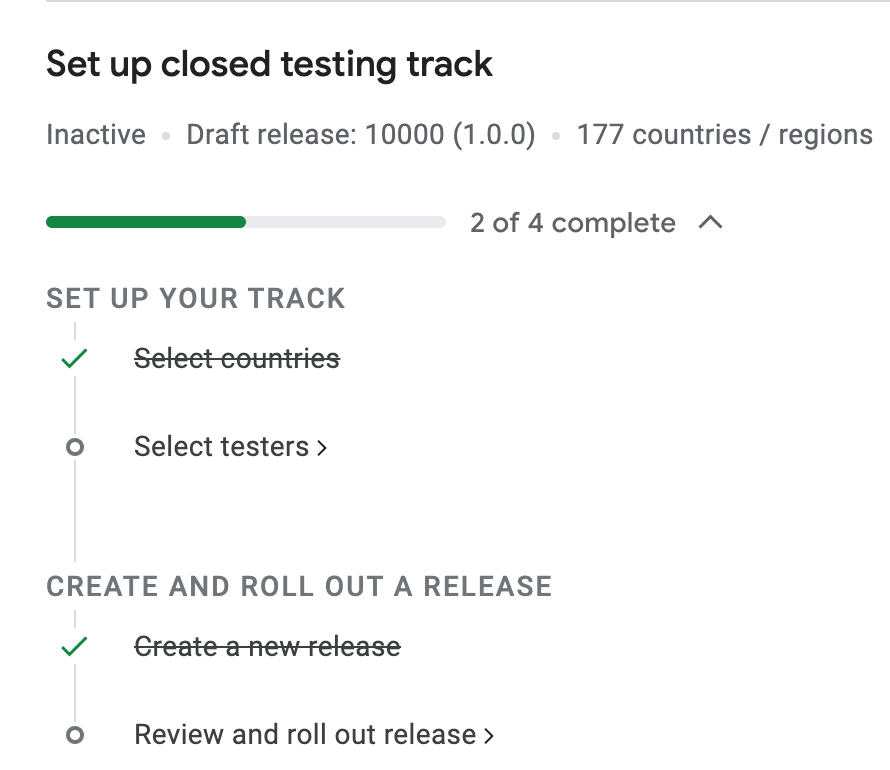
Submit your release and wait while it is reviewed by Google teams.
Set up in-app products for your game
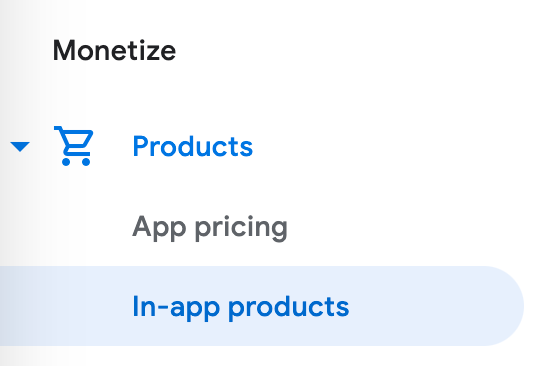
Navigate to the list of all apps that you have, choose the app corresponding to your game, and in the left menu choose Products > In-app products:
The list of products is empty by default:
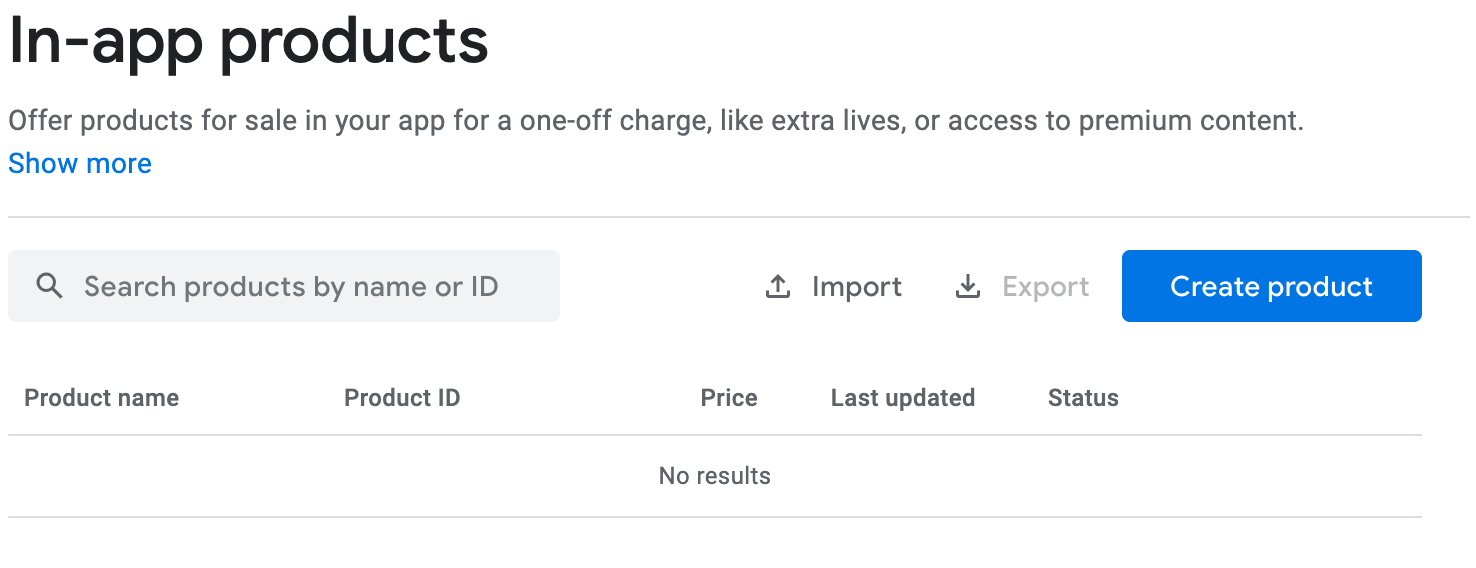
Click on Create Product and fill up the fields. For example:
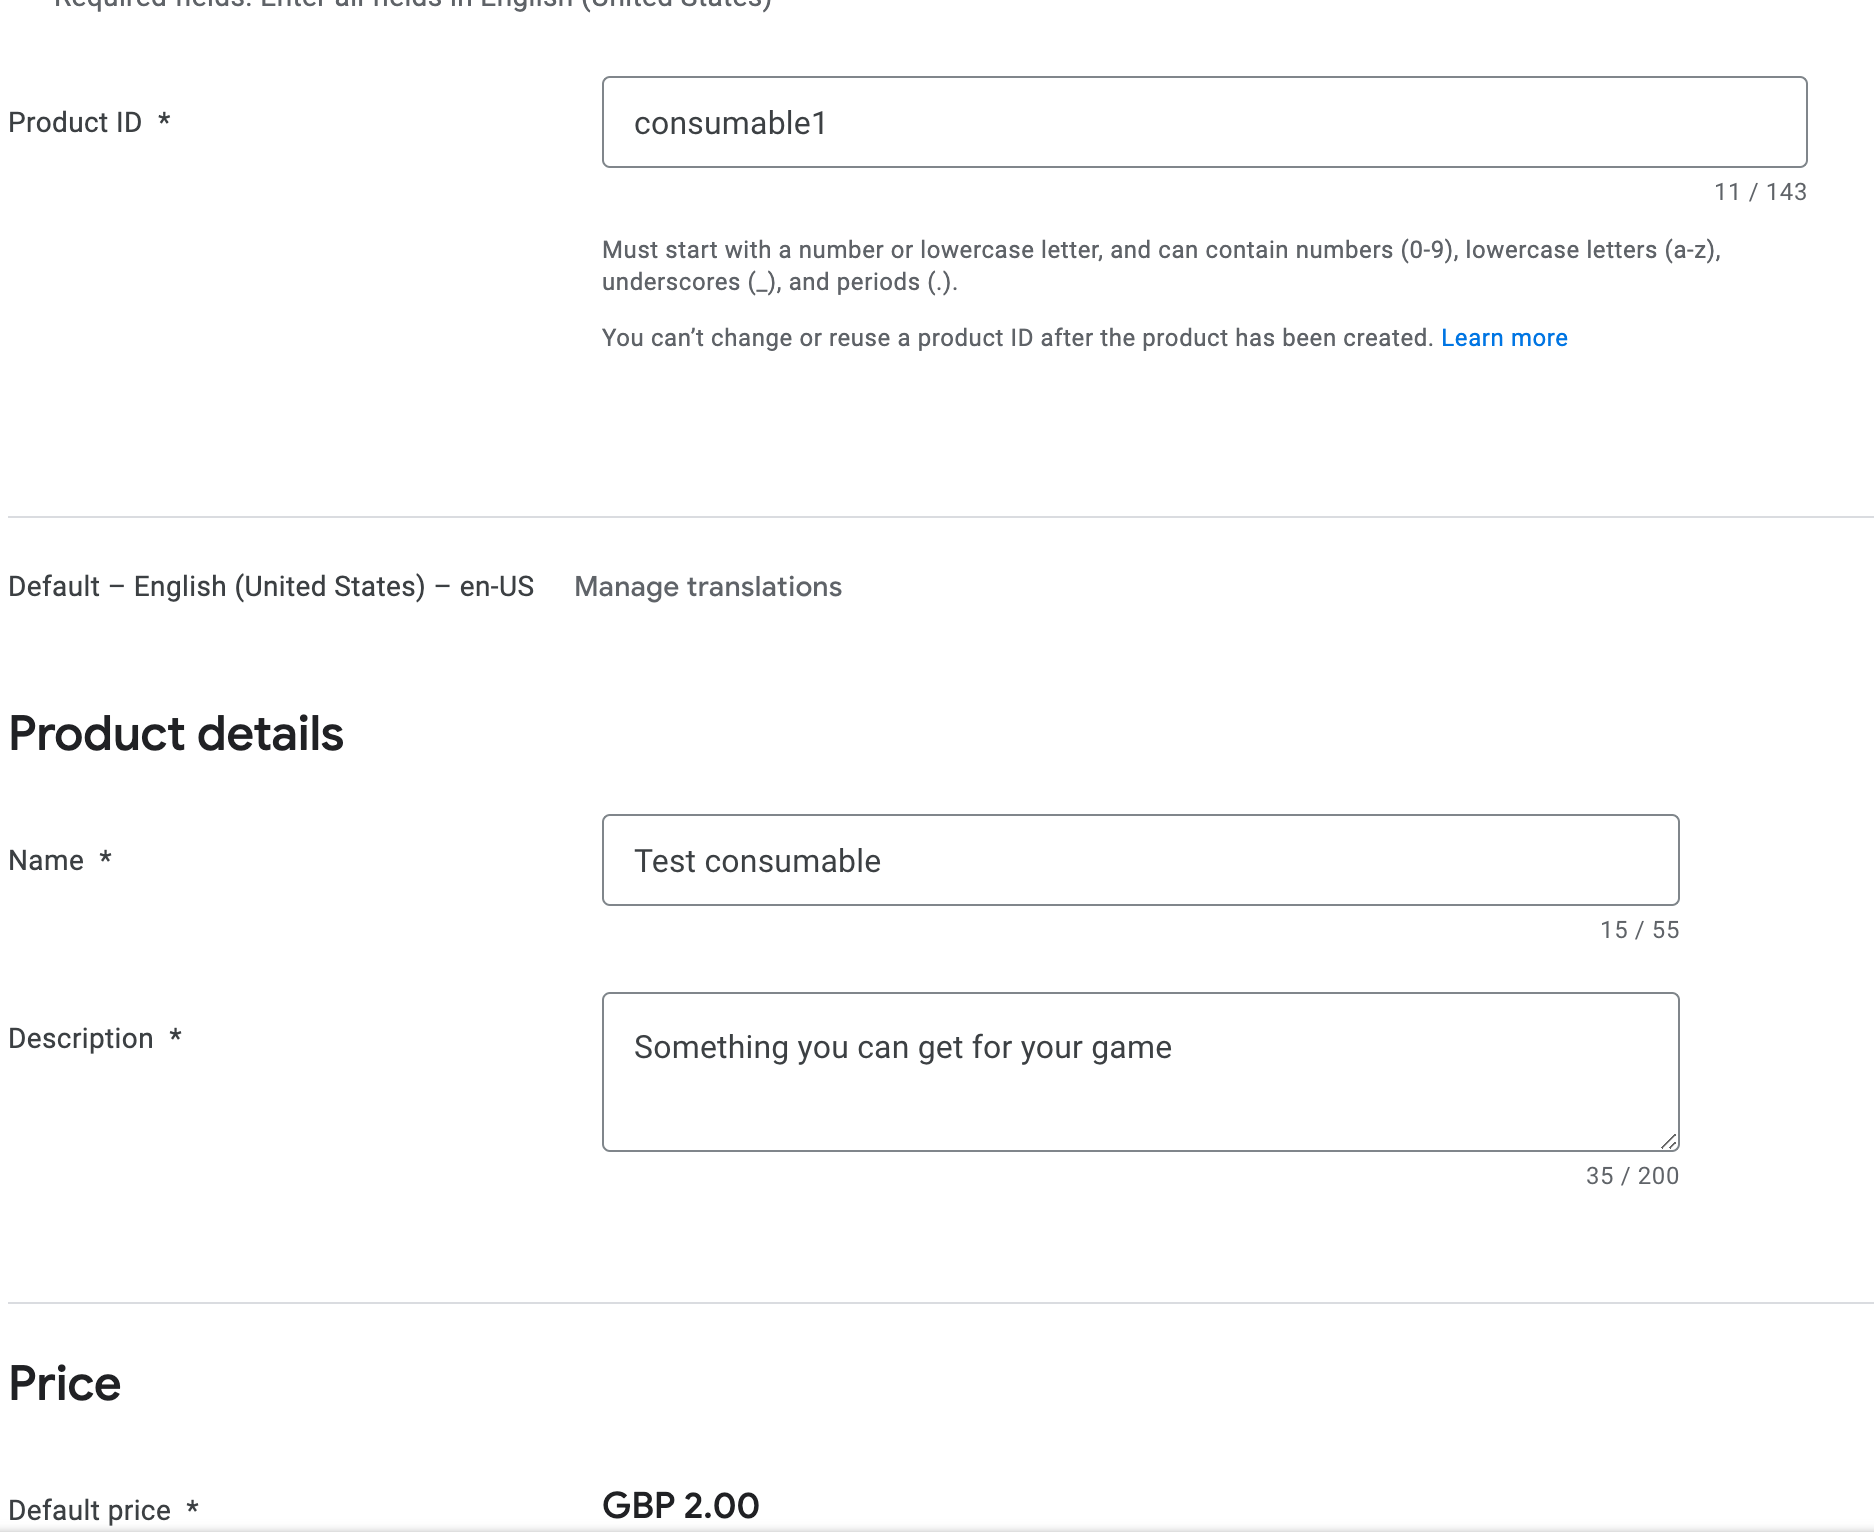
Note
Choose a short and unique "ID" for the name of your product. This is the same as used in your game events.
After creating the product, edit it again and make sure it is active.
Warning
There might be some delay between creating a product on the Google Play Console and having it available for purchase. Please also make sure not to forget to activate your product after creating it.
Test your (internal) release with the in app purchases
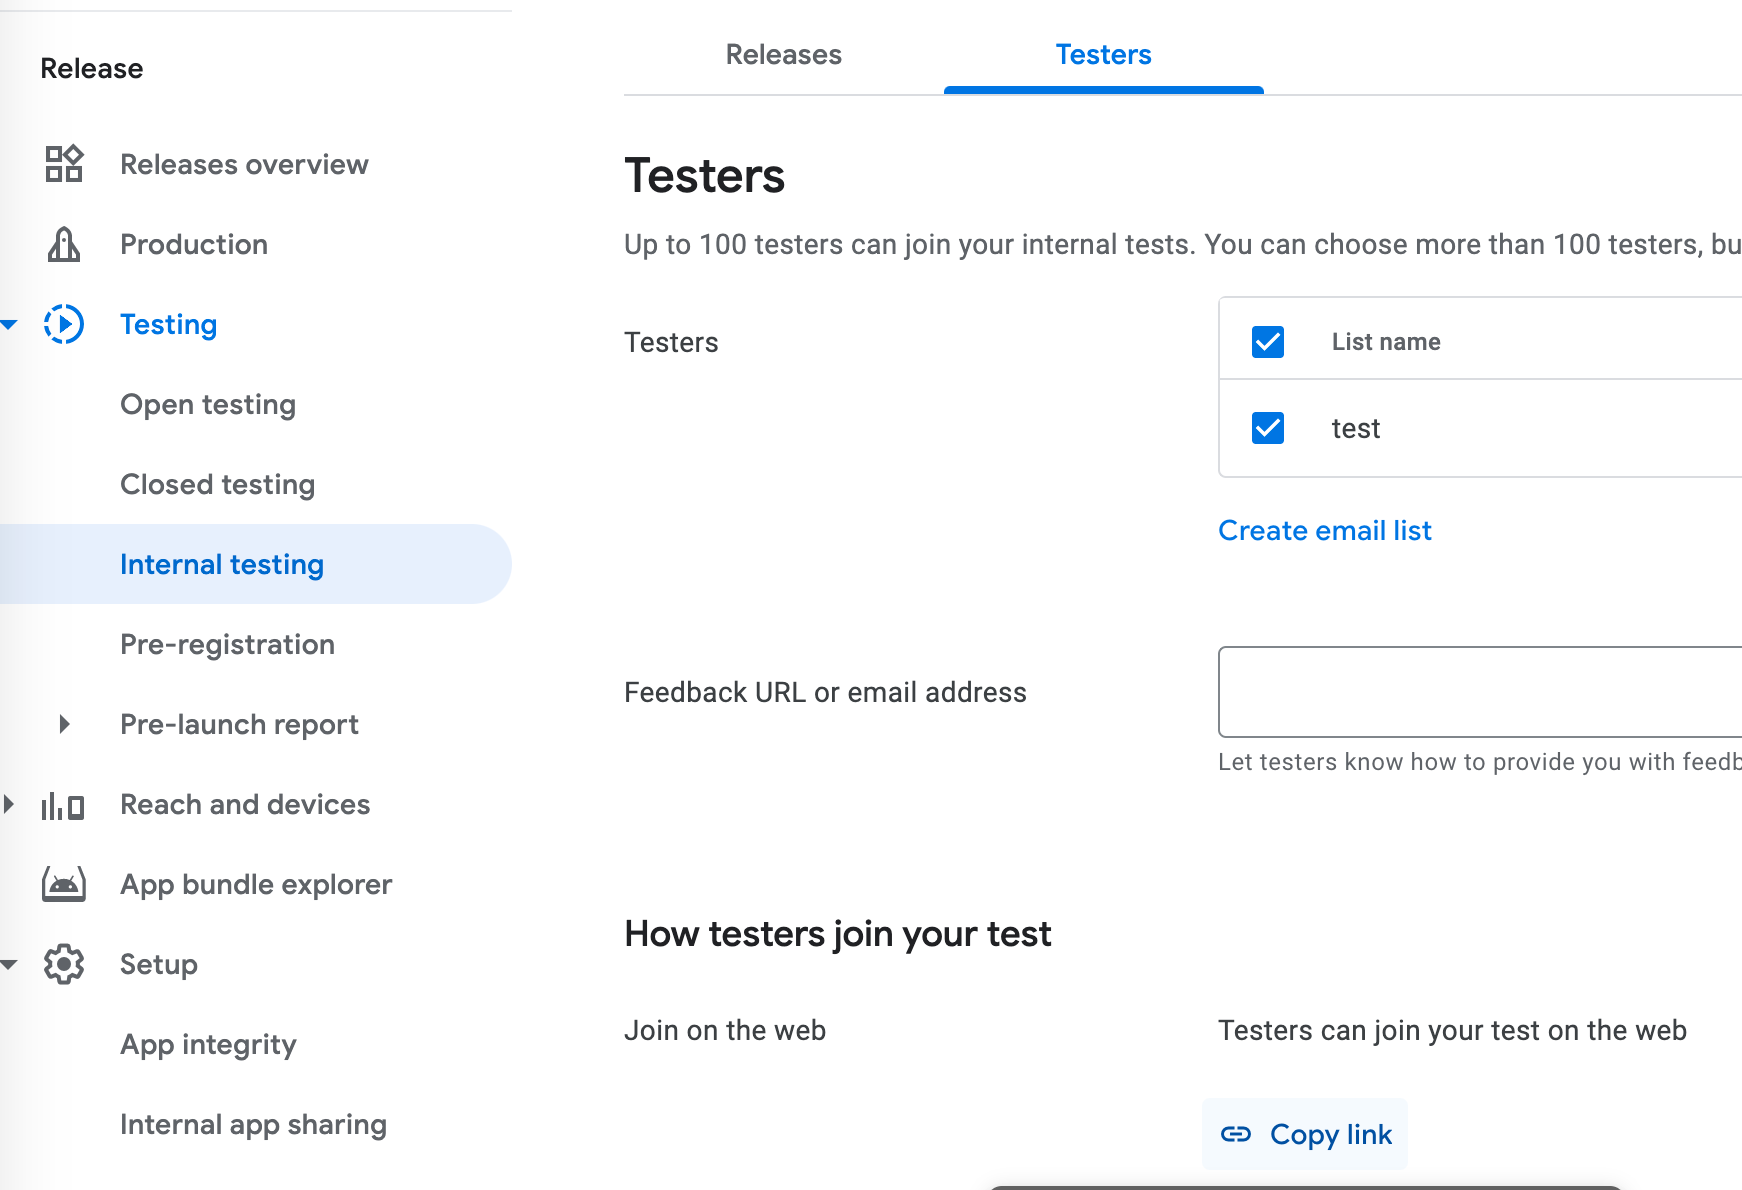
If you just published a new release on an internal track it may takes a few minutes to be available to the testers you've chosen. If you chose a non internal track (alpha, beta, production), your app will be reviewed by Google.
When it's ready, download it from your phone using the test links you can find in the release tester details:
What if you get "the item you requested is not available for purchase"?
- Check you are testing the app on a phone. Emulators won't work.
- For an alpha, beta or internal testing app, make sure your Google account on your phone is registered as a tester.
- Make sure your app was reviewed at least once by Google (in the alpha, beta or production track). Otherwise, you won't be able to buy items (you can get the data, but not buy them).
- Make sure the id of the product is the same in your events and in the Google Play Console.
- Make sure the product is active. You can see it in the list of products:

Tip
Note that after you upload an AAB once, you will be able to build an APK and install it on your phone, as long as it has the same version of the app, and test in app purchases locally without uploading again an AAB.
Set up In App Purchases on the App Store (iOS)
Note
Your help is welcome to write this section explaining how to set up step by step items on the App Store and test them.