6. Enemy Mechanics
Series
You are reading Part 6 of the Space Shooter Tutorial.
- Space Shooter, Part 1
- Space Shooter, Part 2
- Space Shooter, Part 3
- Space Shooter, Part 4
- Space Shooter, Part 5
- Space Shooter, Part 6
- Space Shooter, Part 7
- Space Shooter, Part 8
- Space Shooter, Part 9
- Space Shooter, Part 10
- Space Shooter, Part 11
- Space Shooter, Part 12
- Space Shooter, Part 13
Tip
In this chapter, we will learn how to give different mechanics to enemies.
Shooting the player
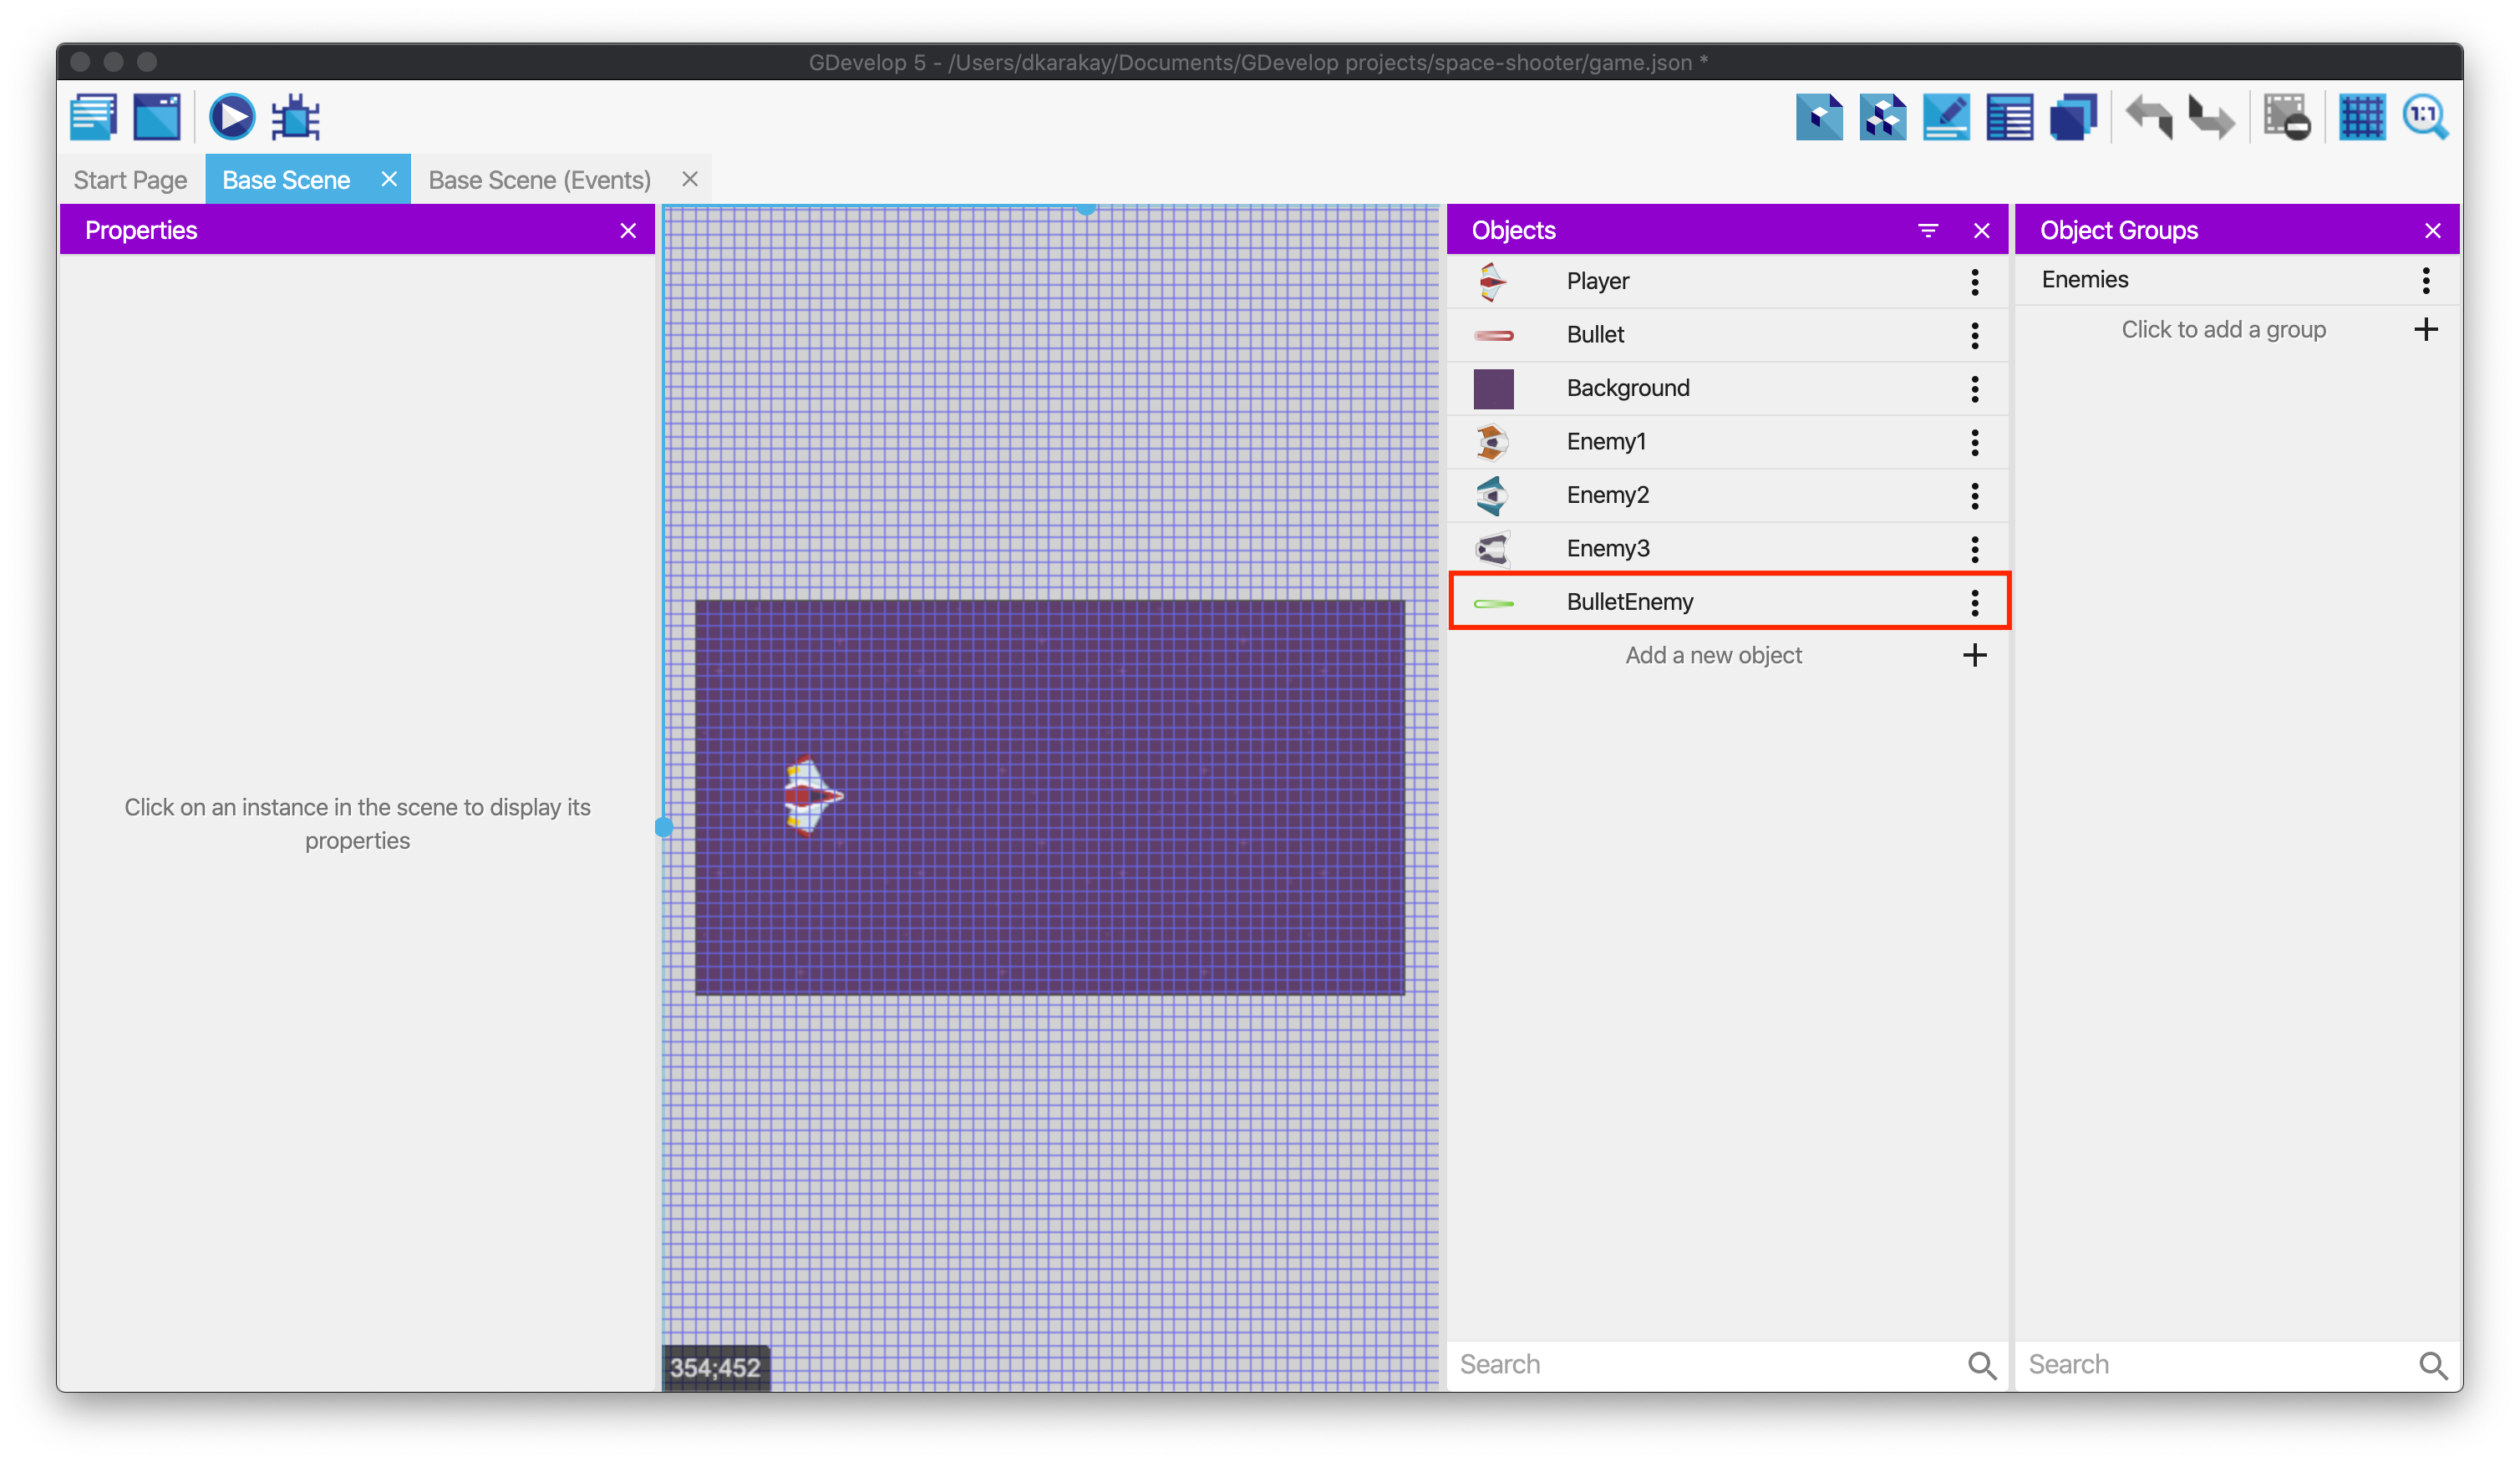
We will add a new bullet object and give the shooting ability to Enemy2, so our enemies can also shoot the player. Add a new object called "BulletEnemy" and select the image as laser_enemy.png from the assets folder.
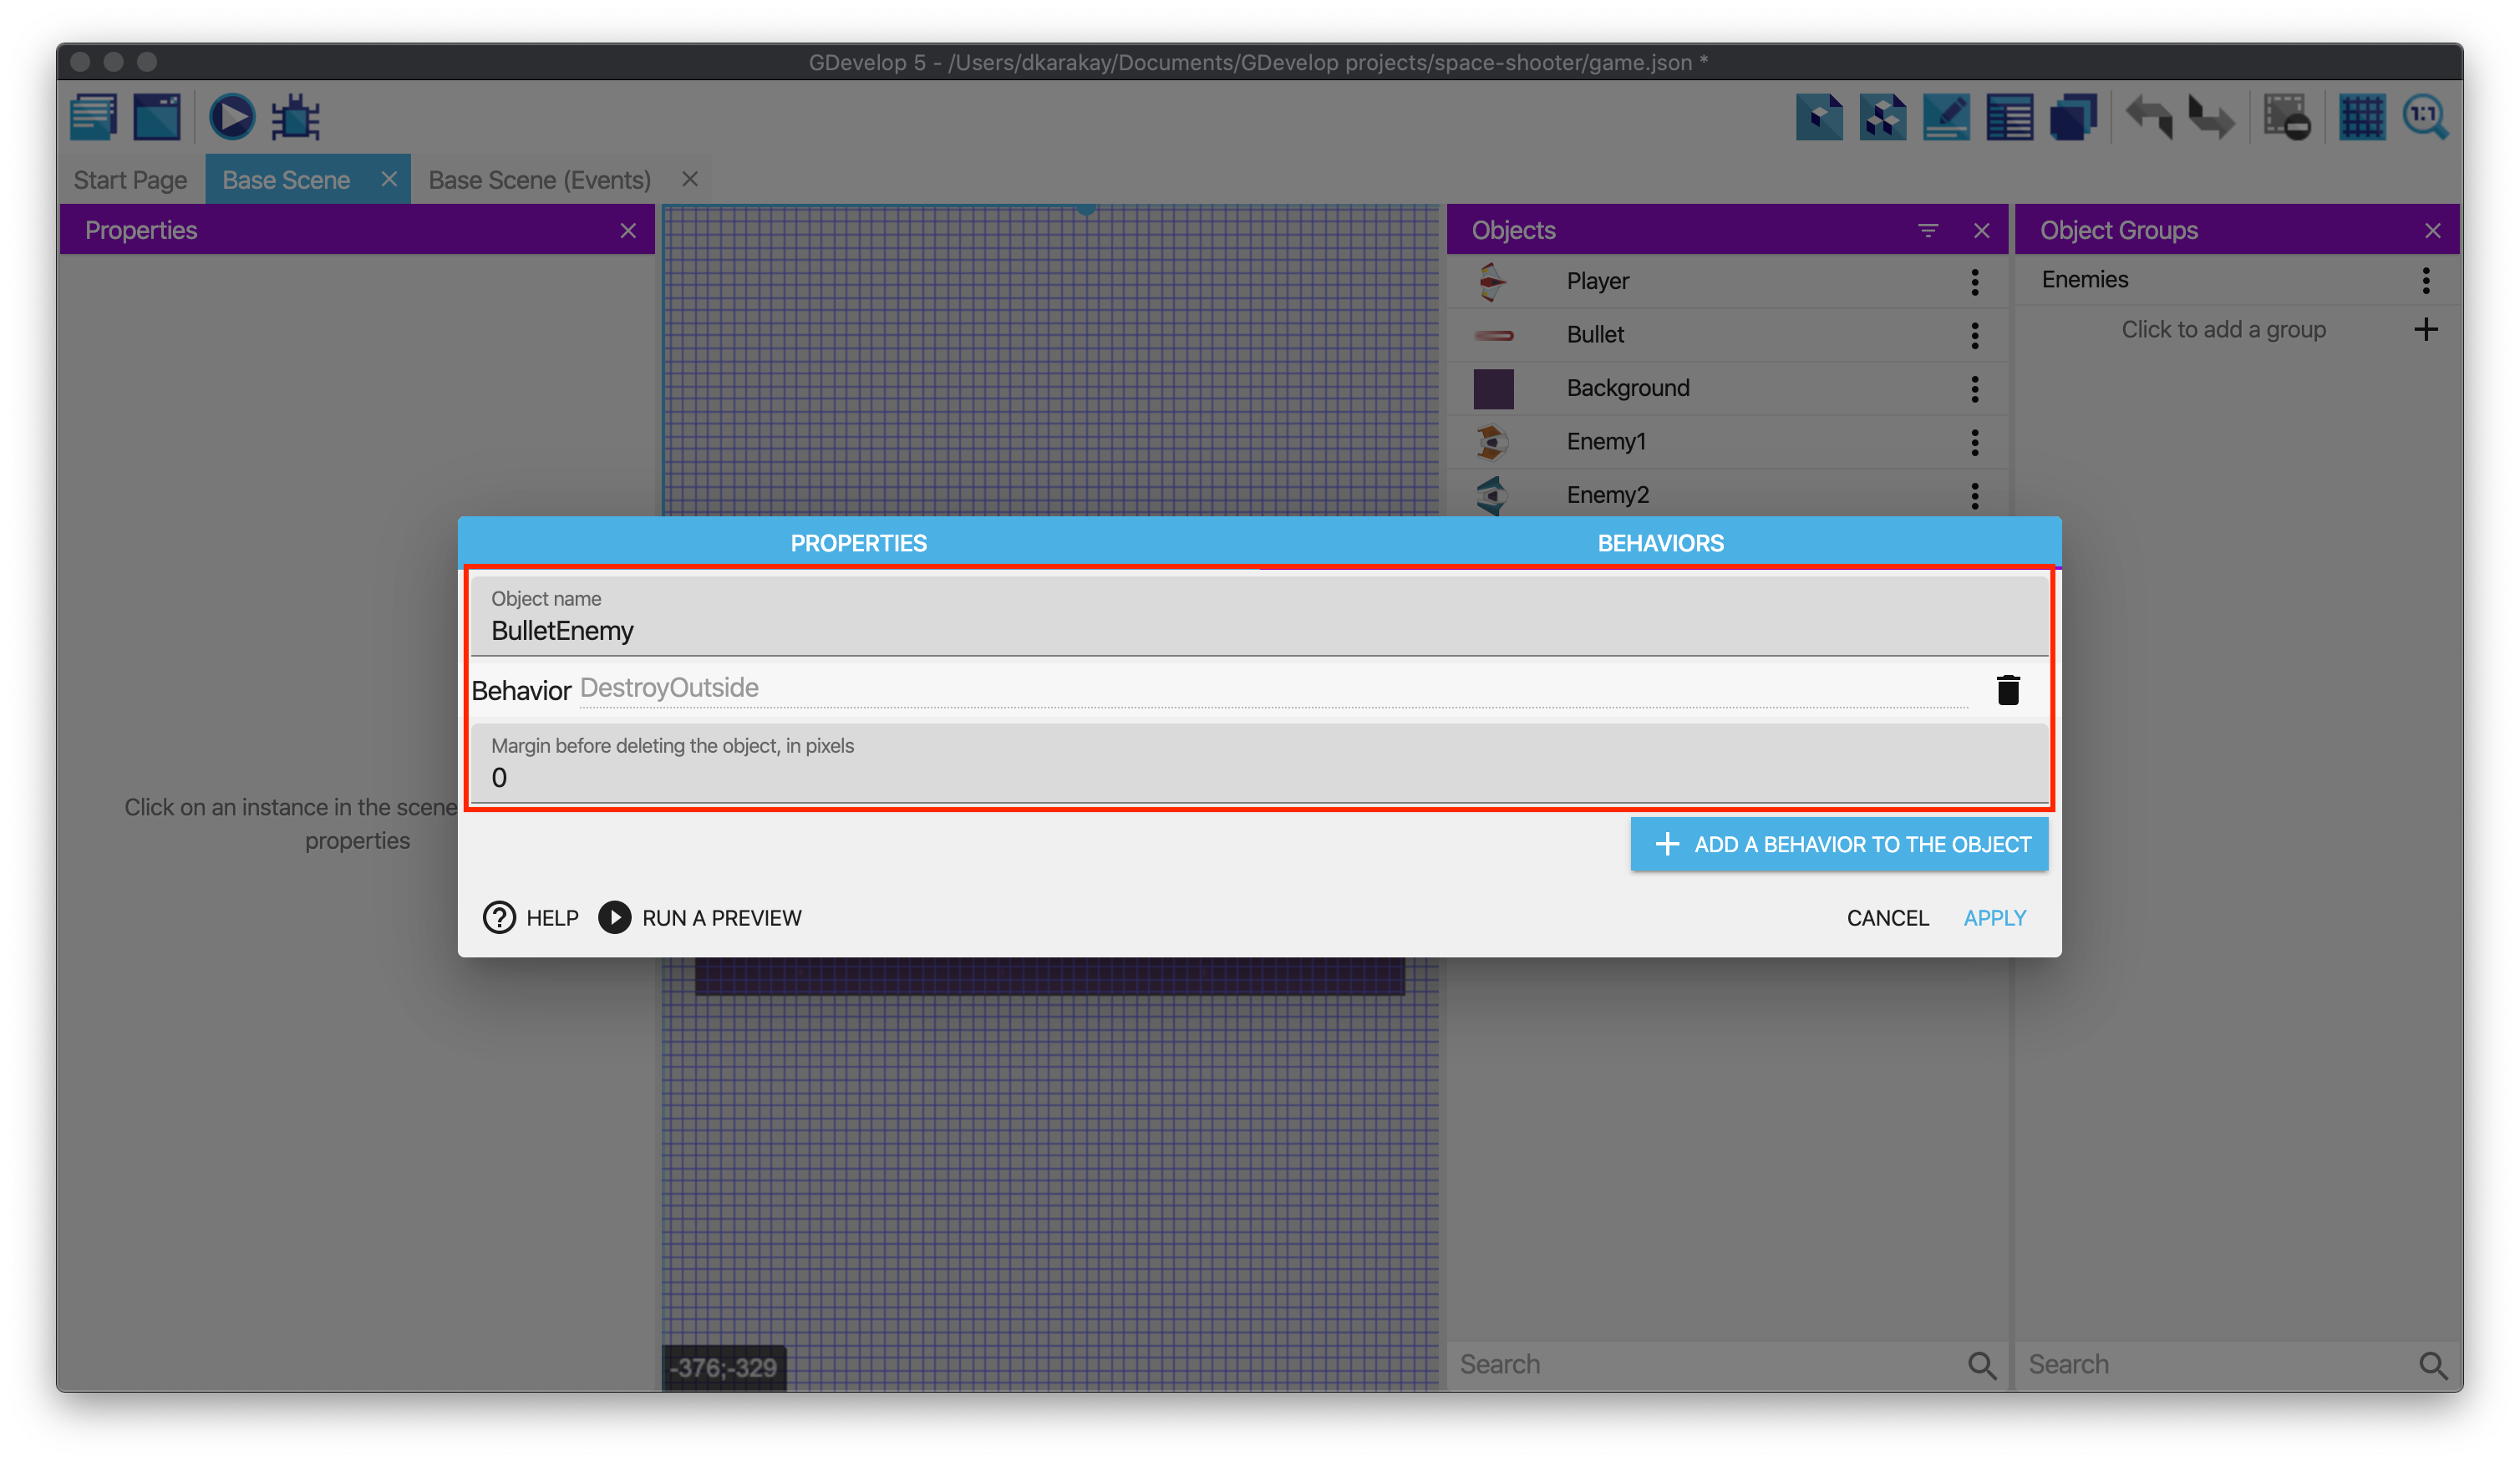
Then, add Destroy when outside of the screen behavior to this object. In the end, you should see:
We need to give fire ability to Enemy2. Hence, follow the same steps to add the Fire Bullet behavior to Enemy2.
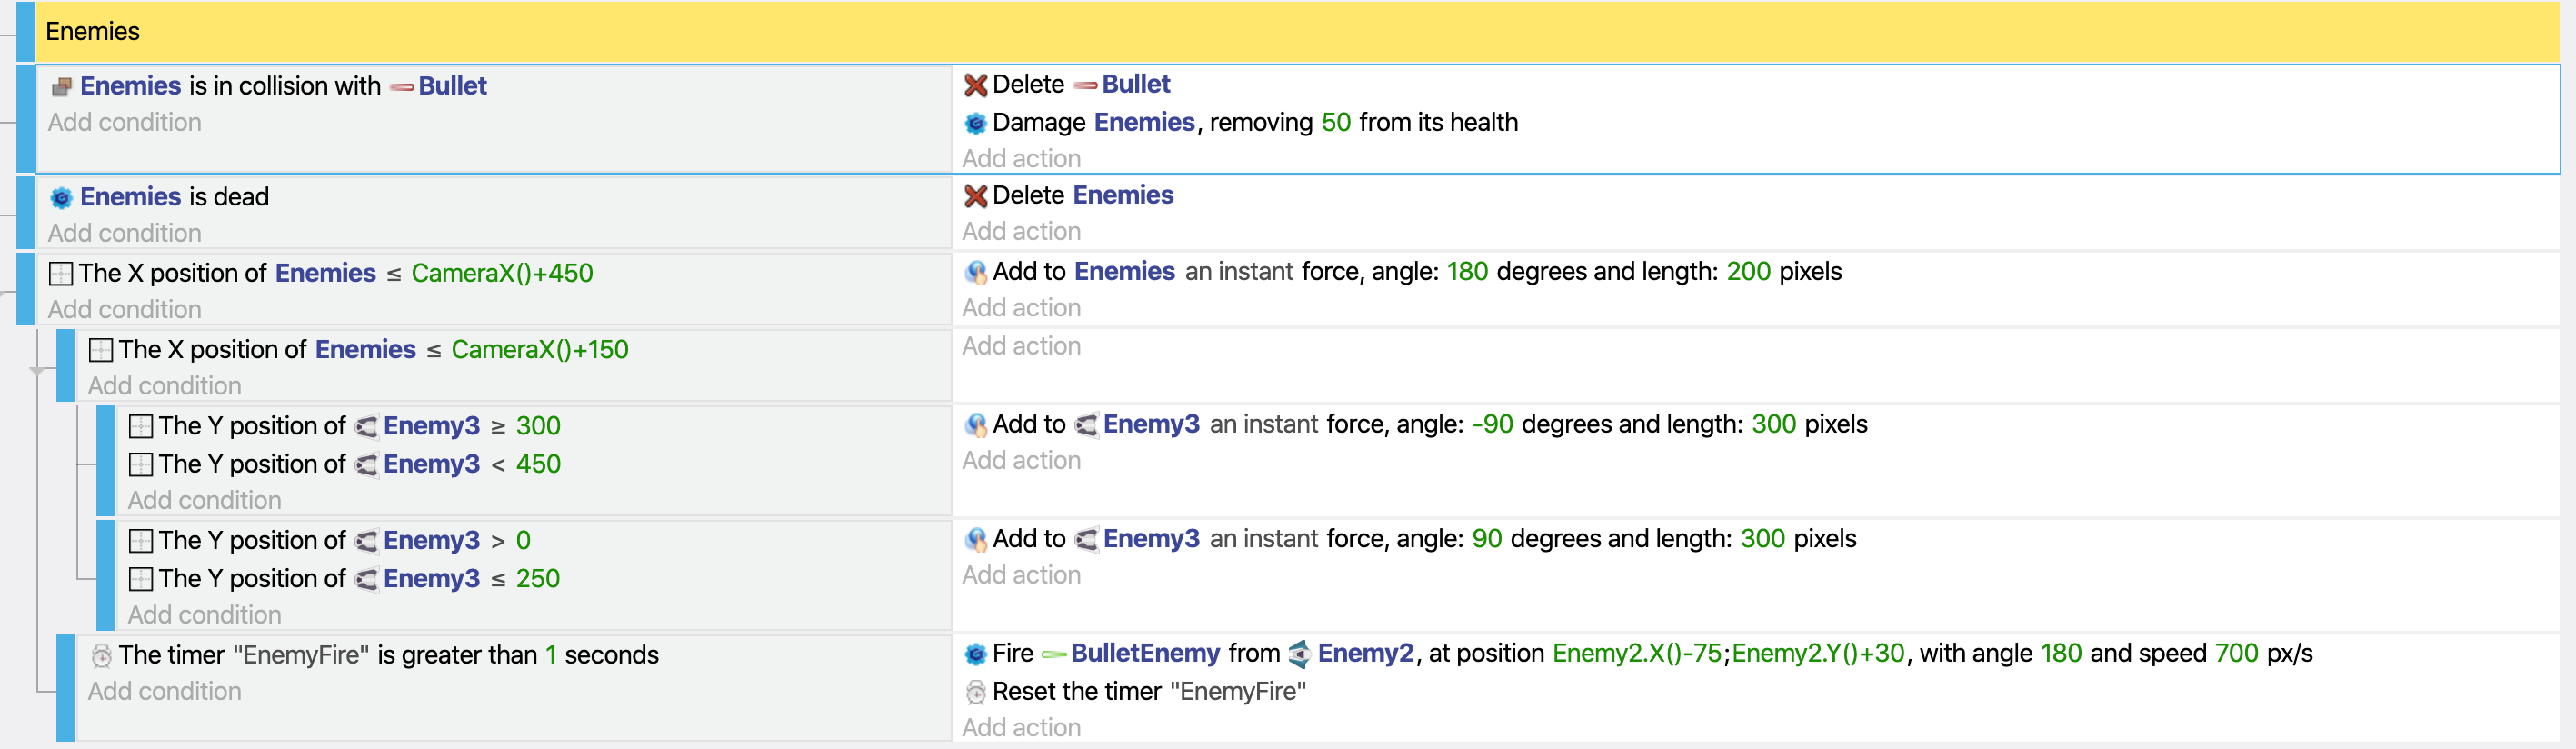
Now, we are ready to prepare our conditions and actions. Open the Events page and copy-paste the condition in which we determine the enemies' position. Then, drag and drop to the under of the original condition to make a condition in a sub-event.
Tip
By doing that, the inside condition will be checked only if the first condition is satisfied.
In the new condition, change the Camera.X()+450 to Camera.X()+150
Then, create a new condition in a sub-event condition under the original condition to check the scene timer's value. Fill the time in seconds with 1 and the timer's name with EnemyFire.

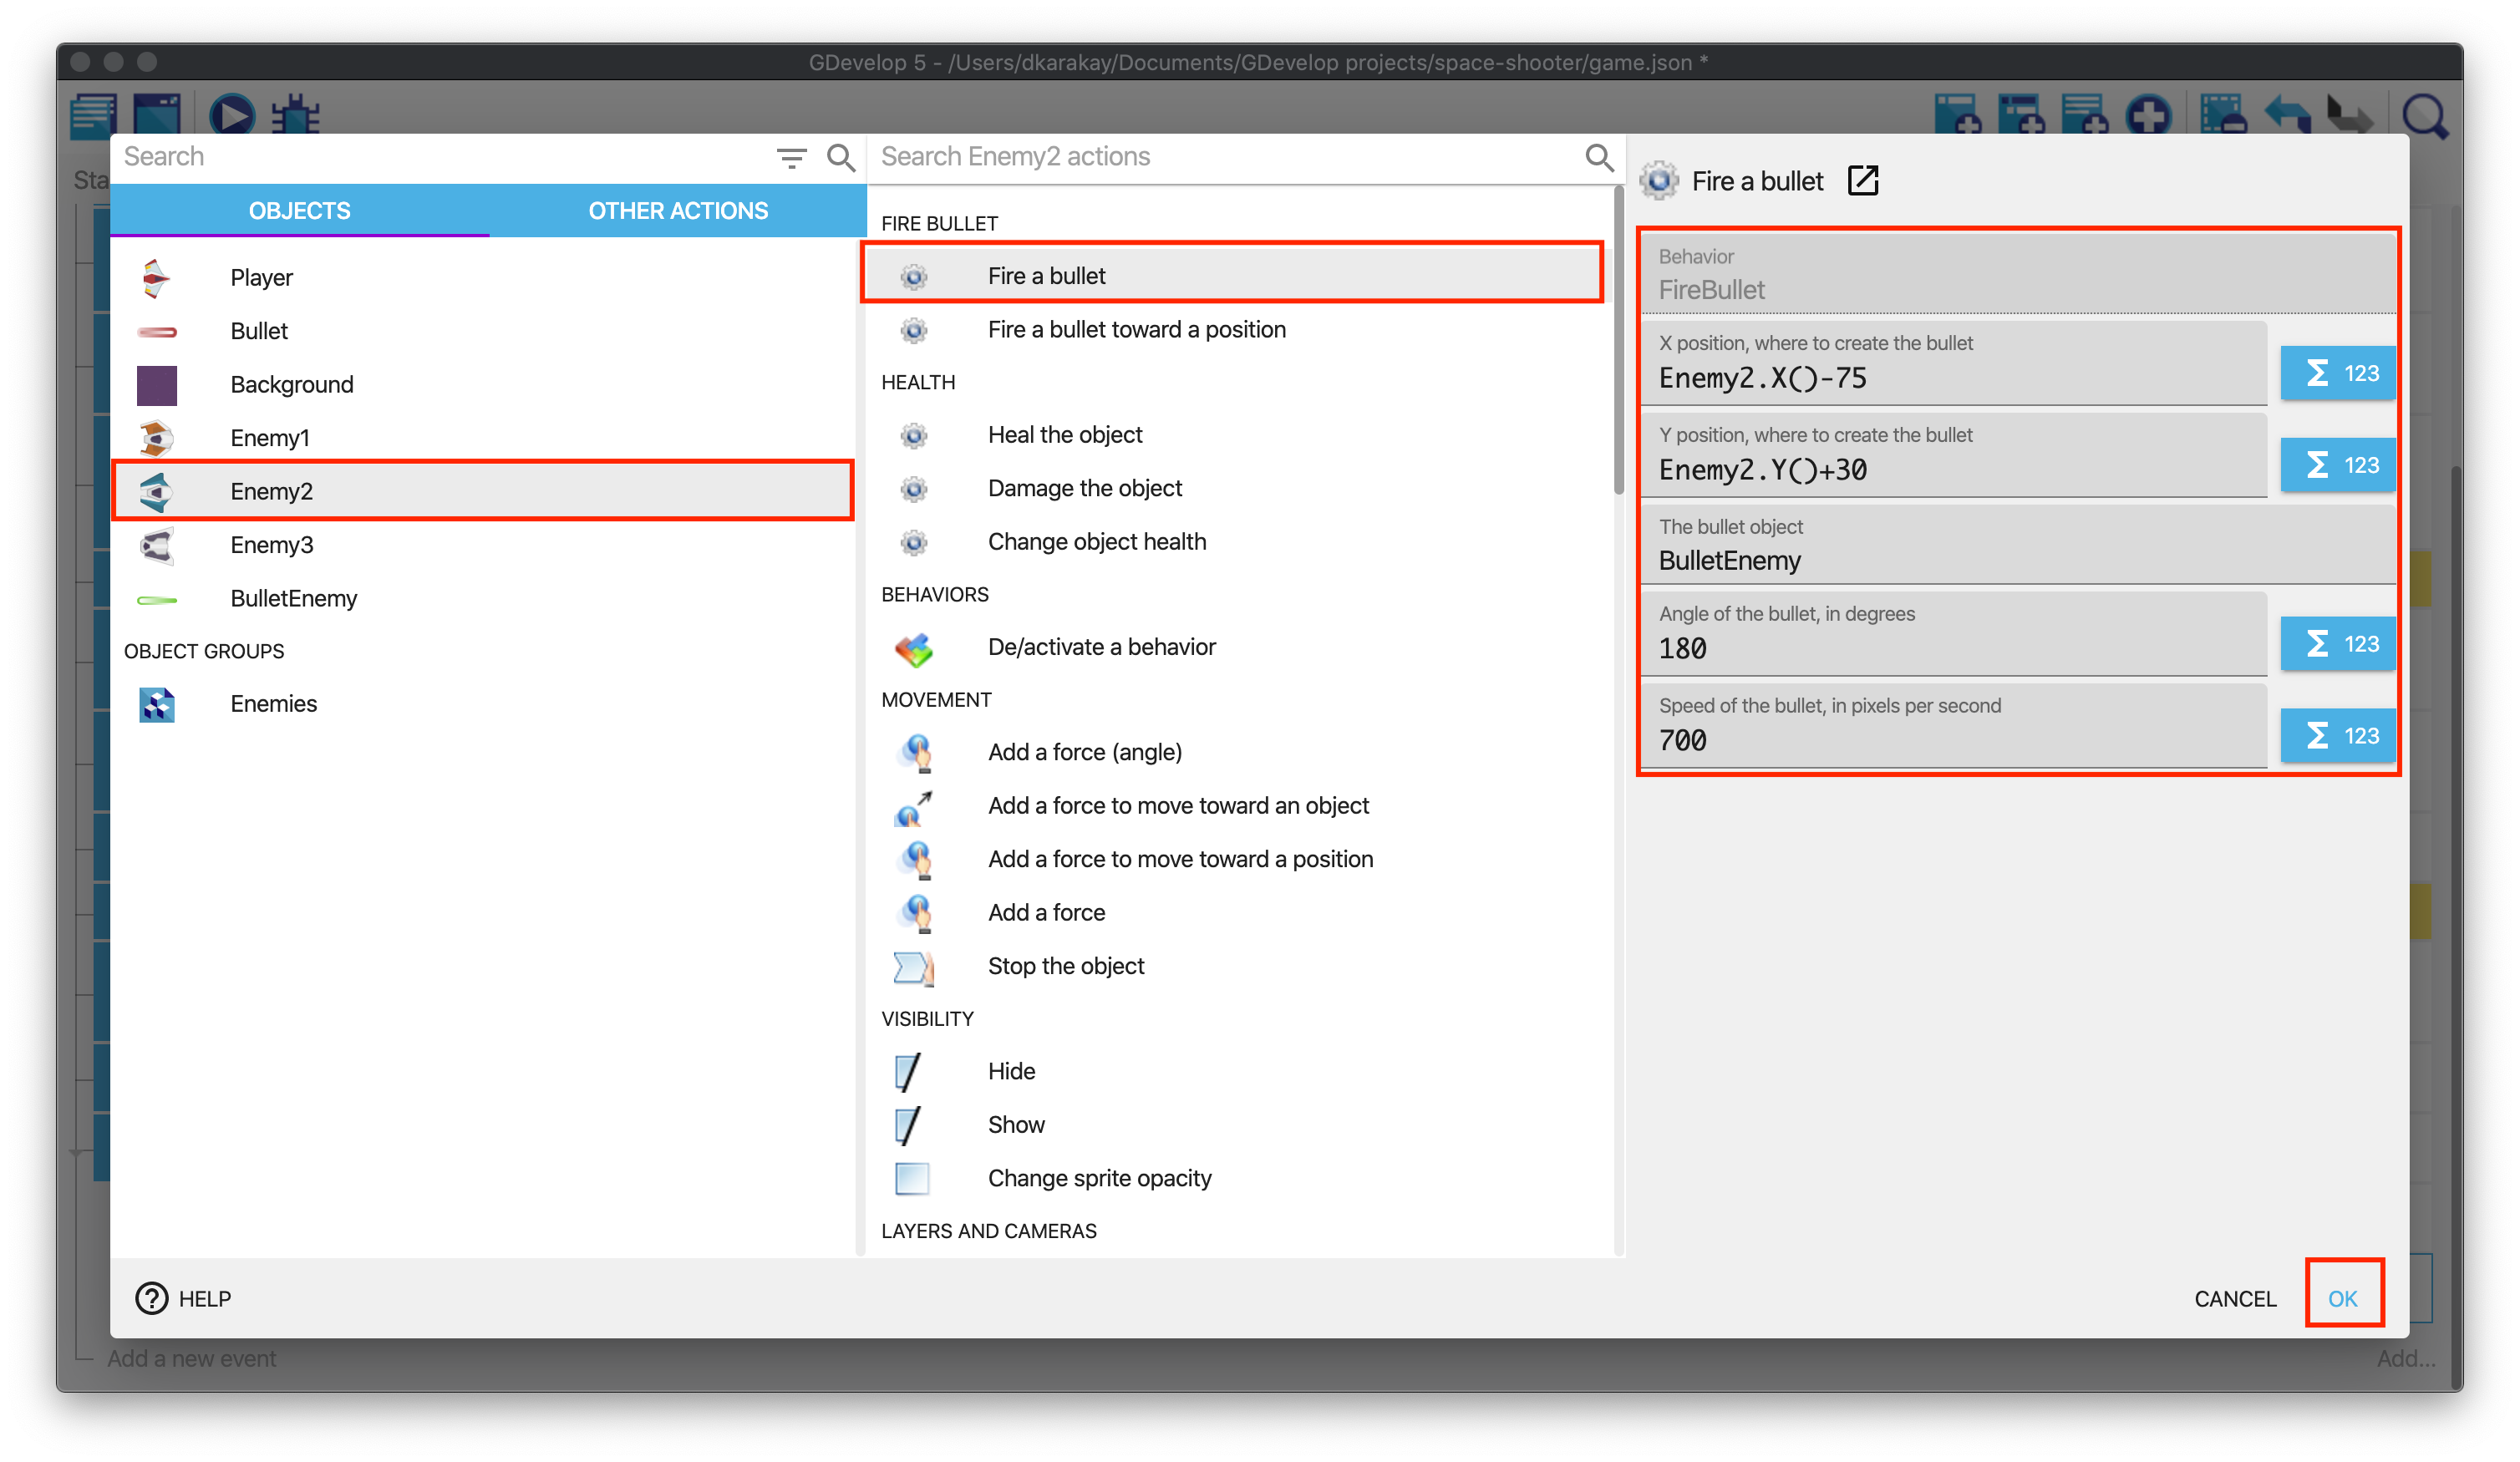
Now, we want Enemy2 to shoot Player. Hence, we will add a new action to fire a bullet.
Then, we have to reset the timer to prevent unexpected problems. In the end, you should see:

Getting damages when hit by a bullet
Now, our Enemy2 can fire bullets toward the player. However, we did not define the effect of being shot by these bullets. We will add a new condition to check the collision between the Player and the BulletEnemy. Please select the event and copy-paste it. You need to change the in collision with to BulletEnemy, and change the IsDamaged value to 30. Finally, change deleting Enemies to BulletEnemy objects.
Your actions should look like this:

Moving enemy to the center of the screen
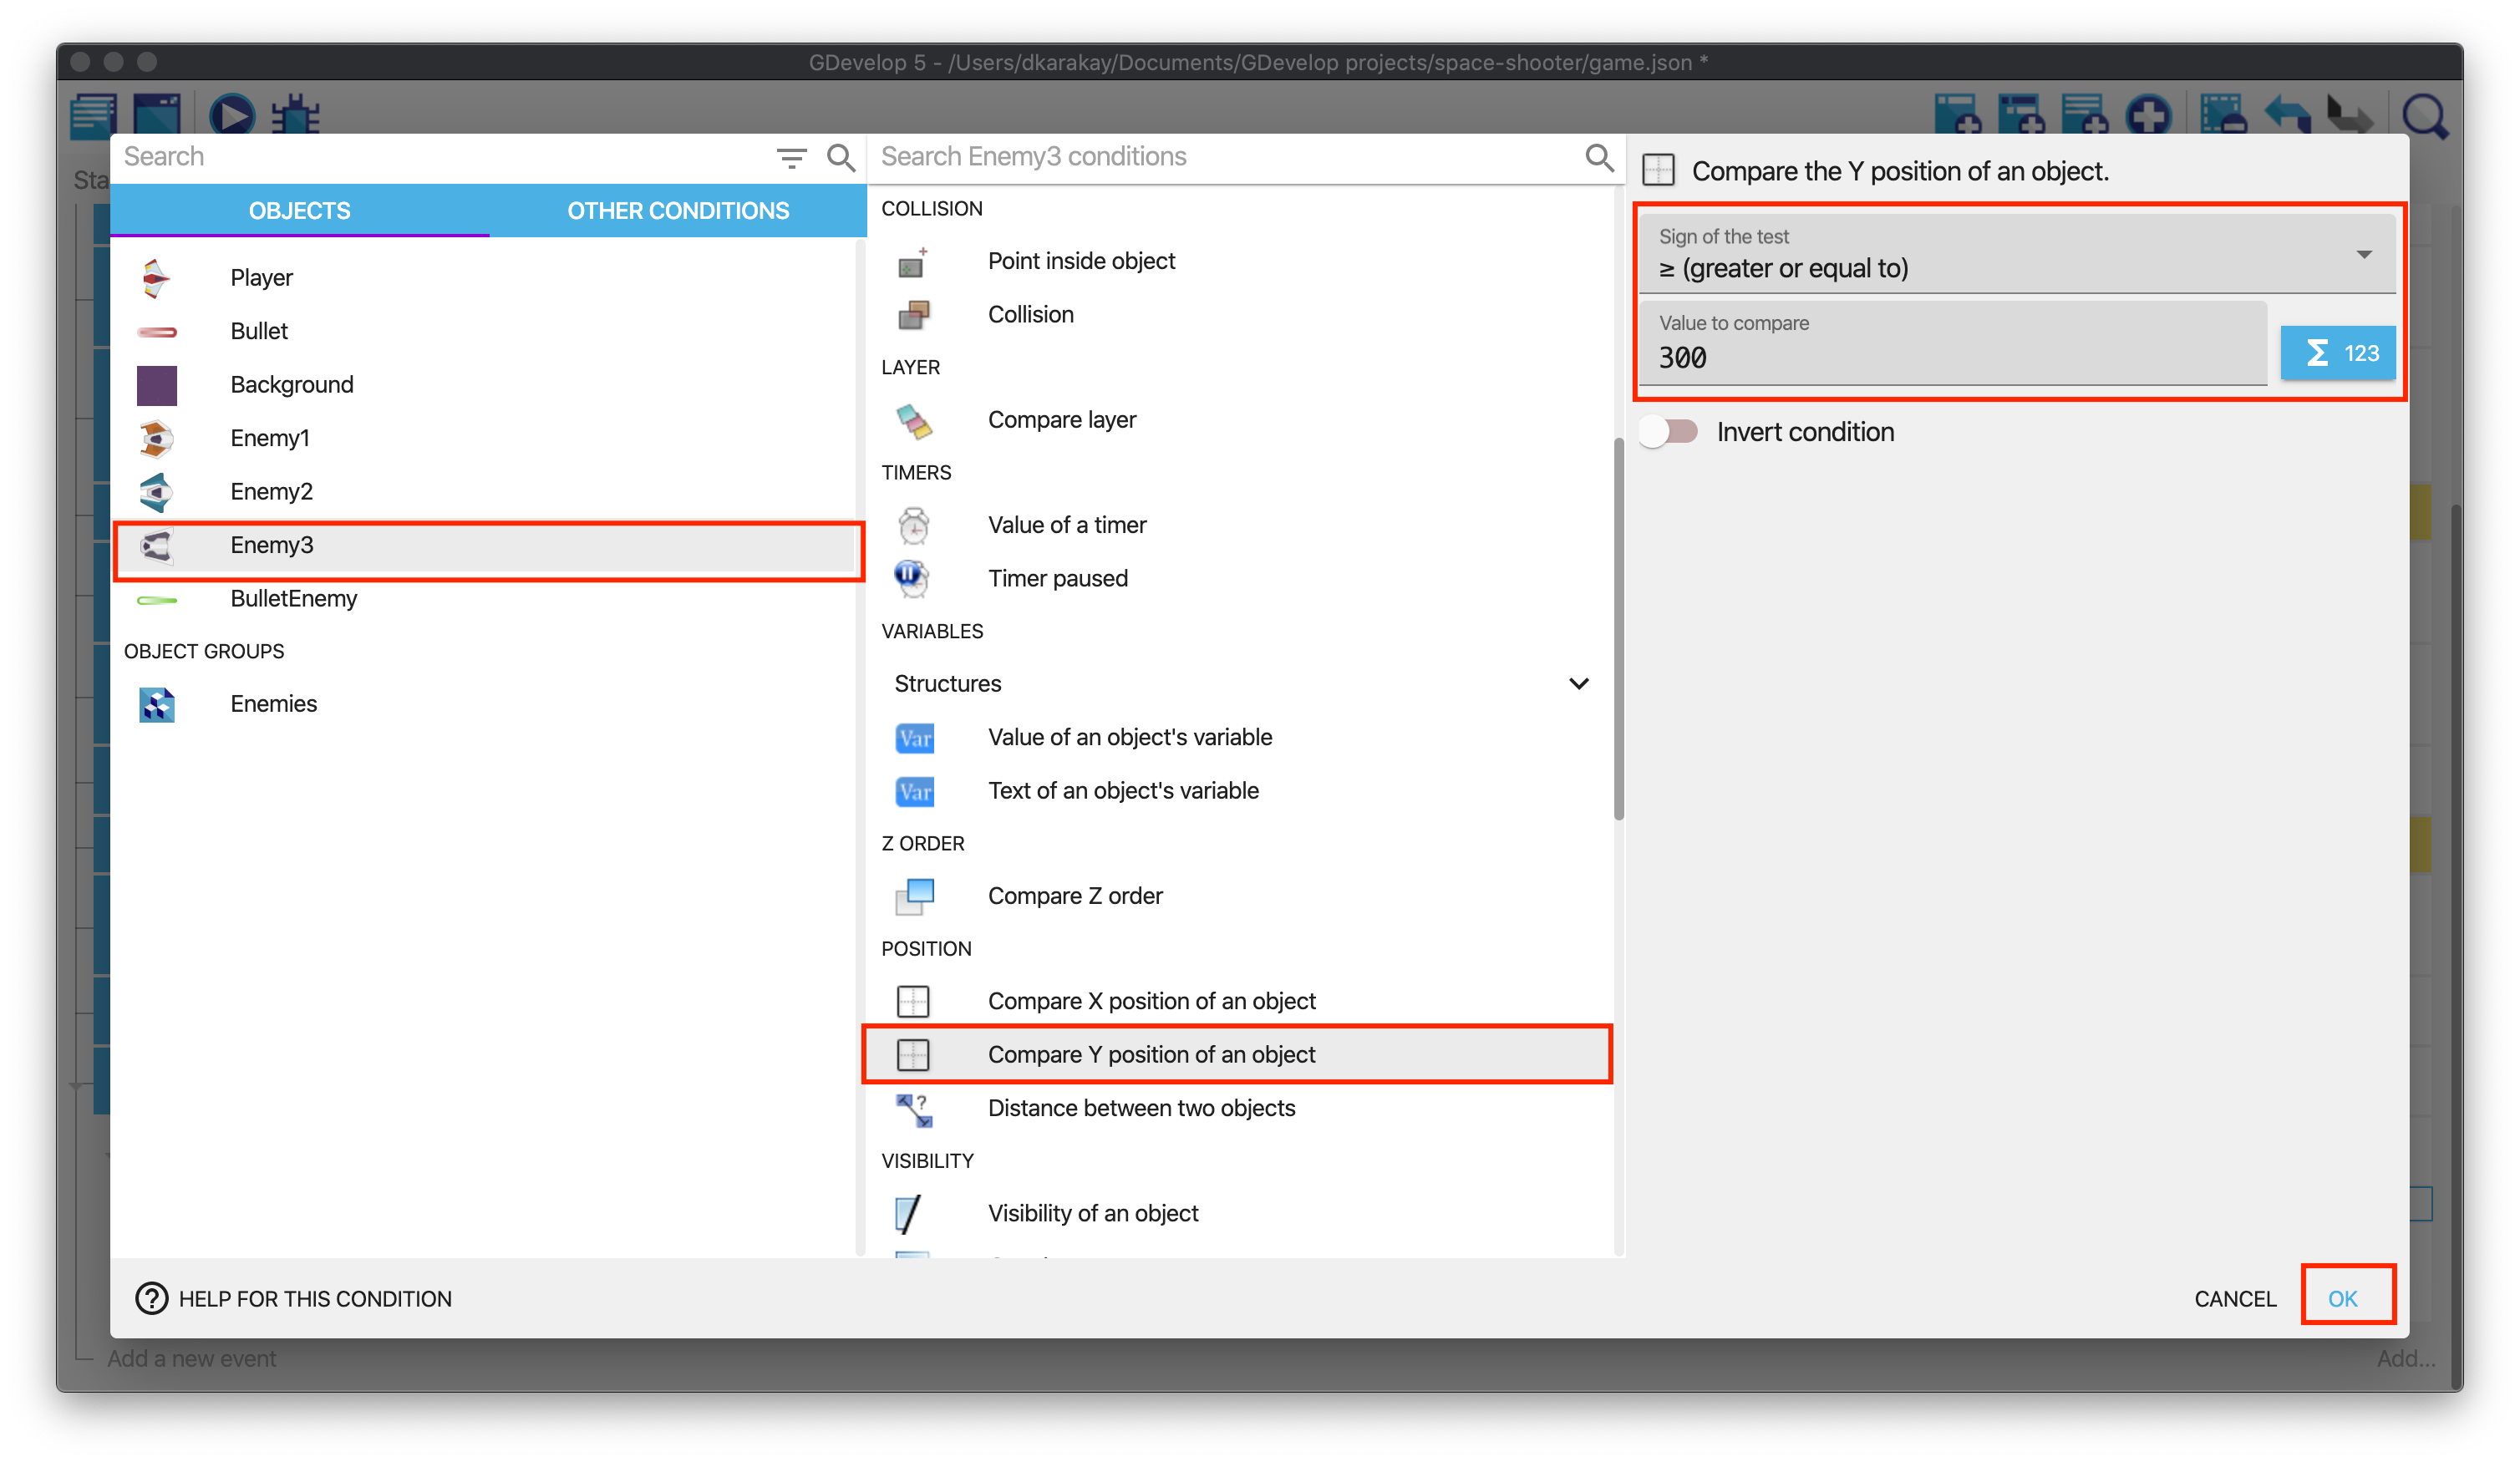
We will add a new mechanic, moving enemy to the center of the screen, to Enemy3. Firstly, we need to have the position of Enemy3. Thus, we will create some conditions to make a move smoothly. Create a new condition in a sub-event (Camera.X()+150). Select Enemy3, Compare Y position and check if the value is greater than or equal to 300.
Tip
We will use the same condition four times, so instead of writing every condition again, just copy-paste the condition like below and modify them.
In the end, you will have:

We are ready to add movement to these conditions. Use the Enemies movement action and modify it to move Enemy3 with an angle of -90 and speed of 300.
Repeat the same process for the condition below. Just change the angle to 90. In the end, you should see:
Testing out
Now we are ready to play our game. Hit the run button.
Tip
If you want to play longer, you can put new enemy objects on the scene.